Microwave ovens have become indispensable kitchen appliances, swiftly heating food and simplifying meal preparation. However, like any electronic device, they're susceptible to malfunctions, from a simple blown fuse to more complex internal issues. A malfunctioning microwave can be incredibly frustrating, leading to wasted time and spoiled food. Fortunately, many common microwave problems are fixable with a little know-how and the right tools, saving you the cost and inconvenience of a costly repair or replacement. Knowing how to troubleshoot and repair your microwave can significantly extend its lifespan and your wallet's health.
This guide offers a practical, step-by-step approach to diagnosing and fixing common microwave oven problems. We’ll cover everything from basic safety precautions to more advanced repairs, empowering you to tackle those frustrating malfunctions with confidence. Let's delve into the detailed instructions that will help you get your microwave working perfectly again.
Preparation and Safety Guidelines
- Phillips head screwdriver
- Flathead screwdriver
- Razor blade
- 20 Amp Ceramic Fuse
- Always unplug the microwave from the power outlet before attempting any repairs. Failure to do so could result in serious electric shock.
- Never operate a microwave with a damaged door or seal. Microwaves leak radiation, posing a health risk.
- If you are unsure about any repair, contact a qualified appliance repair technician. Improper repairs can cause further damage or create safety hazards.
Step-by-Step Instructions
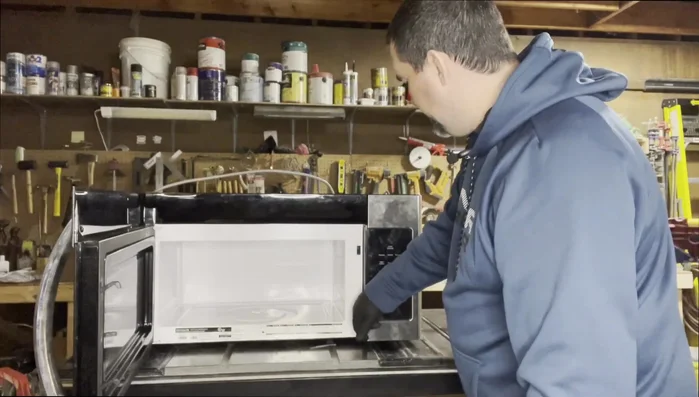
Initial Testing and Safety
- Test the microwave to confirm it's malfunctioning. It may trip itself rather than the breaker.
- Unplug the microwave before proceeding. Safety first!
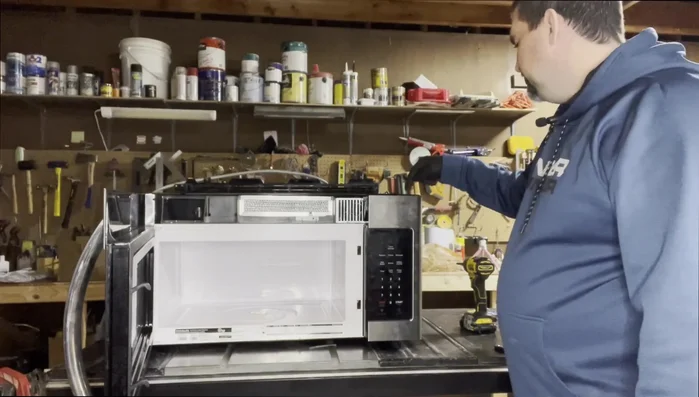
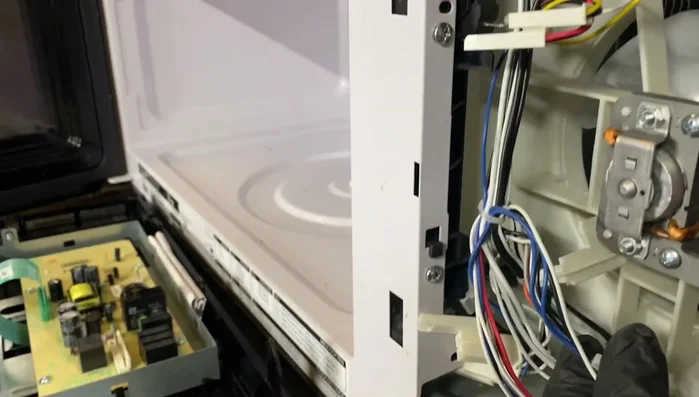
Access the Internal Components
- Open the microwave by removing the vent cover (usually involves unscrewing it).
- Remove the keypad. This usually involves removing one screw located beneath the keypad.

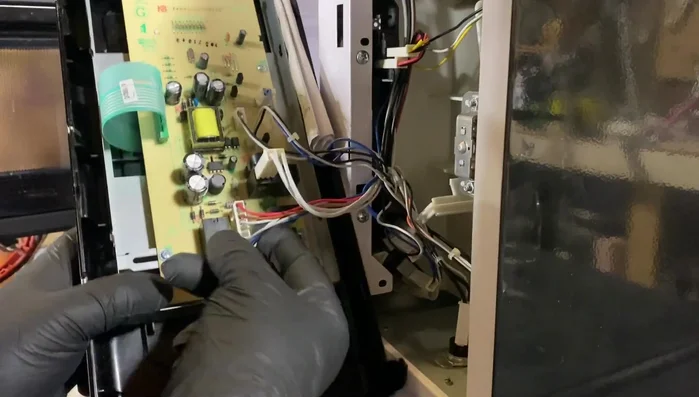
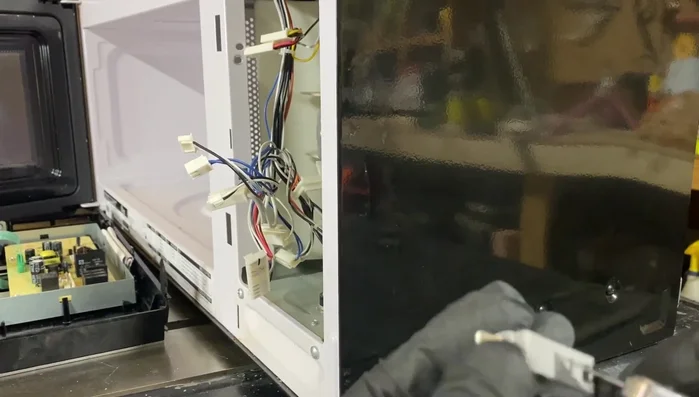
Access the Internal Components Document and Disconnect Wiring
- Take photos of the wiring before disconnecting anything to aid in reassembly.
- Disconnect the wires from the microswitches carefully.
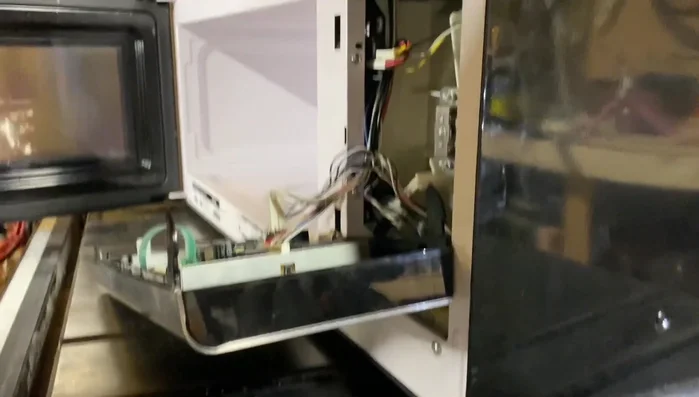
Document and Disconnect Wiring Locate and Inspect Microswitches
- Locate the microswitches (usually three). These are often the cause of tripping issues.
- Remove the microswitch assembly (usually involves removing two screws).
- Inspect the microswitches. Test each by pressing the button; a malfunctioning one will not click or feel responsive.
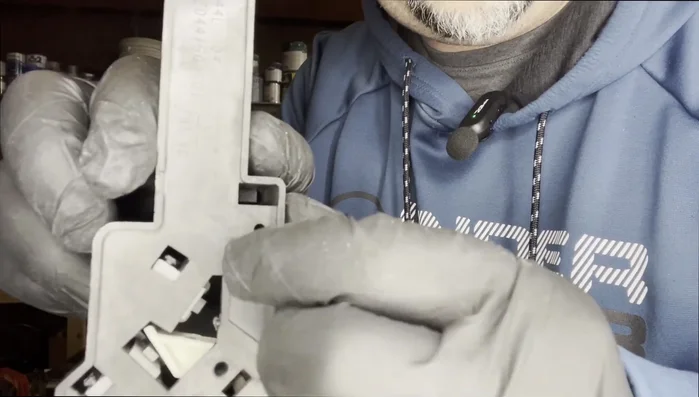
Locate and Inspect Microswitches Microswitch Repair/Replacement
- If a microswitch is faulty, carefully pry it open using a razor blade to inspect the internal mechanism. It might be welded shut due to excessive current.
- Replace any faulty microswitches. Ensure the new switch snaps in securely.
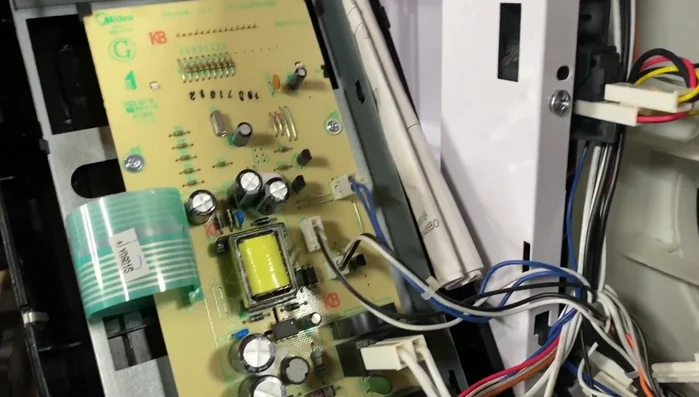
Microswitch Repair/Replacement Fuse Inspection and Replacement
- Access and check the fuse box (usually located behind a panel). Replace the fuse with a new 20-amp ceramic fuse if it's blown. Avoid cheap glass fuses.
Reassembly
- Reconnect all the wires, ensuring they are correctly seated.
- Reassemble the microwave in reverse order of disassembly. Be mindful of the tabs and screws.
Reassembly Final Testing
- Test the microwave. If everything was done correctly, it should power on without any tripping issues.
Final Testing
Read more: Installing an Outdoor GFCI Receptacle: A Step-by-Step Guide
Tips
- Always unplug the microwave before working on it.
- Take pictures of the wiring connections before disassembling.
- Use a ceramic fuse instead of a glass fuse for better reliability.