Transforming your home's ambiance starts from the top! A modern ceiling light fixture can dramatically elevate a room's aesthetic, adding a touch of sophistication and personality. But what if you could achieve this stylish upgrade without the hefty price tag of professional installation? This guide empowers you to take on the project yourself, showcasing the surprisingly straightforward process of installing a contemporary ceiling light. Forget expensive contractors and complicated instructions – we'll demystify the process, providing you with the confidence and knowledge to successfully complete this home improvement task.
This detailed, step-by-step guide will walk you through each stage of the installation, from safely disconnecting the old fixture to securing your stunning new light. We'll cover essential safety precautions, necessary tools, and clear instructions, ensuring a smooth and successful installation, leaving you with a beautifully illuminated space and a sense of accomplishment. Let's get started!
Preparation and Safety Guidelines
- Screwdrivers (flathead and Phillips)
- Voltage detector
- Wire nuts
- Blue tape
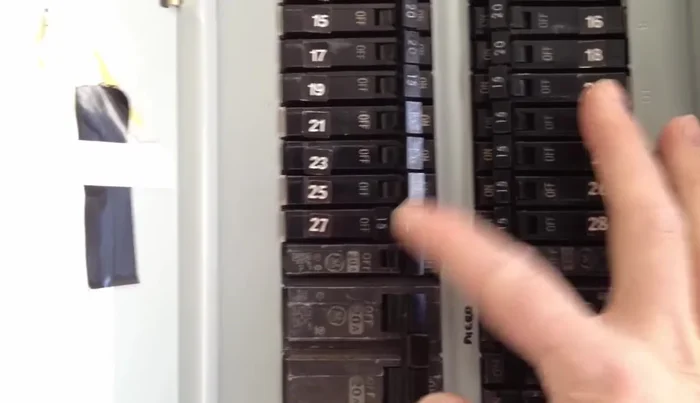
- Always switch off the power at the breaker box before starting any work. Never rely on the light switch alone.
- Use appropriate safety glasses and gloves to protect yourself from potential hazards like sharp edges or falling debris.
- If you are uncomfortable with any part of the process, consult a qualified electrician. Electrical work can be dangerous if not done correctly.
Step-by-Step Instructions
Power Off and Fixture Removal
- Turn off the power at the circuit breaker.
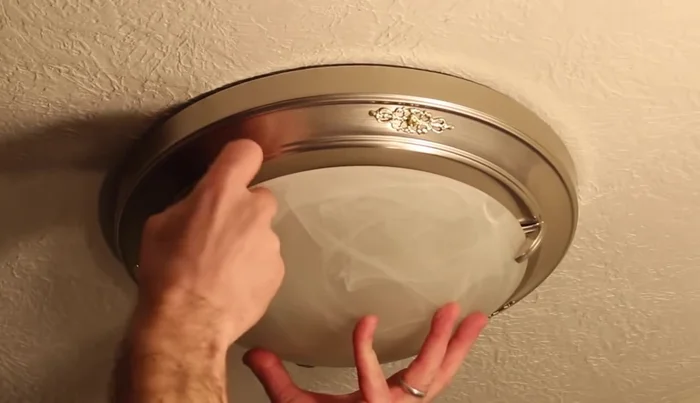
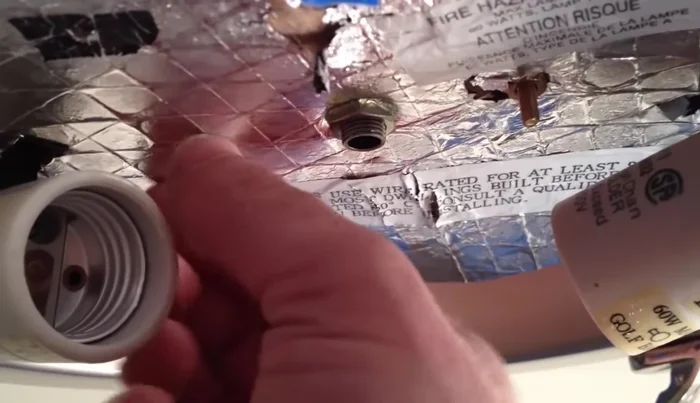
- Remove the old light shade.
- Remove the light bulbs.
- Use blue tape to secure the old fixture to the ceiling while lowering it.

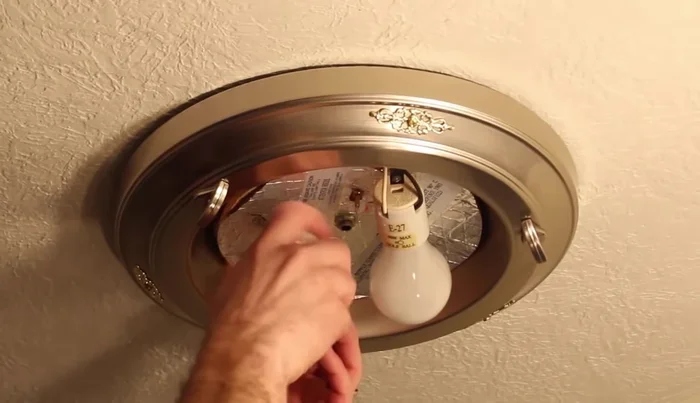
Power Off and Fixture Removal - Loosen the screws or nuts holding the fixture to the junction box and lower it.
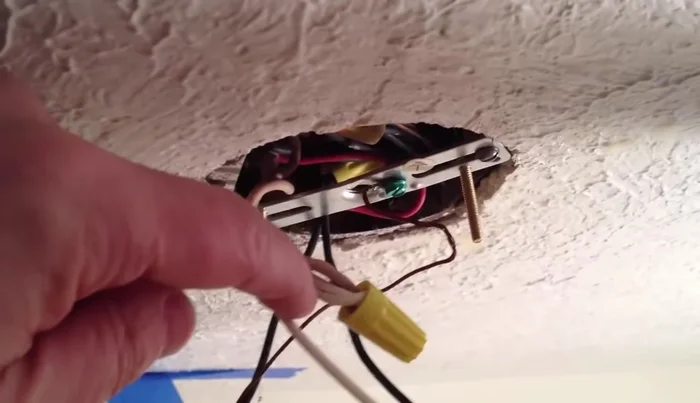
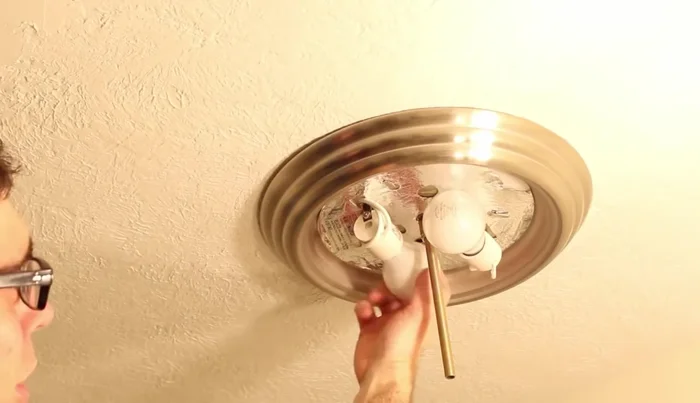
- Take a picture of the wiring before disconnecting.
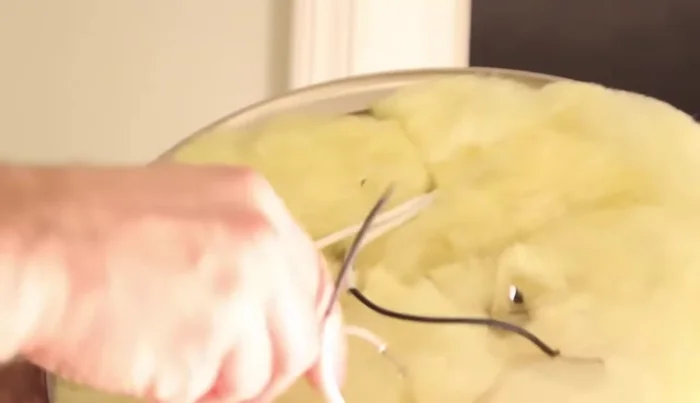
Power Off and Fixture Removal Wiring Disconnect
- Disconnect the old wiring from the junction box.
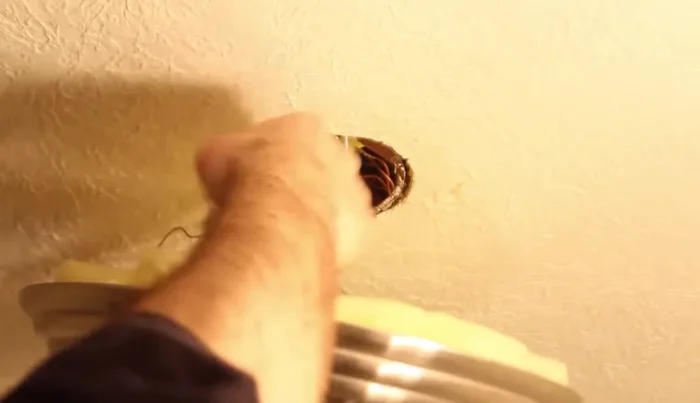
Wiring Disconnect Safety Check and Bracket Removal
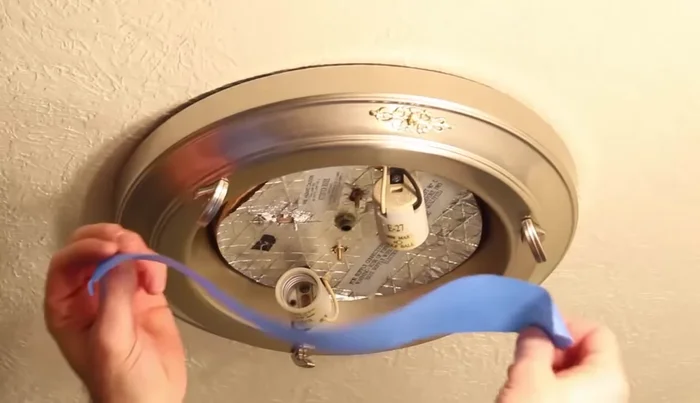
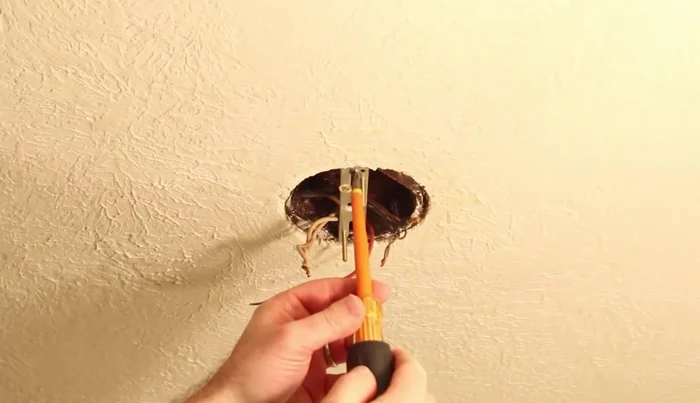
- Remove the old mounting bracket.
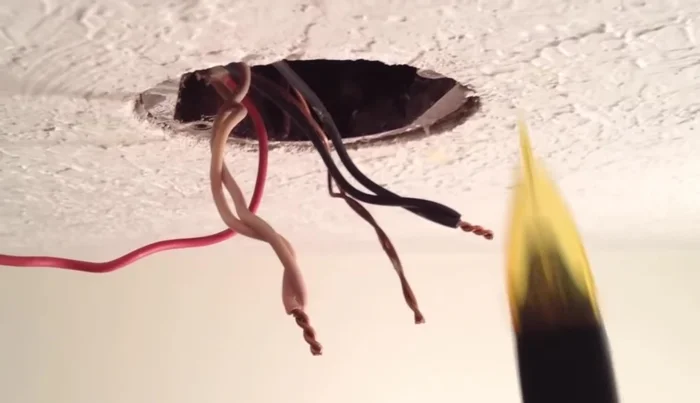
- Use a voltage detector to check that the wires are not live before handling.
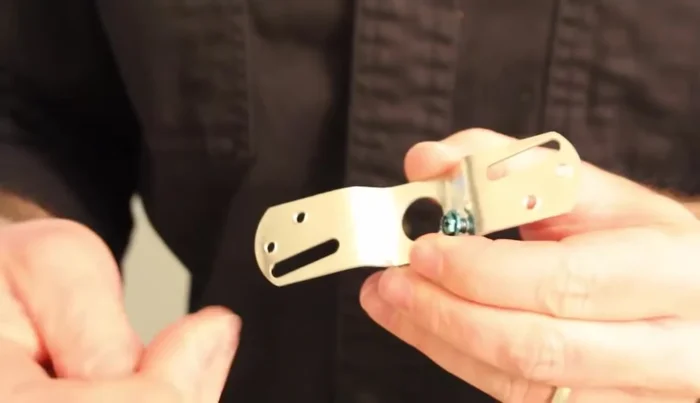
Safety Check and Bracket Removal New Bracket Installation
- Mount the new light's mounting bracket to the junction box using shorter screws.
New Bracket Installation Wiring the New Fixture
- connect ground wires, then neutral wires, then hot wires. Use wire nuts to secure the connections.
- Push all wires into the junction box.
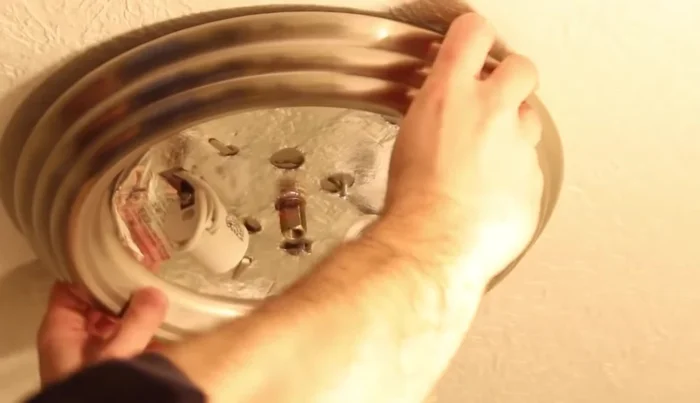
Wiring the New Fixture Fixture Installation
- Mount the new light fixture onto the mounting screws.
- Install the light bulbs and shade.
Fixture Installation Power On
- Turn the power back on.

Read more: Installing an Outdoor GFCI Receptacle: A Step-by-Step Guide
Tips
- Always turn off the power at the circuit breaker before starting any electrical work.
- Remove light bulbs before working on the fixture to prevent breakage.
- Use blue tape to hold the old fixture while disconnecting it to prevent accidental drops.
- Take a picture of the wiring before disconnecting to aid in re-wiring the new fixture.
- Use a voltage detector to ensure the wires are not live before handling them.