Mold infestations on walls are not just unsightly; they pose significant health risks, triggering allergies and respiratory problems. The pervasive dampness that fosters mold growth can also weaken your home's structure, leading to costly repairs down the line. Ignoring a mold problem is never a wise choice, and attempting a DIY solution without proper knowledge can exacerbate the issue, potentially spreading the spores and worsening the contamination. Understanding how to effectively remove mold requires a systematic approach and the right tools, and tackling the problem incorrectly can lead to more problems than it solves.
This ultimate guide provides a comprehensive, step-by-step process for safely and effectively eradicating mold from your walls, ensuring a healthy and structurally sound home. We'll cover everything from identifying the type and extent of the infestation to choosing the appropriate cleaning agents and protective gear. Ready to reclaim your walls and breathe easier? Let's dive into the detailed instructions below.
Preparation and Safety Guidelines
- Gloves
- Dust mask
- Safety glasses
- Scrub brush
- Detergent
- Sanitizer
- Paper towels
- Fan
- Vacuum cleaner with HEPA filter
- Always wear appropriate safety gear, including an N95 respirator mask, gloves, and eye protection. Mold spores can be harmful if inhaled.
- If the mold infestation is extensive (over 10 square feet), consider contacting a professional mold remediation specialist. Attempting DIY remediation of large areas can be dangerous and ineffective.
- Properly dispose of all contaminated materials according to local regulations. Do not simply throw moldy materials in the trash.
Step-by-Step Instructions
Prepare the Area
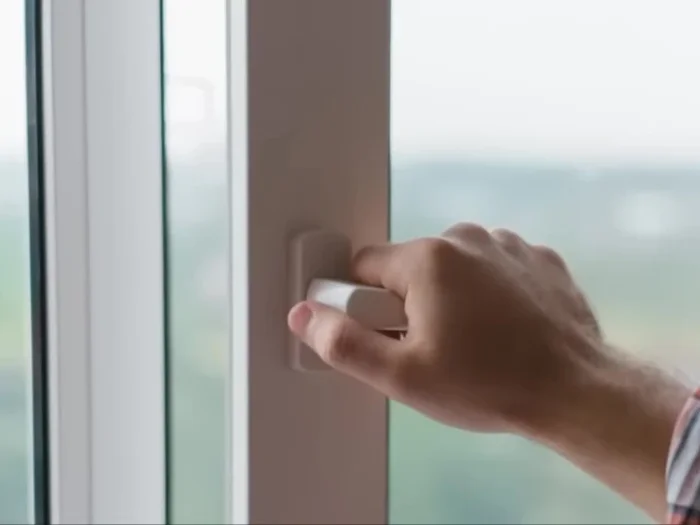
- Open windows for ventilation.
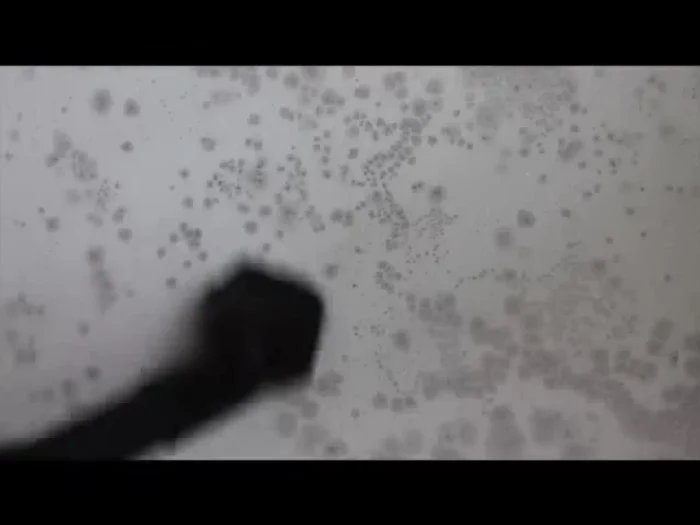
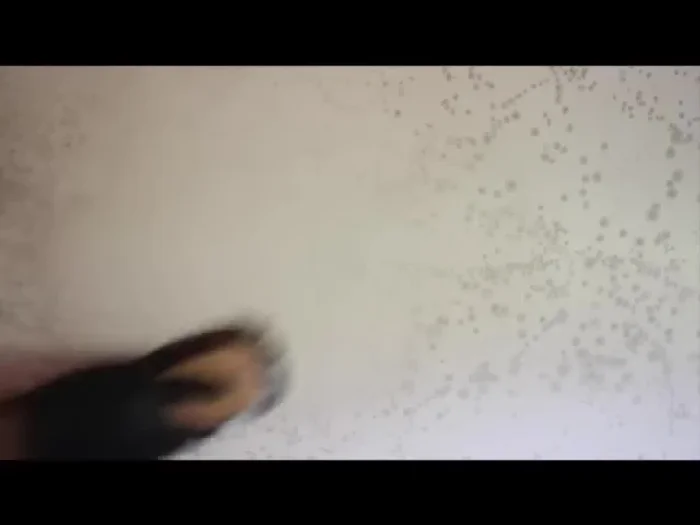
- Vacuum the mold spores from the wall surface using a HEPA filter vacuum.

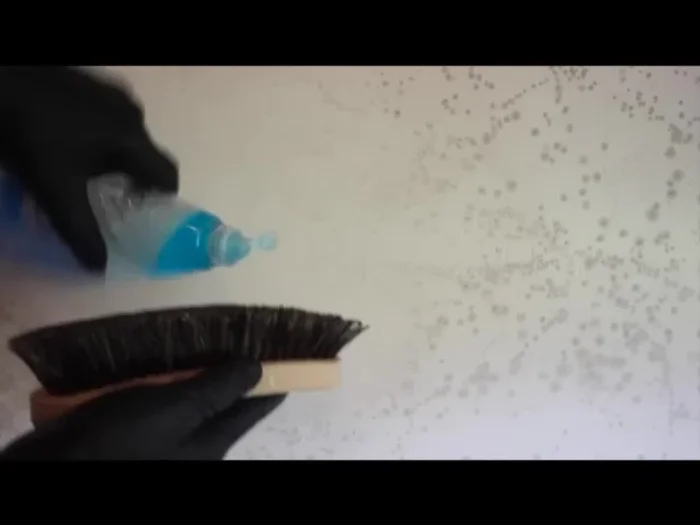
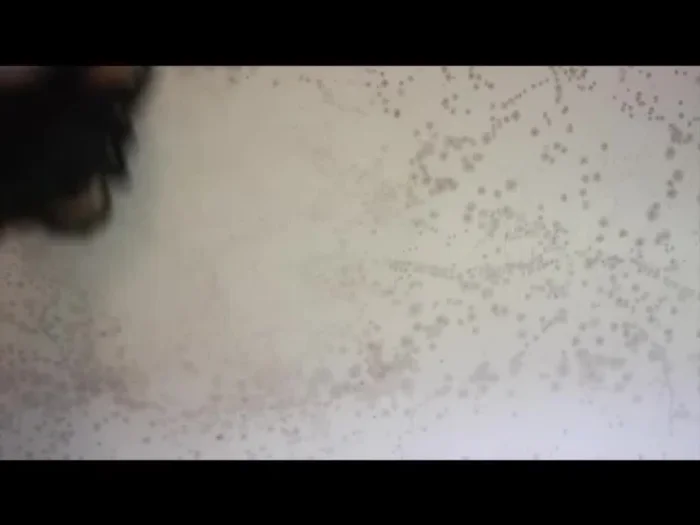
Prepare the Area Clean the Mold
- Apply detergent to the brush or directly to the wall surface.
- Scrub the wall in a circular motion, avoiding over-saturation.
- Dry the scrubbed area with a cloth or paper towel.
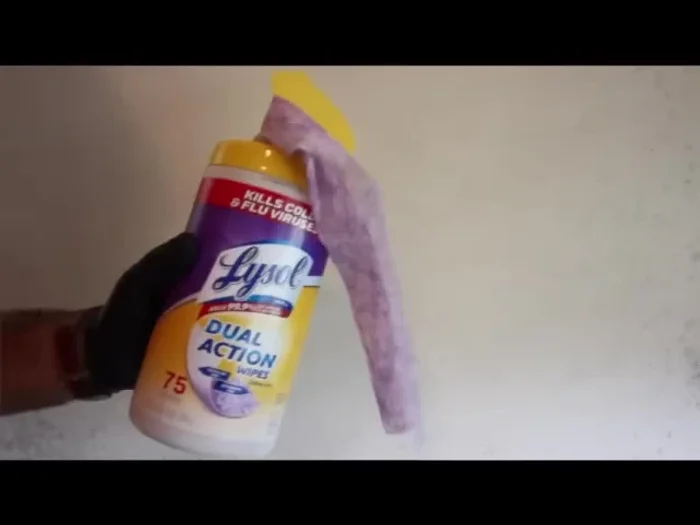
Clean the Mold Sanitize and Dry
- Clean the area with a sanitizer (e.g., Lysol wipes) to kill remaining spores.
- Dry the area again thoroughly.
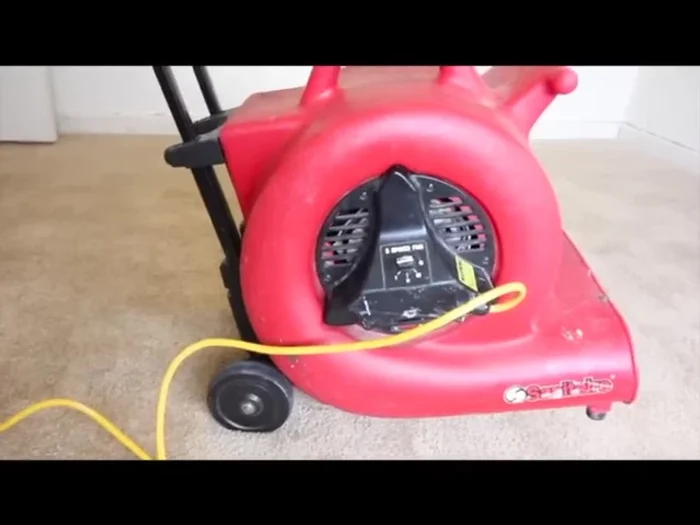
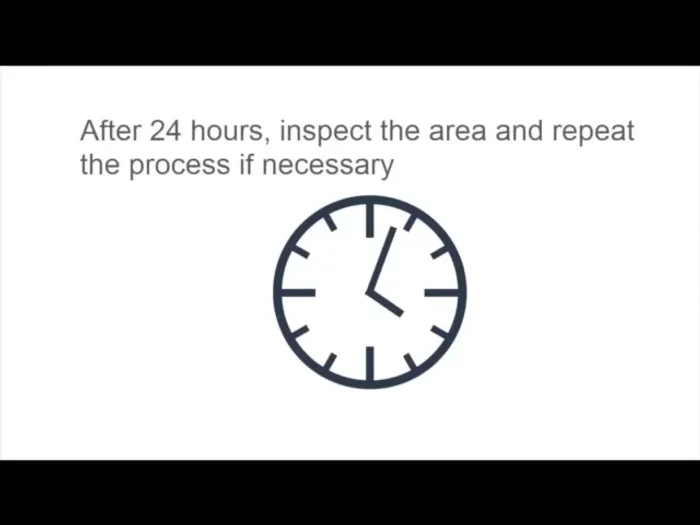
Sanitize and Dry Dry and Assess
- Place a fan near the wall to dry the area for 24 hours.
- After 24 hours, assess the area and repeat steps 3-8 if necessary.
Dry and Assess Finish
- Once completely dry, repaint the wall if needed. The mold should not regrow if the moisture source is addressed.
Finish
Read more: Fixing Drywall Nail Pops: A Quick and Easy DIY Guide
Tips
- Before cleaning, locate and repair the source of moisture to prevent regrowth.
- For areas larger than 10 square feet, consult a licensed mold remediation specialist.
- Always wear personal protective equipment (PPE).