A leaky roof is more than just an annoyance; it's a significant structural and financial threat, leading to costly repairs and potential health hazards from water damage. Traditional patching methods often provide only temporary relief, leaving homeowners constantly battling recurring leaks and the stress of unpredictable water ingress. For a truly permanent solution that transcends the limitations of single-layer fixes, consider a multi-layer waterproofing system. This robust approach offers unparalleled protection against the elements, ensuring long-term durability and peace of mind. This advanced system effectively safeguards your home from the devastating effects of water damage, preventing costly repairs and protecting the integrity of your building's structure.
This article provides a comprehensive step-by-step guide to installing a multi-layer waterproofing system, effectively eliminating the frustration and expense of persistent roof leaks. We'll detail each stage of the process, from thorough preparation and material selection to the final application and inspection, empowering you to tackle this project confidently and achieve a permanently dry and secure roof.
Preparation and Safety Guidelines
- Reinforcing fabric
- Chopped strand fiberglass mat
- Thermo-coat
- Grout
- Always prioritize safety: Work at heights requires appropriate safety gear (harness, ropes, etc.) and potentially professional assistance. Never attempt repairs in unsafe conditions (e.g., stormy weather).
- Use appropriate Personal Protective Equipment (PPE): Wear gloves, eye protection, and a respirator when working with roofing materials and cleaning agents, as they can contain harmful chemicals.
- Check for underlying structural issues: A persistent leak might indicate a more significant problem beneath the roofing materials, like rotting wood or damaged framing. Addressing these issues is crucial for a long-lasting repair.
Step-by-Step Instructions
Assessment and Preparation
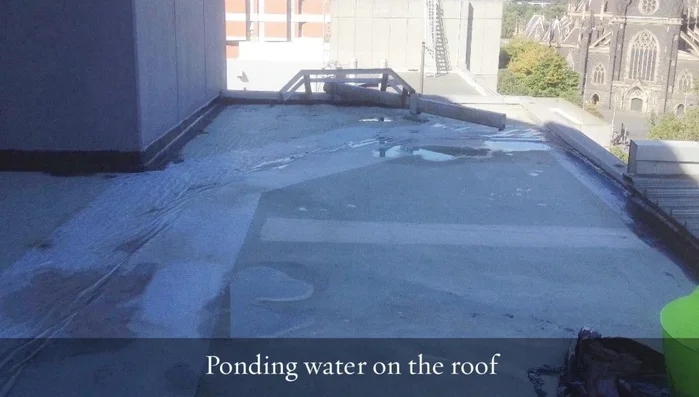
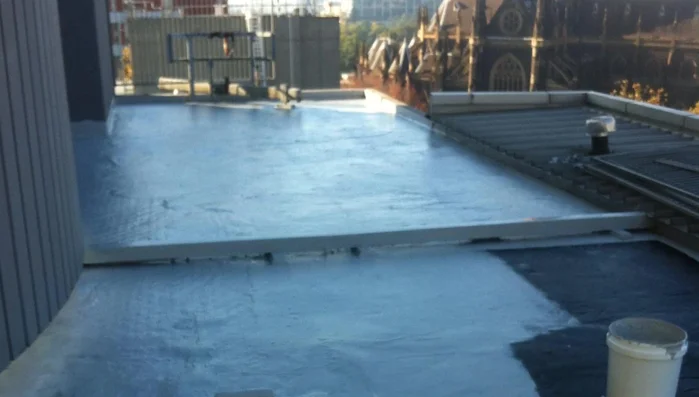
- Thorough Roof Inspection and Cleaning
- Identify and Address Underlying Issues (Bitumen Base)

Assessment and Preparation Repairing Damaged Areas
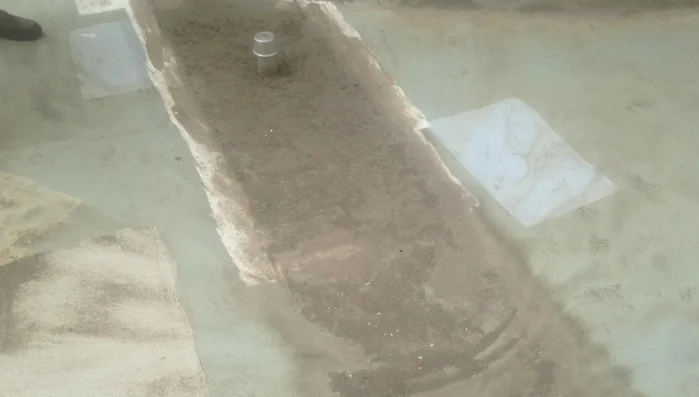
- Cut out damaged sections of the existing acrylic membrane
- Treat exposed bitumen with thermo-coat to isolate it
- Fill low spots with grout and float to create a level surface
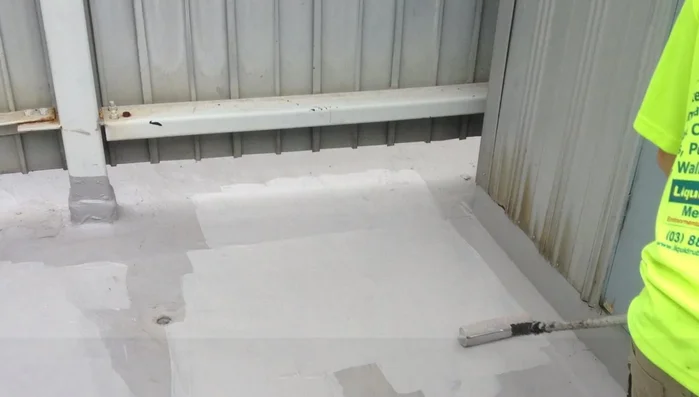
Repairing Damaged Areas Multi-Layer Waterproofing Application
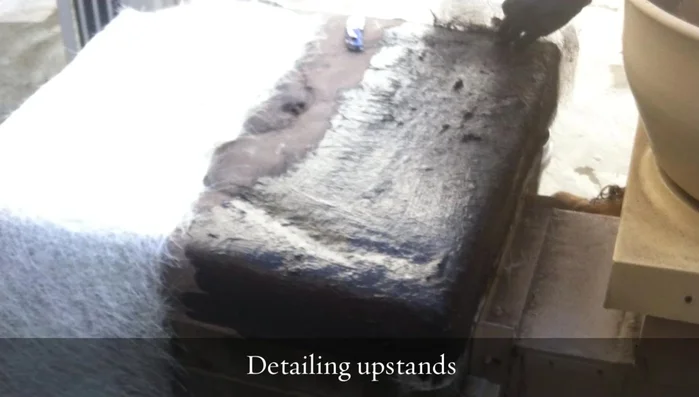
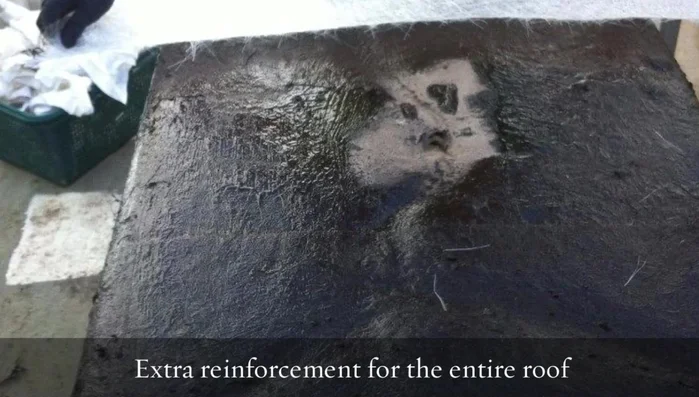
- Install reinforcing fabric (chopped strand fiberglass mat) over the entire roof surface, including pop-up stands
- Apply multiple layers of thermo-topcoat coating
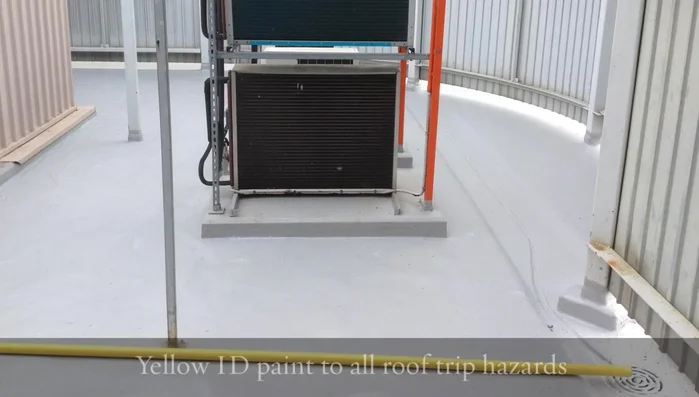
Multi-Layer Waterproofing Application Addressing Outgassing
- Install vents to address outgassing from the bitumen base
Addressing Outgassing Finalization
- Final Inspection and Completion
Finalization

Read more: DIY Roof, Shingle, Fence, and Flashing Repair with Henry Wet Patch 208
Tips
- Meticulous preparation is crucial for a successful outcome.
- Address underlying issues (like the bitumen base) to prevent future leaks.