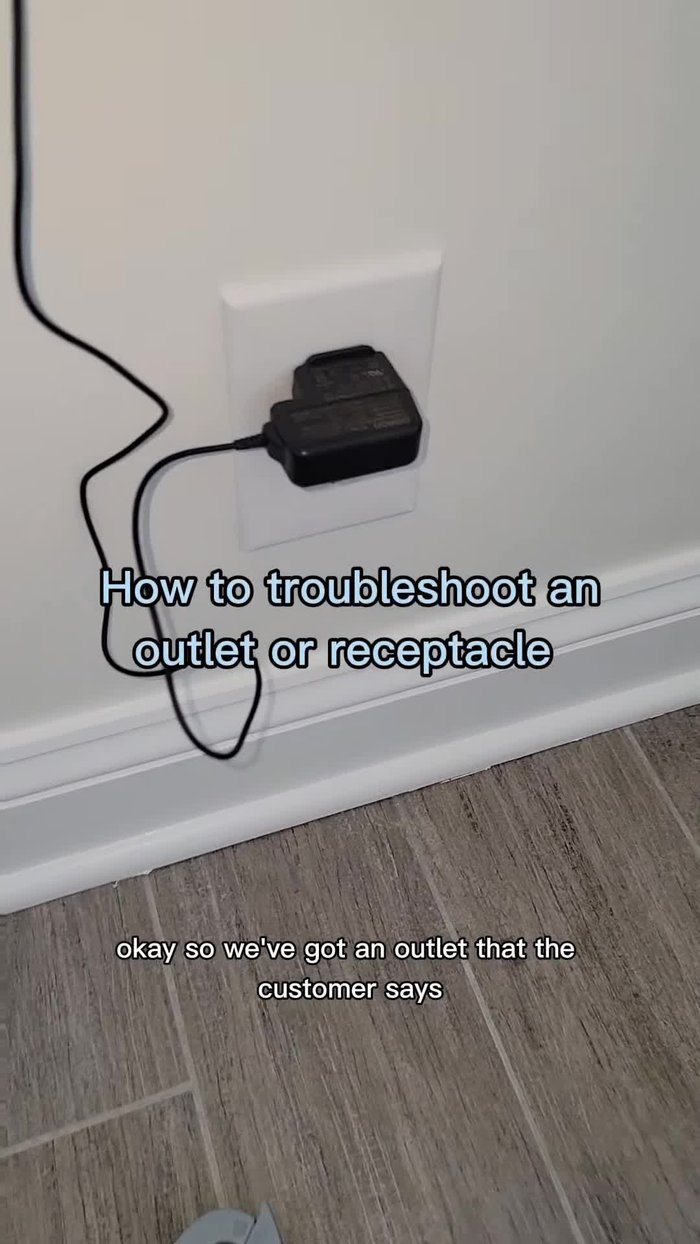
A dead electrical outlet is a frustrating inconvenience, transforming a simple task into a potentially hazardous situation. Whether it's a lamp refusing to light, a phone failing to charge, or a vital appliance suddenly becoming useless, a non-functioning outlet disrupts our daily lives and can point to a more serious underlying electrical problem. Understanding the cause of the malfunction is the first step towards a safe and effective repair, and thankfully, many issues can be resolved with basic troubleshooting techniques and readily available tools.
This article will guide you through a systematic approach to diagnosing and fixing a faulty outlet, empowering you to tackle this common household problem with confidence. From simple checks like testing the circuit breaker to more involved repairs, we'll provide a clear step-by-step process, ensuring you can get your outlet working again safely and efficiently. Let's get started!
Preparation and Safety Guidelines
- Voltage pen
- Multimeter
- Electrical tape
- Always turn off the power to the outlet at the breaker box before attempting any repairs. Failure to do so could result in serious injury or death.
- If you are not comfortable working with electricity, call a qualified electrician. Improper repairs can create fire hazards.
- Use appropriate tools for the job. Improper tools can damage the outlet or cause injury.
Step-by-Step Instructions
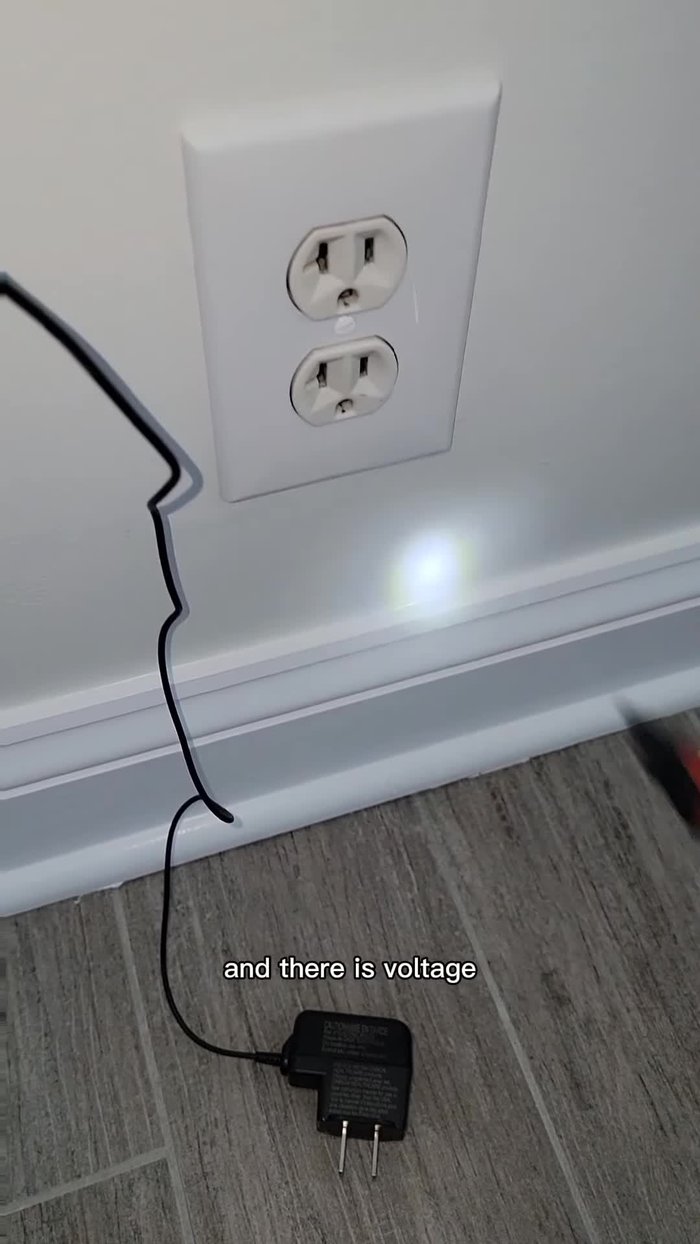
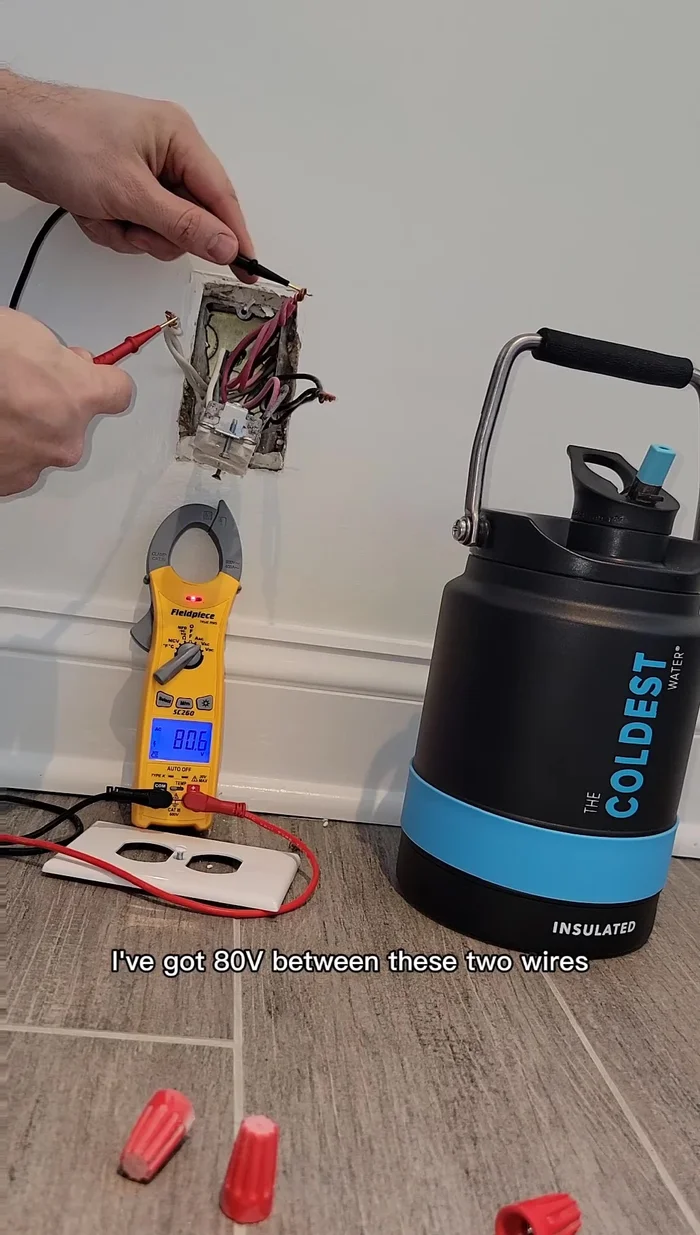
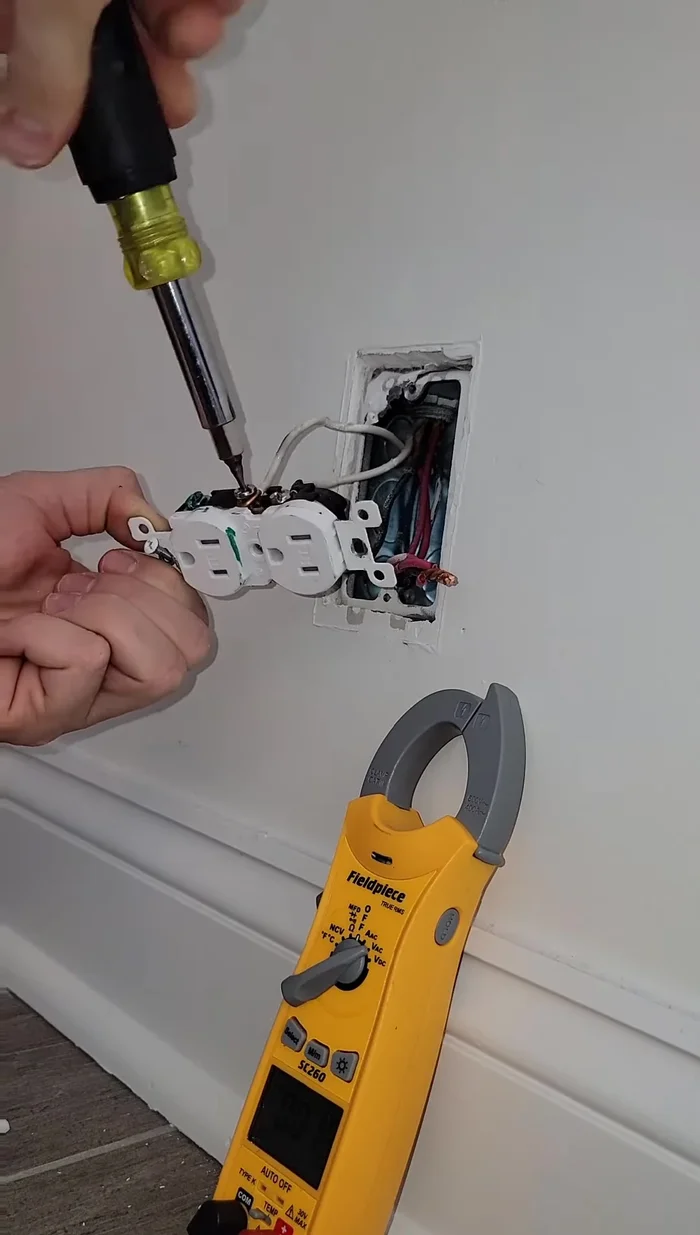
Initial Voltage Check
- Check for voltage using a voltage pen. Confirm presence of voltage.
- Use a multimeter to measure voltage at the outlet. Identify voltage discrepancies between wire pairs.

Initial Voltage Check Inspect Other Outlets
- Inspect other nearby outlets for loose or disconnected wires. The problem is often not isolated to the faulty outlet itself.
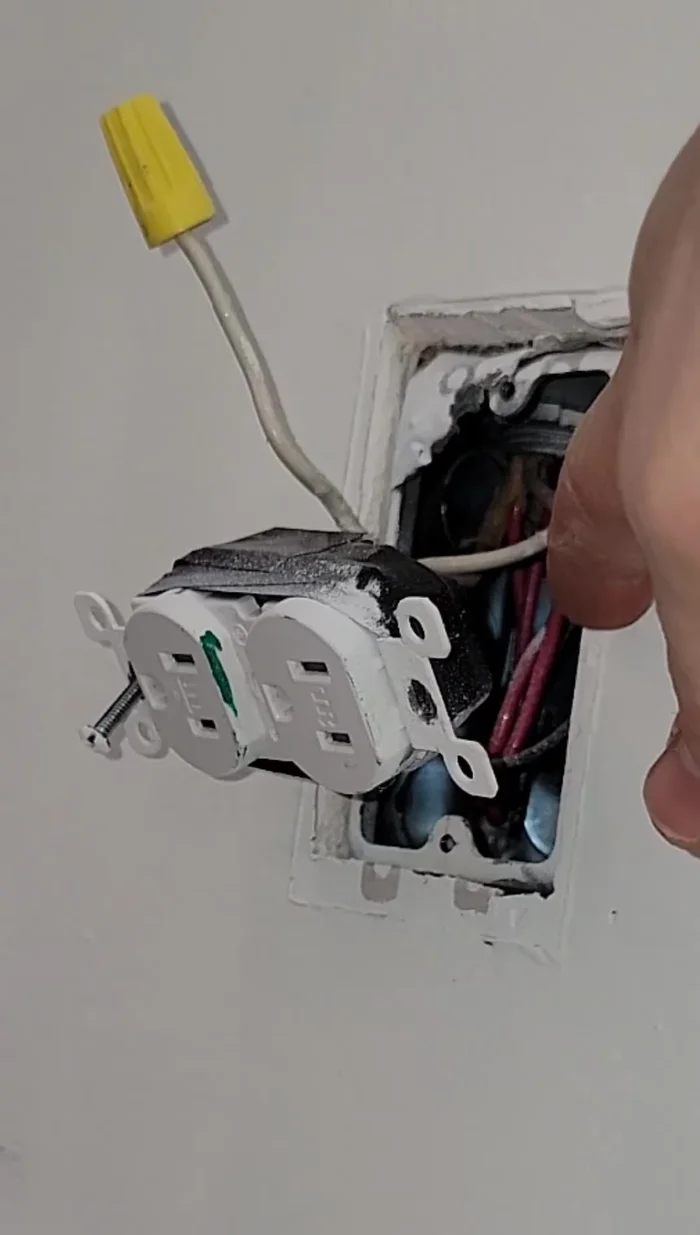
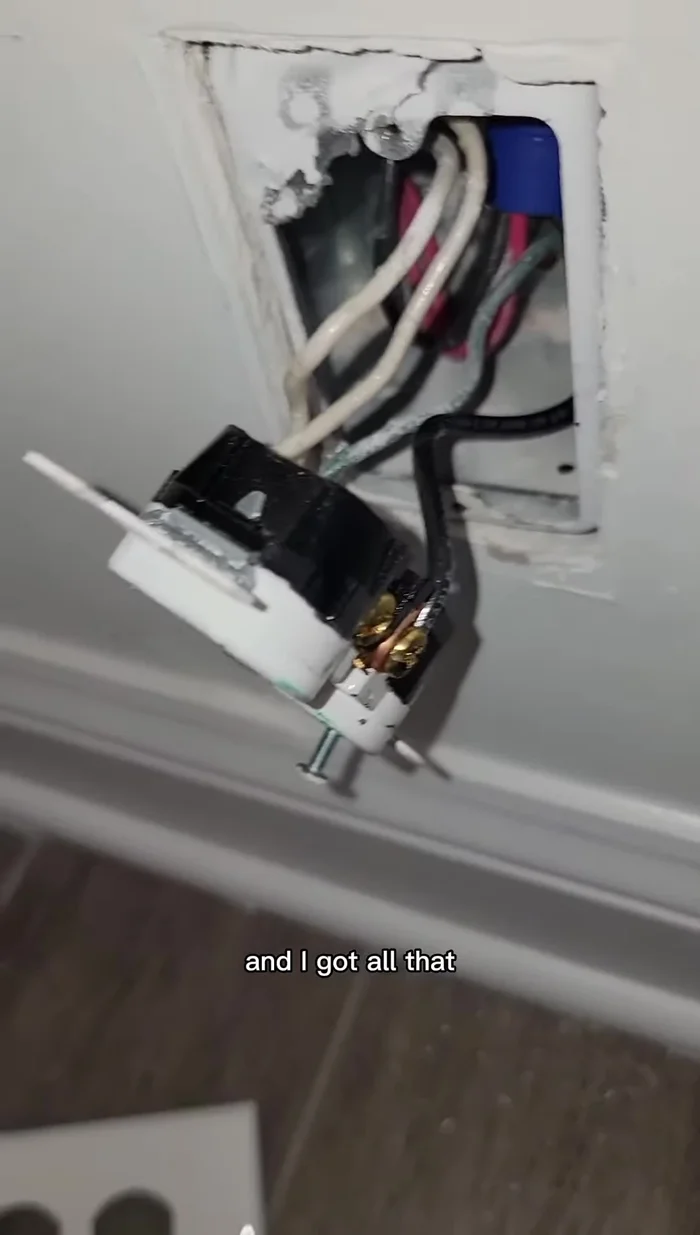
Inspect Other Outlets Locate and Repair Loose Wiring
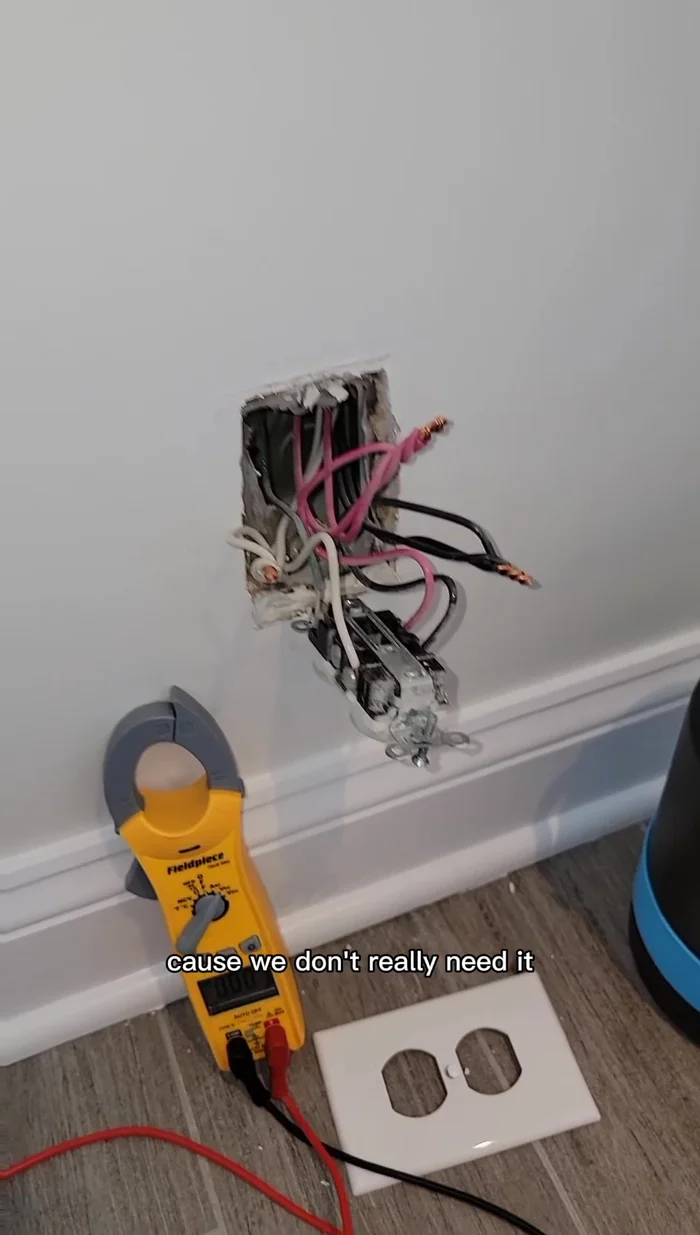
- Locate the source of the issue - a loose neutral wire and possibly a ground wire.
- Reconnect the neutral and ground wires. After reconnecting, recheck voltage at the faulty outlet using the multimeter.
Locate and Repair Loose Wiring Verify Power Restoration
- Verify power is restored to the outlet (120V reading on multimeter).
Verify Power Restoration Address Additional Wiring Issues
- Assess and address any additional wiring issues. In this case, the wiring was previously connected to a switch, requiring additional connections to properly energize the outlet.
Address Additional Wiring Issues Secure Wiring and Connections
- Secure all wiring connections. Use electrical tape to insulate and protect connections.
Secure Wiring and Connections Replace Outlet (Optional)
- Replace the outlet if necessary, ensuring proper connection of the black wire to the gold screw, white wire to the silver screw, and ground wire to the green screw.
Replace Outlet (Optional)


Read more: Installing an Outdoor GFCI Receptacle: A Step-by-Step Guide
Tips
- Always turn off the breaker before working with electrical wiring.
- Use caution when working with electricity. If you are not comfortable working with electrical wiring, seek professional assistance.