Is your favorite office chair suddenly immobile, thanks to a broken wheel? Don't rush to replace the entire chair – a simple, inexpensive fix might be just around the corner! A wobbly, cracked, or completely detached wheel can be incredibly frustrating, interrupting workflow and causing unnecessary back strain. But before you resign yourself to a costly replacement, consider this surprisingly effective DIY repair using common household items: baking soda and super glue. This surprisingly resilient combination can provide a surprisingly strong bond, potentially saving you both time and money.
This quick and easy method requires minimal tools and materials, making it perfect for even the most novice DIY enthusiasts. Forget expensive repair services or frustrating trips to the hardware store – let's dive into the step-by-step process and get your chair rolling again!
Preparation and Safety Guidelines
- Vintage wooden office chair with broken wheel
- Cotton
- Super glue
- Baking soda
- Masking tape
- Straw
- Toothpick
- Metal file
- Nail file
- Sandpaper
- Super glue is a strong adhesive and can cause skin irritation or bonding to skin. Wear gloves and work in a well-ventilated area. Avoid contact with eyes.
- Baking soda can be messy. Protect your work surface with newspaper or a drop cloth.
- This repair is a temporary fix. The repaired wheel might not be as durable as a new one and may require replacement eventually.
Step-by-Step Instructions
Initial Wheel Shaping
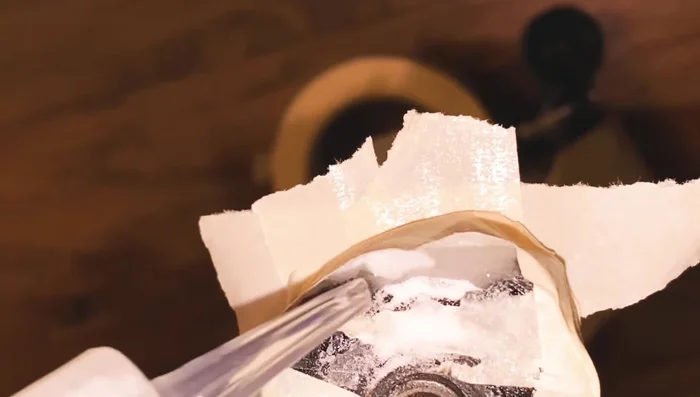
- Prepare masking tape forms to create the basic shape of the wheel.
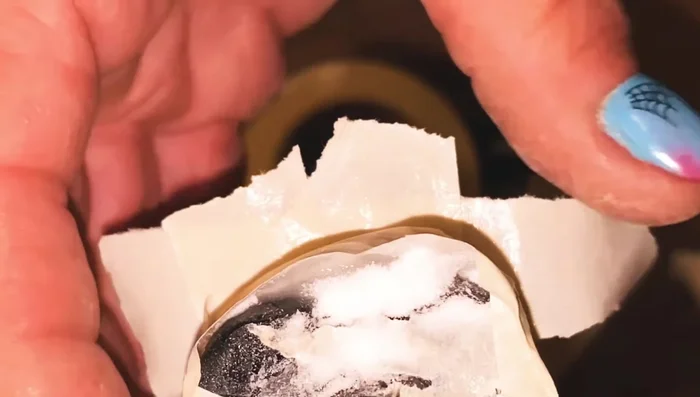
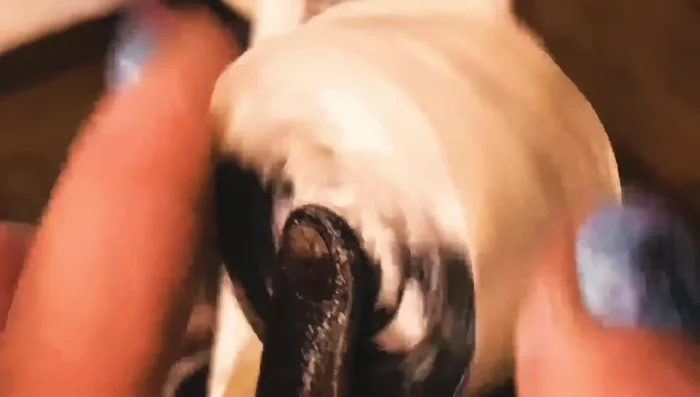
- Apply small layers of baking soda and glue, allowing each layer to dry before adding the next.
- Use a straw to pour baking soda into small crevices.
- Tap between layers to distribute baking soda before adding glue.

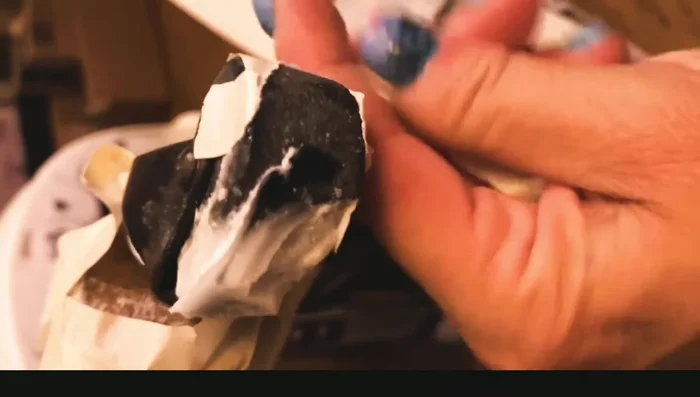
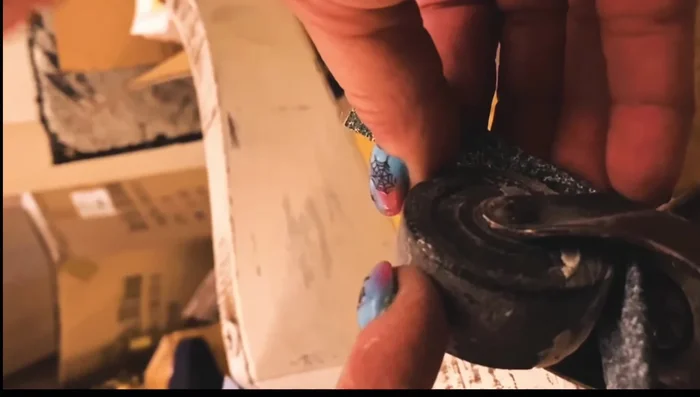
Initial Wheel Shaping - Remove masking tape once the initial shape is formed.
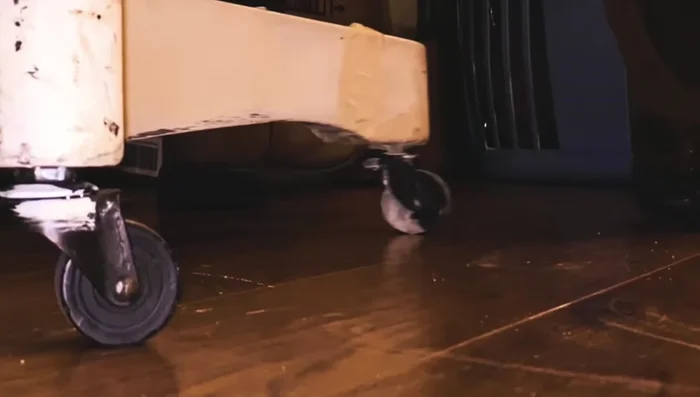
- Spin the wheel regularly to ensure it fits and spins freely.
Initial Wheel Shaping Surface Refinement
- Use a toothpick to level off lumps near the outer edge.
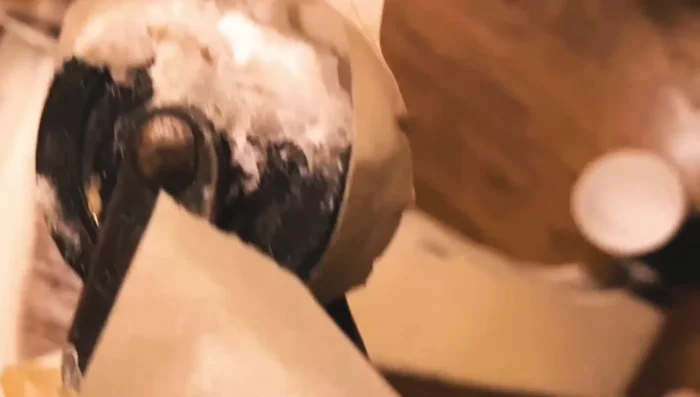
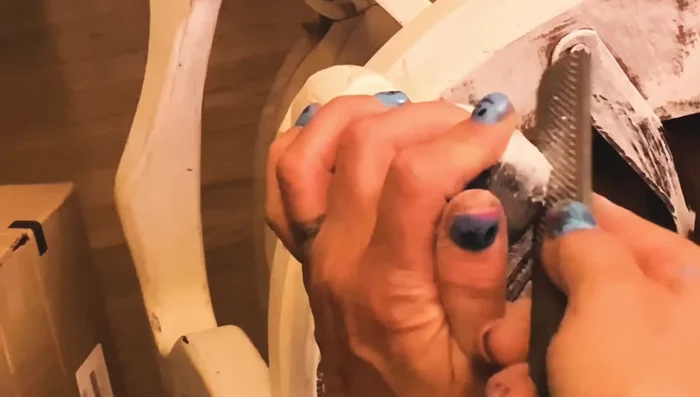
- Use a metal file and nail file to refine the shape, removing excess material and smoothing the surface.
Surface Refinement Final Shaping and Testing
- Test the wheel regularly to check for smoothness and identify areas that need further attention.
- Use sandpaper (with help from another person) to quickly achieve a more rounded shape.
Final Shaping and Testing


Read more: Silence that Squeaky Bed: A Complete Fix-It Guide
Tips
- Using a thicker viscosity super glue provides better control.
- Working in small layers of baking soda prevents pits and holes from forming.
- Tapping between layers helps distribute the baking soda and fill voids.