Need a consistently powered outlet and a bright ceiling light, but don't want to spend hours wrestling with wiring? Many homes have switched outlets that aren't ideal for devices needing constant power, while adding a ceiling fixture can seem like a daunting electrical project. This often leads homeowners to settle for less-than-ideal solutions. But what if you could upgrade your switched outlet to always-on status and install a new ceiling light quickly and efficiently? It's more achievable than you might think!
This guide outlines the fastest method to accomplish this double upgrade, focusing on minimizing complexity and maximizing speed. We'll walk you through the steps, covering essential safety precautions and providing clear instructions to get your project done in a fraction of the time traditional methods would require. Let's dive into the step-by-step process and illuminate your space!
Preparation and Safety Guidelines
- Voltage Tester (Non-Contact & Contact)
- Screwdrivers (Robertson, Phillips, or Flathead)
- Wire Strippers
- Drywall Saw
- Stud Finder or Magnet
- Drill with Extension Bit & Spade Bit (7/8" recommended)
- Fish Tape or Metal Coat Hanger
- Electrical Tape
- Wire Connectors
- Outlet Box(es) (Old Work, Standard Metal Octagon, Pancake)
- New Receptacle
- Ceiling Light Fixture
- Always switch off the power at the breaker box before working with any electrical wiring. Failure to do so can result in serious injury or death.
- If you are not comfortable working with electricity, hire a qualified electrician. Improper wiring can lead to fire hazards and electrical shocks.
- Ensure you understand the wiring in your existing outlet and ceiling light fixture before making any modifications. Incorrect wiring can damage appliances or cause electrical fires.
Step-by-Step Instructions
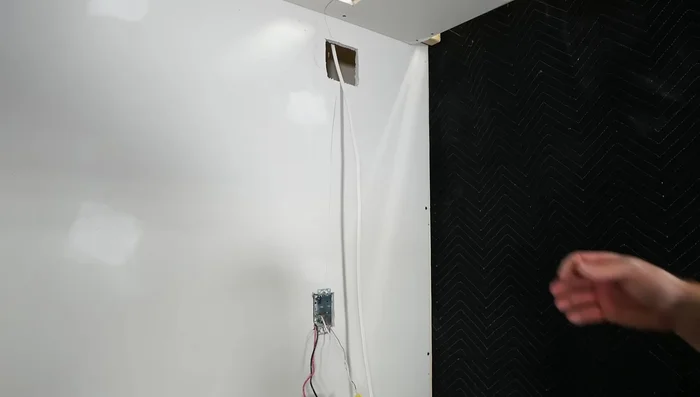
Prepare the Outlet
- Identify the switched outlet's hot wire.
- Turn off power at the breaker.
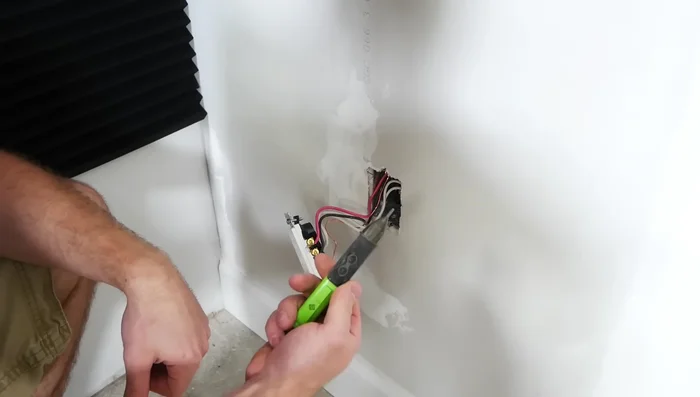
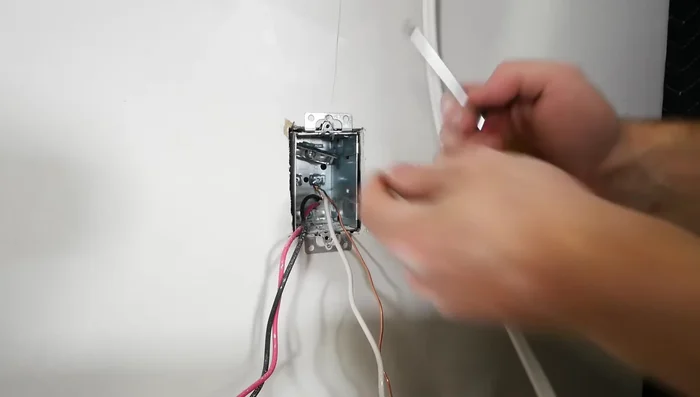
- Remove the outlet cover plate and receptacle.
- Verify power is off using a non-contact voltage tester.

Prepare the Outlet - Inspect the wiring (identify hot, neutral, ground, switched hot).
Prepare the Outlet Plan and Prepare for Light Installation
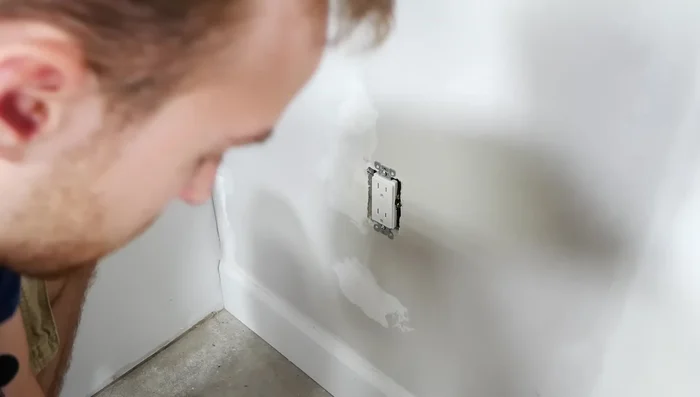
- Locate ceiling joists using a stud finder.
- Mark ceiling for light fixture location, considering joist placement. Choose the appropriate box (old work, standard, pancake) based on joist proximity.
Install the Junction Box
- Cut the hole for the junction box, avoiding joists.
- Install the junction box securely to the joists or drywall.
Run Wiring to Junction Box
- If attic access is available, carefully drill a hole through the ceiling into the attic space above the switch box location. Run wiring from the attic to the new light fixture box.
- If no attic access, carefully drill holes through the wall between the switch box and new light fixture location (avoiding obstructions). Use fish tape to pull the wire through.
Wire the Light Fixture and Switch
- Connect the new light fixture wiring in the ceiling junction box.
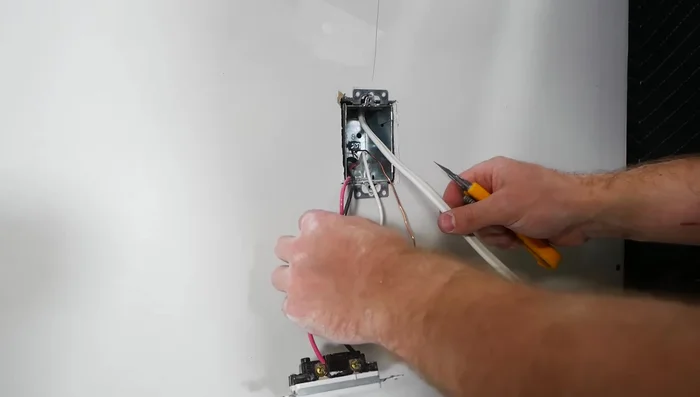
- Remove the knockout from the junction box and fish the wire through to the switch box.
- Connect the wires in the switch box (new light fixture wire to the switched hot, neutrals together, grounds together).
Wire the Light Fixture and Switch Upgrade the Outlet and Finalize
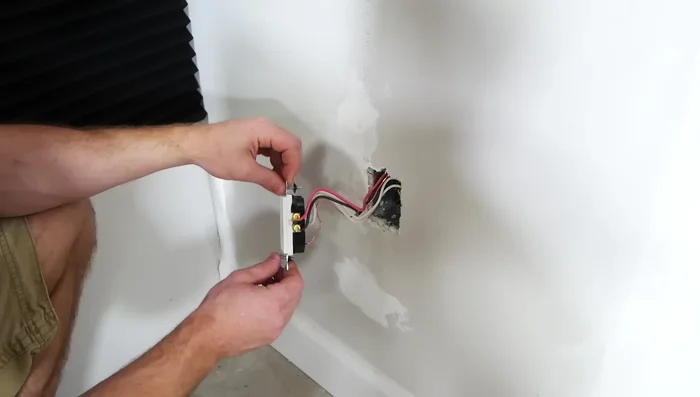
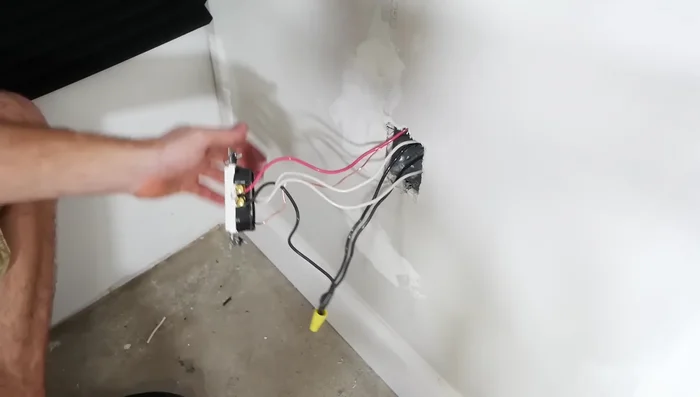
- Replace the outlet receptacle (either replace with a new one or rewire the existing one to have always-on power on both outlets).
- Restore power and test the new light and outlet.
Upgrade the Outlet and Finalize

Read more: Installing an Outdoor GFCI Receptacle: A Step-by-Step Guide
Tips
- Always test for voltage before working with wiring.
- Use appropriate safety precautions when working with electricity.
- Consider using a fish tape to pull wires through walls and joists.
- Ensure proper grounding of all electrical components.
- Neatly organize wires in the junction boxes to make future maintenance easier.