A beautiful patio is an extension of your home, a space for relaxation and entertainment. However, loose patio tiles can quickly mar this idyllic setting, posing tripping hazards and detracting from the overall aesthetic appeal. Shifting or unstable tiles are more than just an eyesore; they signal underlying structural issues that require prompt attention. Ignoring the problem can lead to further damage and costly repairs down the line. Fortunately, there's a highly effective method for restoring your patio to its former glory: the professional prime and slurry technique. This reliable method, often favored by experienced landscapers, offers a durable and long-lasting solution.
This article provides a comprehensive, step-by-step guide to repairing loose patio tiles using the prime and slurry method, ensuring a robust and aesthetically pleasing result. We will walk you through each stage, from preparing the area and selecting the right materials to applying the slurry and allowing adequate curing time, providing you with the knowledge and confidence to tackle this project yourself.
Preparation and Safety Guidelines
- Professional Prime & Slurry (from PVE tff)
- Disc cutter
- Scraper
- Hose
- Always wear appropriate safety gear, including safety glasses, gloves, and a dust mask, to protect yourself from dust, debris, and chemical splashes.
- Work in a well-ventilated area to avoid inhaling fumes from the primer and slurry. Consider using a respirator for enhanced protection.
- Ensure the area is clear of any obstructions before starting work to prevent tripping or accidents. Be mindful of sharp edges on broken tiles.
Step-by-Step Instructions
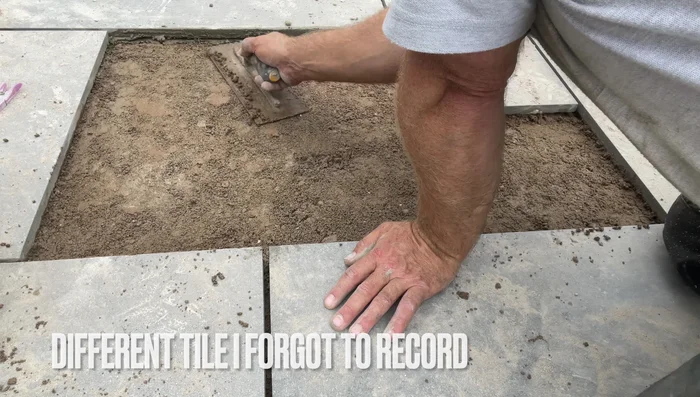
Assessment and Preparation
- Identify and assess loose tiles. Note any underlying issues like ant infestations.
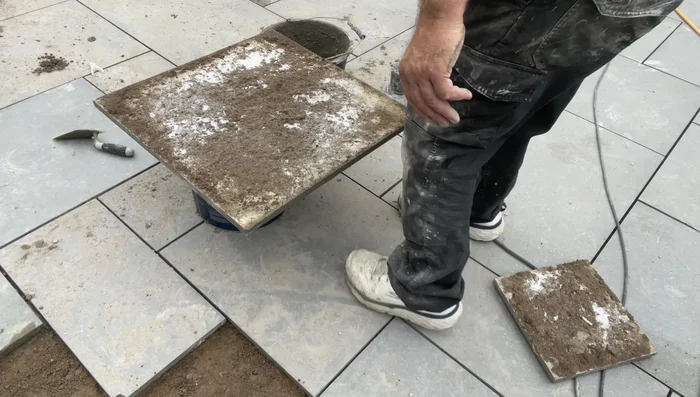
- Carefully lift loose tiles using a least destructive method. Mark the tile's original position to ensure accurate replacement.

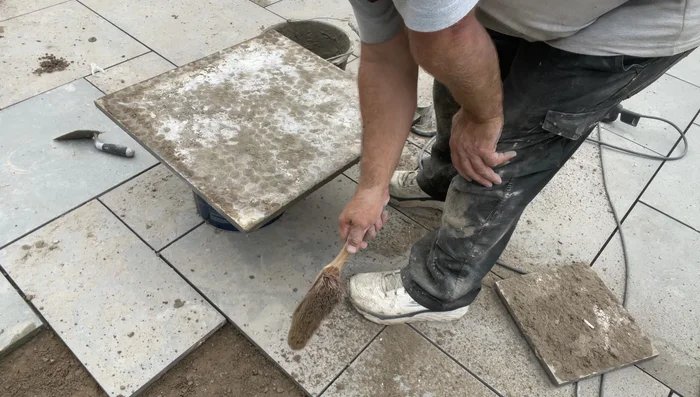
Assessment and Preparation Tile and Surface Cleaning
- Clean the underside of the tile and the surrounding cement area, removing excess dried cement and debris.
Tile and Surface Cleaning Surface Leveling
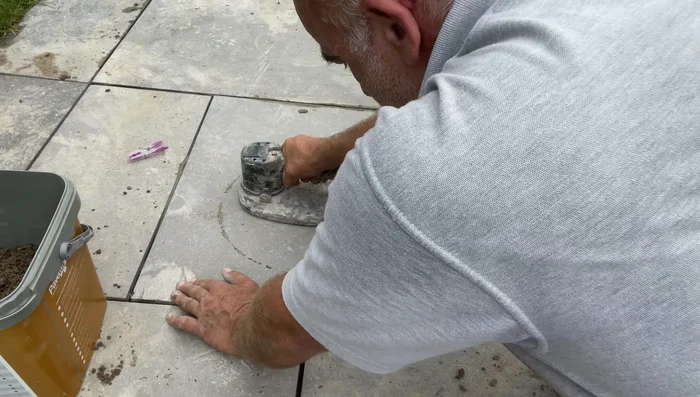
- Use a disc cutter to grind down any uneven areas on the back of the tile to create a flat surface for better adhesion.
Surface Leveling Primer and Slurry Application
- Apply a generous amount of professional prime and slurry to the back of the tile, ensuring a thick coat (approximately 2mm).
Primer and Slurry Application Tile Replacement and Setting
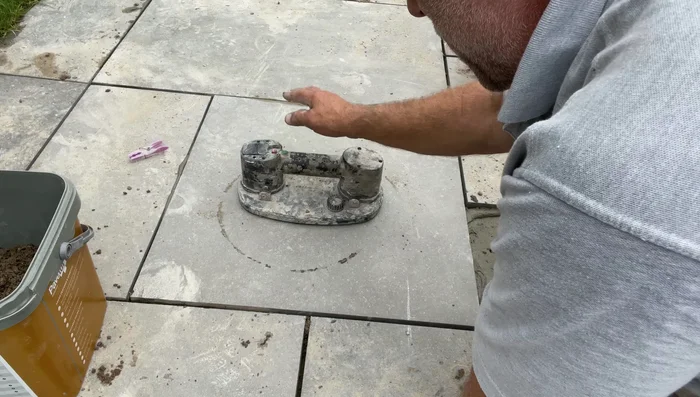
- Carefully place the tile back into its original position, ensuring proper alignment with the markings.
- Firmly press the tile into place, using a rubbing motion to ensure good contact with the cement.
Tile Replacement and Setting Clean Up
- Clean excess primer and slurry from the joints using a hose.

Read more: Fixing Drywall Nail Pops: A Quick and Easy DIY Guide
Tips
- Apply a generous amount of primer (2mm thick) for optimal adhesion to the cement.
- Avoid brushing or rolling the primer; instead, apply it thickly and directly.
- Mark the tile's original position before removal to ensure accurate replacement.