Cracks, holes, and water stains—plaster ceilings are prone to damage, often leaving homeowners feeling frustrated and overwhelmed. A sagging ceiling can not only detract from the aesthetic appeal of a room but also pose a potential safety hazard. Fortunately, repairing minor plaster ceiling damage is a manageable DIY project, even for those with limited experience in home repair. Many seemingly significant imperfections can be easily addressed with readily available materials and a little patience. This isn't about undertaking a full ceiling replacement; instead, we focus on practical solutions for common problems.
This guide offers a clear, comprehensive, and step-by-step approach to tackling those annoying ceiling blemishes. From identifying the damage and gathering the necessary tools to applying the final finishing touches, we'll walk you through the entire process, empowering you to restore your ceiling to its former glory. Let's get started with the first step in this DIY plaster ceiling repair journey!
Preparation and Safety Guidelines
- Plaster Magic Conditioner
- Plaster Magic Adhesive
- Plaster Washers
- Screws
- Drill
- Putty Knife
- Rags
- Drop Cloth
- Sponge
- Patching Plaster
- Water
- Always wear appropriate safety gear, including eye protection, a dust mask, and gloves. Plaster dust is harmful if inhaled.
- Before starting any repairs, turn off the power to any nearby electrical fixtures or wiring to prevent electrocution.
- If the damaged area is extensive or you're uncomfortable working at heights, consult a professional plasterer. Improper repair can lead to further damage or structural issues.
Step-by-Step Instructions
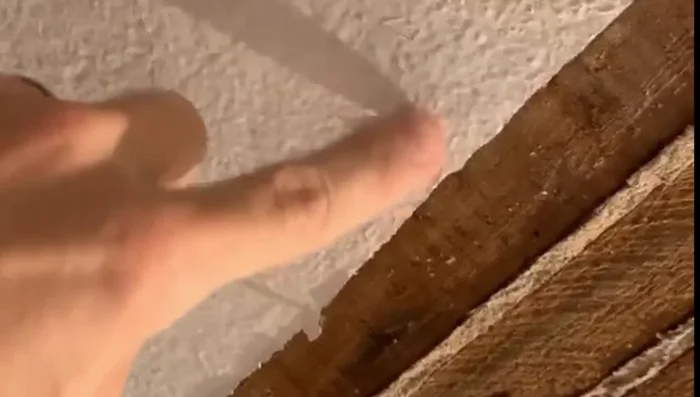
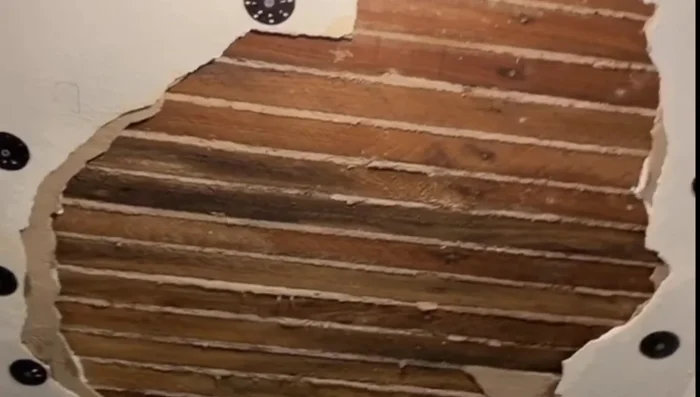
Prepare the Damaged Area
- Peel off loose plaster and drill holes.

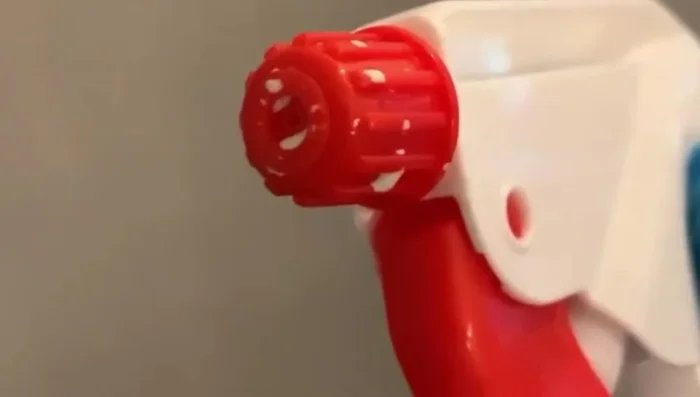
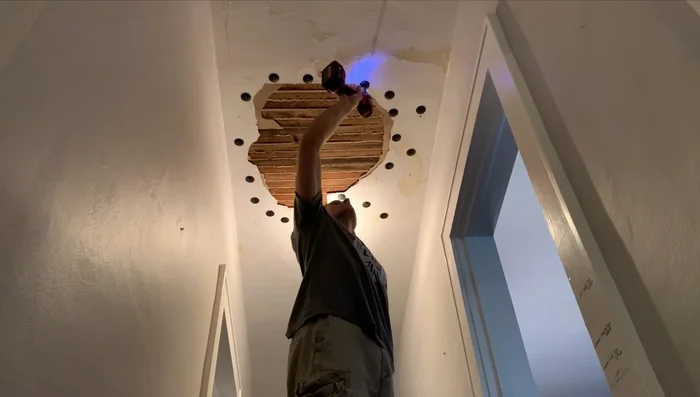
Prepare the Damaged Area Apply Conditioner
- Spray Plaster Magic Conditioner into each hole. Use a stream, not a spray, and get at least one or two good tugs out of it.
- Let the conditioner set for about 10 minutes.
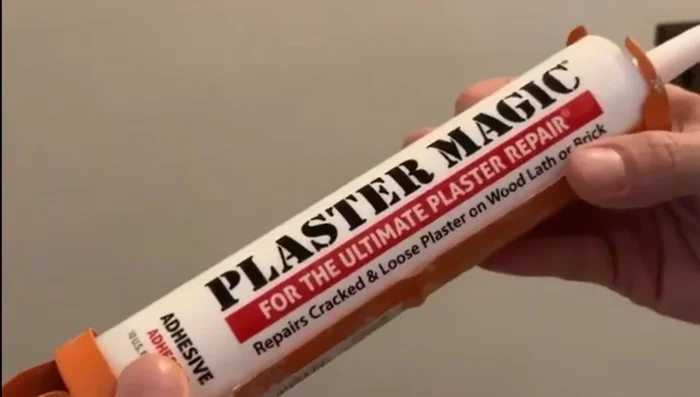
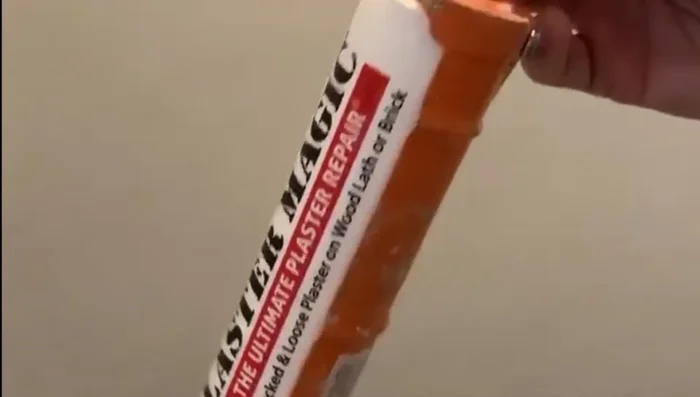
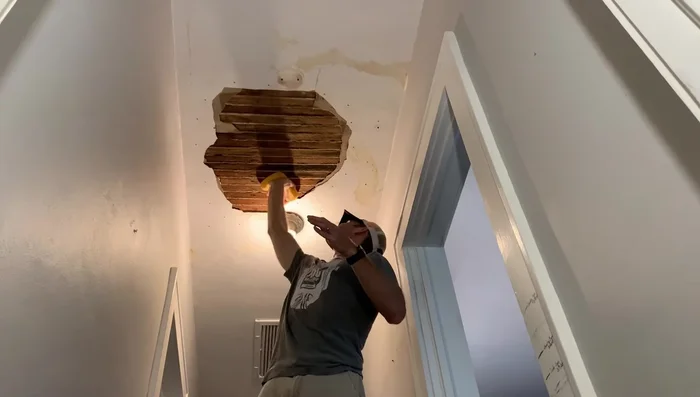
Apply Conditioner Apply Adhesive
- Inject Plaster Magic Adhesive into each hole using a fine-tipped nozzle.
Apply Adhesive Secure with Washers and Screws
- Insert plaster washers and screws into the holes to hold everything tight.
- Let it dry for 24-48 hours.
Secure with Washers and Screws Remove Fasteners and Excess Adhesive
- Remove screws and plaster washers. Scrape off excess adhesive.
Remove Fasteners and Excess Adhesive Prepare for Patching
- Pre-wet the lath to prevent it from sucking moisture from the patching plaster.
Prepare for Patching Apply Patching Plaster
- Apply a thick layer of patching plaster, matching the texture of the surrounding area and blending the edges.
- Let the patching plaster dry overnight until it turns white.
Apply Patching Plaster Finish the Repair
- Prime and paint the repaired area.
Finish the Repair


Read more: Fixing Drywall Nail Pops: A Quick and Easy DIY Guide
Tips
- Have rags handy to clean up spills, as the conditioner and adhesive can splatter.
- Use a drop cloth to protect your floor.
- For patching onto lath, use a thick texture of patching plaster (like thick peanut butter) to ensure proper adhesion.
- Match textures and blend edges for a seamless repair.