Achieving a truly flawless paint job hinges on meticulous preparation, and that’s where power sanding comes in. Forget tedious hand-sanding and the resulting uneven surfaces; embrace the efficiency and precision of power sanding for a professional-looking finish that will transform your walls. This game-changing technique allows you to effortlessly smooth out imperfections, remove old paint, and create the perfect canvas for your chosen color, resulting in a stunning and long-lasting remodel. Power sanding isn't just faster; it delivers superior results that significantly improve the final aesthetic and durability of your paintwork.
This article will guide you through a step-by-step process of power sanding your walls, providing tips and tricks to ensure a successful and safe experience. From choosing the right tool and sandpaper grit to mastering sanding techniques and safety precautions, we'll cover everything you need to know to remodel your walls like a seasoned professional. Get ready to unleash the power of sanding and achieve the flawless paint job you've always dreamed of.
Preparation and Safety Guidelines
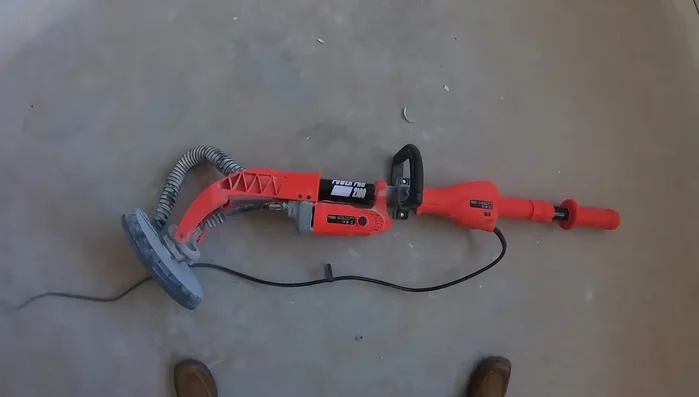
- Power Sander (e.g., Power Pro 2100)
- 60 grit sandpaper
- Pole sander (optional)
- Painters caulk
- Bright light
- Fine grit sandpaper
- Sprayer (optional)
- Roller (optional)
- Broom
- Always wear a respirator: Power sanding generates significant dust, which can be harmful to your lungs. A properly fitted respirator is essential.
- Protect your eyes and ears: Wear safety glasses or goggles to prevent dust and debris from entering your eyes. Ear protection is also crucial to prevent hearing damage from the noise.
- Control the dust: Use a shop vacuum with a dust collection attachment to minimize airborne dust. Consider using a dust containment system for larger projects.
Step-by-Step Instructions
Power Sanding
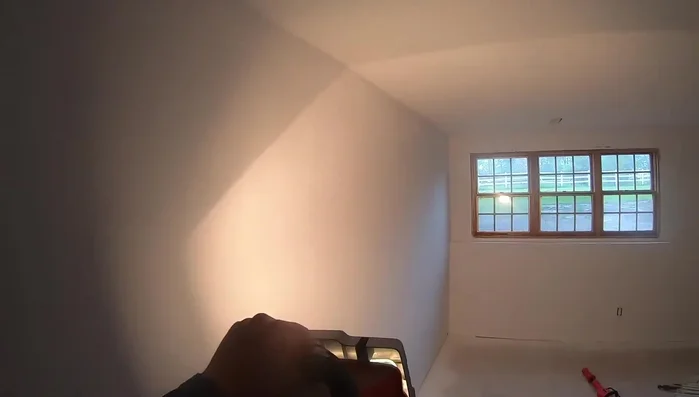
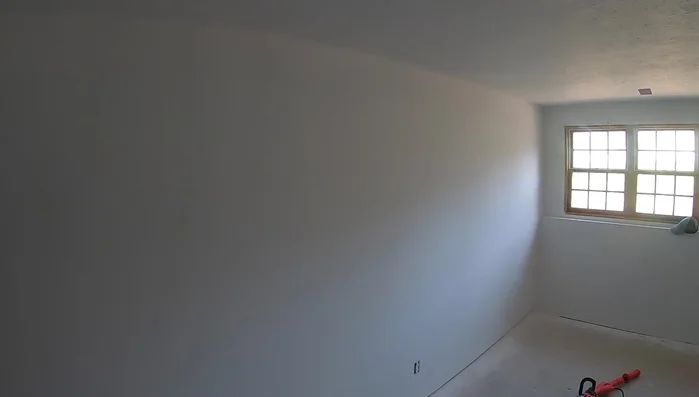
- Power sand the walls to remove imperfections. This is crucial if the walls have already been painted, as paint is difficult to sand by hand.

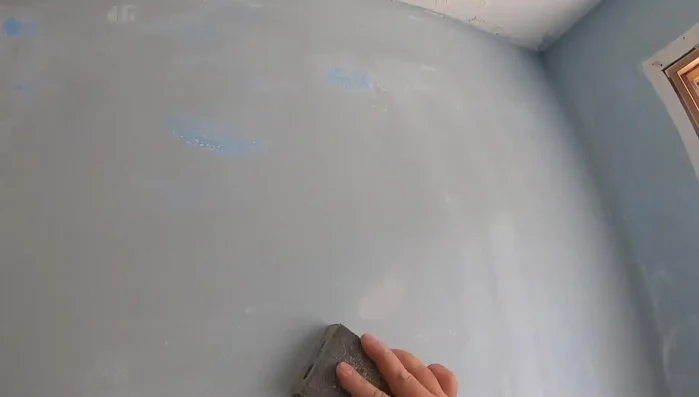
Power Sanding Fill and Sand Imperfections
- Fill any remaining holes with spackle and let it dry.
- Sand the filled holes smooth.
Fill and Sand Imperfections Clean Up
- Sweep the walls to remove dust.
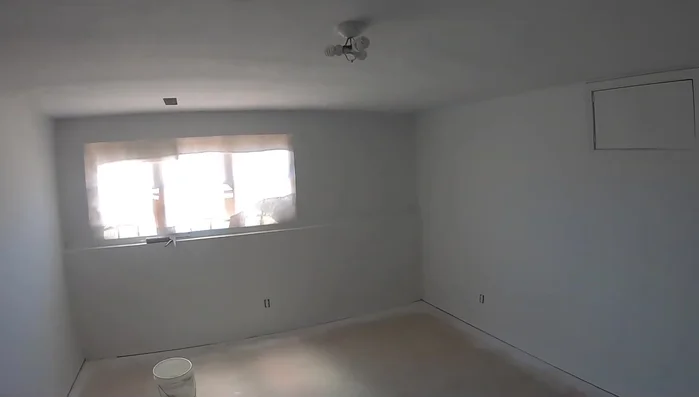
Clean Up Prime the Walls
- Prime the walls. A sprayer is faster, but a roller works fine.
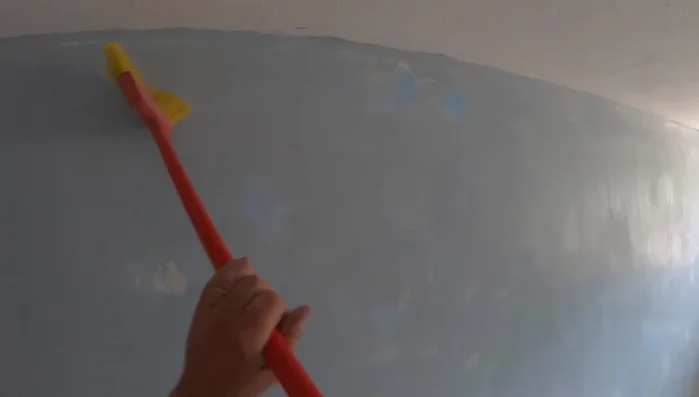
Prime the Walls Caulk and Smooth
- Caulk all corners and along the ceiling for a smooth transition.
Caulk and Smooth Paint the Ceiling (Optional)
- Paint the ceiling (optional).
Paint the Ceiling (Optional) Final Inspection and Repair
- Use a bright light to check for remaining imperfections and fill them with spackle.
Final Inspection and Repair Final Sanding
- Sand the walls again with fine-grit sandpaper to achieve a super smooth finish.
Final Sanding Paint the Walls
- Paint the walls your desired color.
Paint the Walls


Read more: Fixing Drywall Nail Pops: A Quick and Easy DIY Guide
Tips
- For painted walls, a power sander drastically reduces sanding time.
- Use a bright light to easily spot imperfections before final sanding.