Recessed lighting, also known as can lights, offers a sleek and modern aesthetic, significantly enhancing any room's ambiance. They provide focused illumination, perfect for highlighting specific areas or creating a warm, inviting glow throughout a space. However, the installation process can seem daunting to the average homeowner, often filled with confusing jargon and complicated steps. But what if we told you installing recessed lights could be surprisingly fast and easy? Forget hours of frustrating work and complicated wiring diagrams.
This guide simplifies the entire process, focusing on the quickest and most straightforward method for achieving professional-looking results. We'll walk you through each step with clear instructions and helpful tips, minimizing the hassle and maximizing your success. Ready to upgrade your home's lighting with minimal effort? Let's dive into the step-by-step installation process now.
Preparation and Safety Guidelines
- Recessed lights (4-inch LED lights recommended)
- 12-2 Romex cable
- Wire connectors
- Plastic connectors
- Junction box (if needed)
- Stud finder or coat hanger
- 4 1/2-inch hole saw
- Flathead screwdriver
- Razor blade
- Needle-nose pliers (optional)
- Wire strippers
- Always turn off the power to the circuit at the breaker box before beginning any work. Failure to do so can result in serious injury or death.
- Wear appropriate safety glasses and gloves to protect yourself from debris and electrical hazards.
- Use a stud finder to locate ceiling joists before drilling. Attaching lights directly to joists is crucial for secure installation and prevents damage to the ceiling.
Step-by-Step Instructions
Planning and Preparation
- Plan light placement using free software to determine optimal spacing and avoid joists.
- Locate joists using a stud finder or coat hanger method (checking from the attic is ideal if accessible).
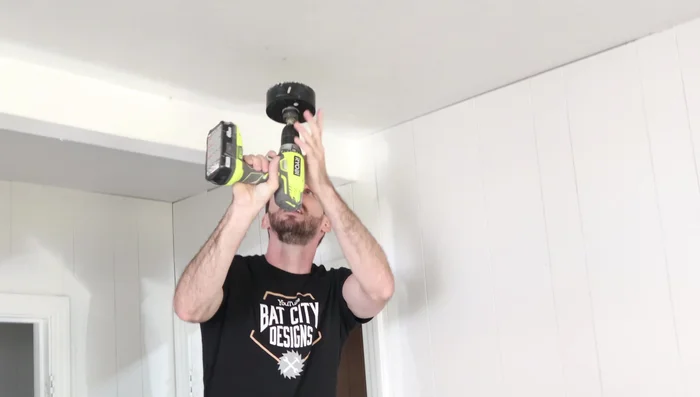
Cut Ceiling Holes
- Cut 4 1/2-inch holes in the ceiling using a hole saw at your marked locations.

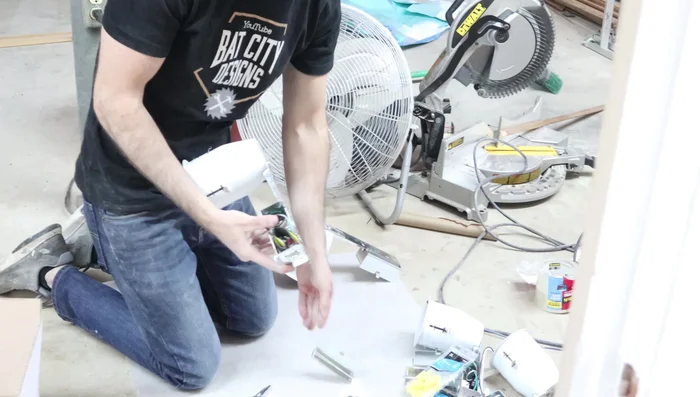
Cut Ceiling Holes Prepare Light Cans
- Prepare the light cans by removing extra insulation and punching out knockout holes (two for most cans, one for the last can).
- Install the plastic wire connectors in the knockout holes of the light cans.
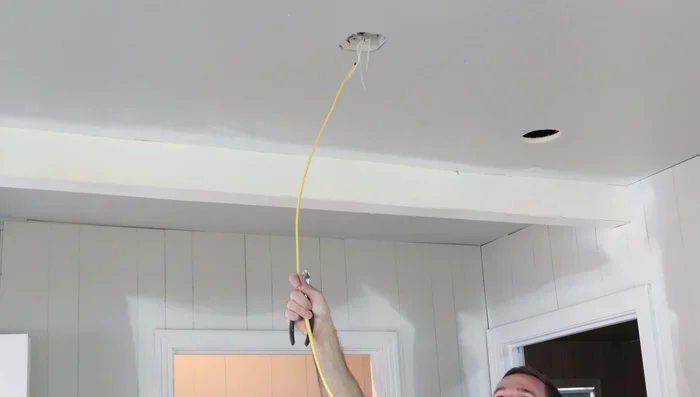
Prepare Light Cans Wire Installation
- Run the Romex cable from the power source, snaking it between the light can locations.
Wire Installation Safety First
- Turn off the power at the breaker before working with electrical wires.
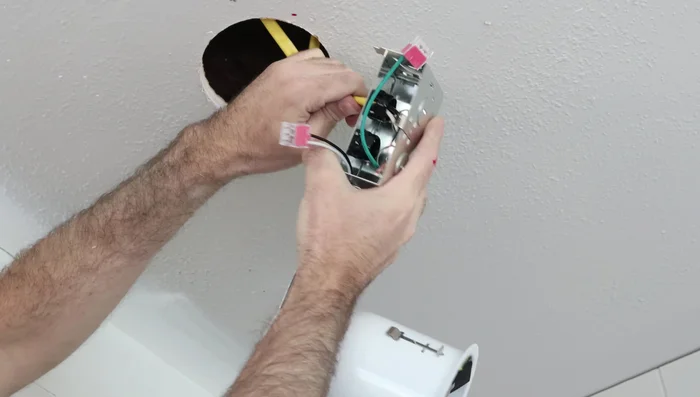
Wire Connections
- Strip the ends of the Romex cable and connect them to the corresponding wires in the light cans (black to black, white to white, ground to ground).
Wire Connections Test Wiring
- Test one light to ensure proper wiring before proceeding.
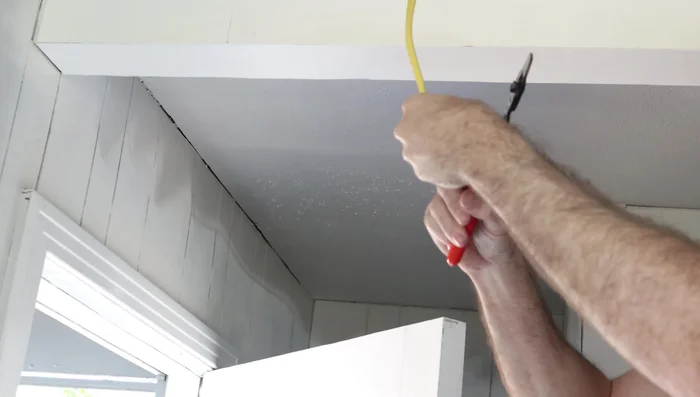
Cable Management
- Feed the cables through the wire connectors, ensuring a secure fit and a slight bend for strain relief.
Cable Management Final Wiring and Installation
- Connect the wires in each light can using wire nuts, making sure to tuck excess wire neatly into the can.
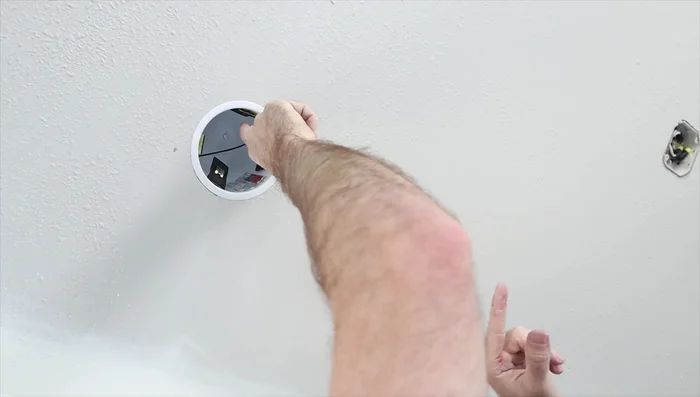
- Install the light cans in the ceiling holes, pushing the tabs upwards to secure them firmly.
Final Wiring and Installation Light Installation and Testing
- Connect the lights to the quick connectors and test each light.
Light Installation and Testing Finishing Touches
- Apply insulation strips to the edges of the light cans to further insulate against air leaks.


Read more: Installing an Outdoor GFCI Receptacle: A Step-by-Step Guide
Tips
- Use free software to plan light placement and avoid potential obstacles.
- Always turn off the power at the breaker before working with electrical wiring.
- Test a single light to ensure proper wiring before installing all the lights.
- Use insulation strips around the light cans to prevent air leakage.