Reclining chairs offer unparalleled comfort, but their intricate mechanisms are susceptible to damage, often resulting in a frustratingly bent or broken reclining function. A bent reclining mechanism can render your favorite chair unusable, leaving you stuck with an uncomfortable and potentially unsafe seat. This is especially true for those who rely on their recliner for mobility or support. Fortunately, many common reclining mechanism problems can be resolved with a few simple tools and a bit of patience. We understand the inconvenience and potential cost of replacement, which is why we've compiled this comprehensive guide.
This step-by-step guide will walk you through the process of diagnosing and repairing a bent reclining mechanism, empowering you to restore your chair to its former glory. From identifying the source of the bend to implementing effective repair techniques, we’ll cover everything you need to know to tackle this common problem successfully. Let's get started!
Preparation and Safety Guidelines
- Hammer (4-pound)
- Screwdrivers (Phillips head)
- 10mm bolts
- F-style clamp (optional)
- Extension (12 inch, optional)
- Always disconnect the power supply to the recliner before attempting any repairs. Electricity can cause serious injury.
- Wear appropriate safety glasses and gloves to protect yourself from sharp edges, springs, and other potential hazards.
- If you are unsure about any step of the repair process, consult a professional furniture repair technician. Improper repairs can worsen the damage or create new safety risks.
Step-by-Step Instructions
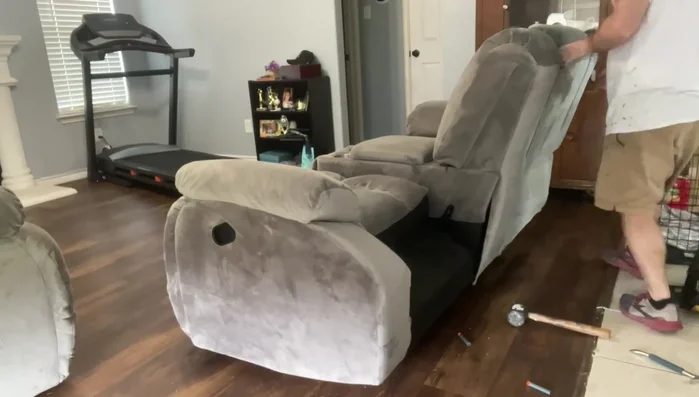
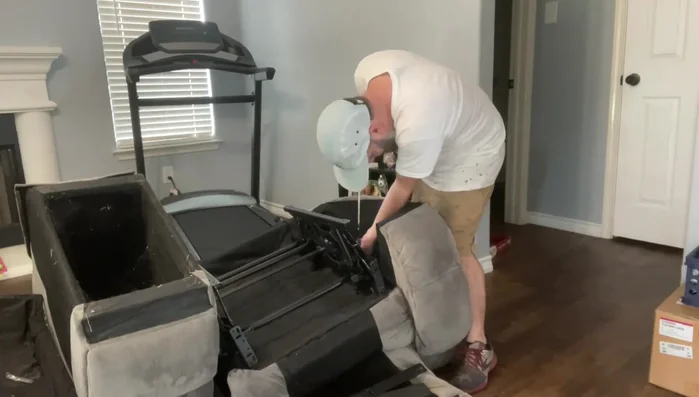
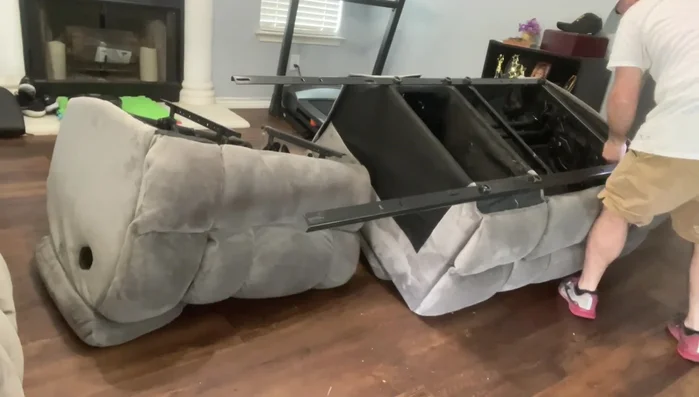
Prepare the Recliner
- Remove the backs from the base of the recliner.
- Flip the base over and remove the center part to access screws.
- Remove screws (typically 3-4 Phillips head screws on each side) securing the mechanism.

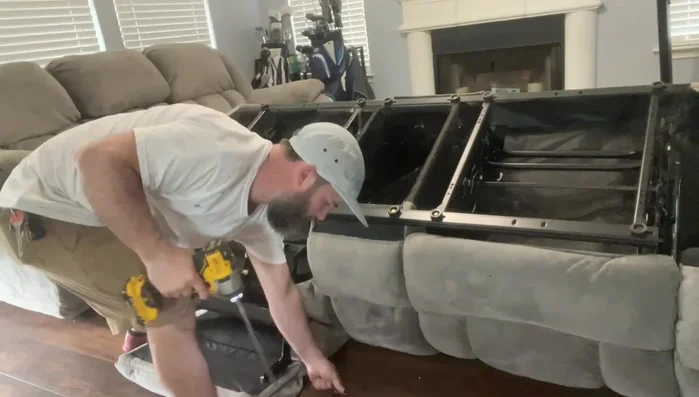
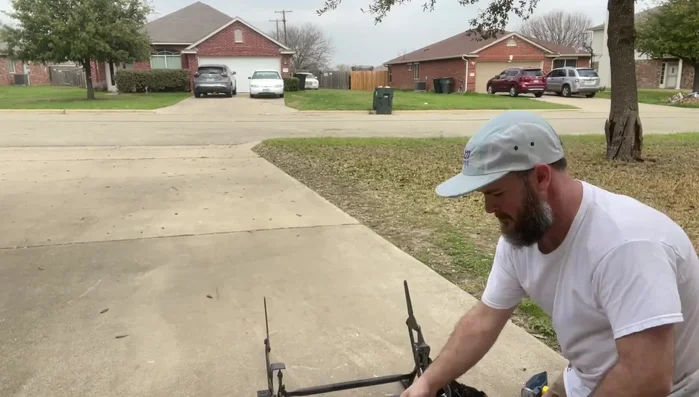
Prepare the Recliner Disassemble the Mechanism
- Remove the pull cable and retainer clip.
- Remove the footrest (usually using 10mm bolts).
- Disassemble the remaining parts of the mechanism to access the bent components.
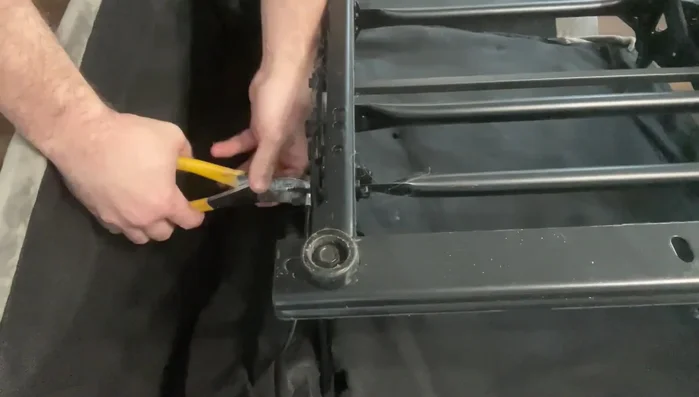
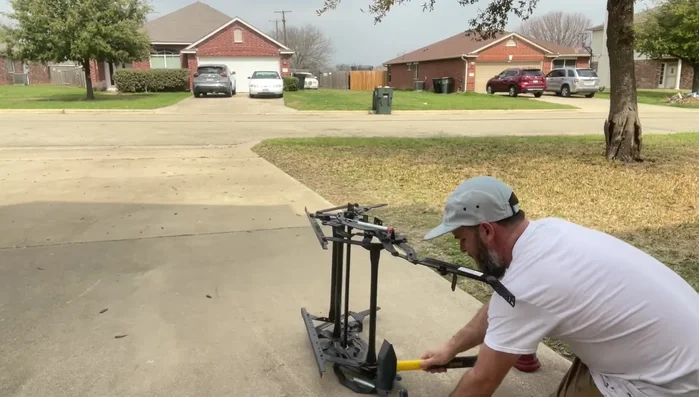
Disassemble the Mechanism Straighten the Bent Metal
- Lay the bent mechanism flat on a solid surface.
- Straighten the bent metal using a hammer, striking from both sides. An F-style clamp can assist.
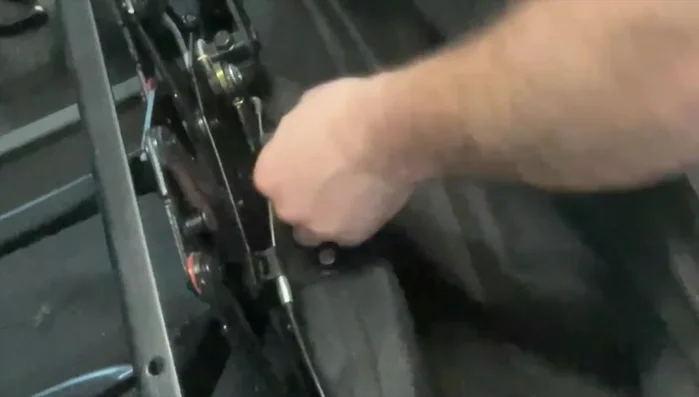
Straighten the Bent Metal Reassemble the Mechanism
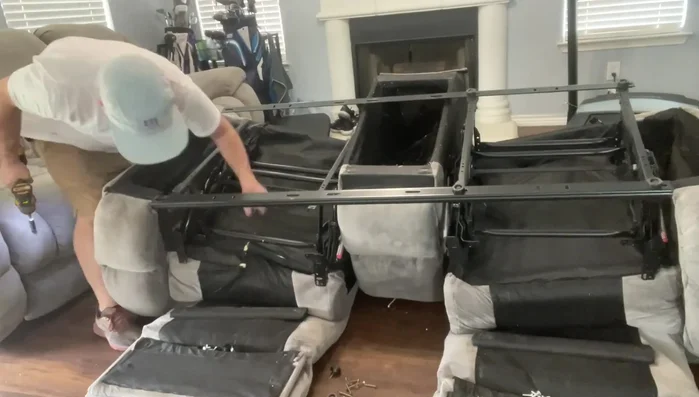
- Reassemble the mechanism, aligning holes and securing with screws. Partially tighten screws to allow adjustments.
- Reattach the footrest, pull cable, and retainer clip.
- Reinsert the lever activator.
- Secure the mechanism to the center console with wood screws.
Reassemble the Mechanism


Read more: Silence that Squeaky Bed: A Complete Fix-It Guide
Tips
- Take pictures as you disassemble to aid reassembly.
- Ensure the small 1x2 stabilizing piece above the footrest is reattached to prevent future bending.