Extension cords, those ubiquitous lifelines of modern convenience, are often subjected to harsh treatment, leading to fraying, cuts, and ultimately, damage. While discarding a broken cord seems like the easiest solution, it's often wasteful and unnecessary. Many damaged extension cords can be safely repaired and even repurposed, extending their lifespan and saving you money in the process. Improper repairs, however, can be extremely dangerous, leading to fire hazards and electrical shocks. Therefore, careful attention to safety protocols is crucial.
This guide provides a comprehensive, step-by-step approach to repairing and repurposing damaged extension cords, ensuring both safety and efficiency. We’ll cover everything from identifying safe repairs to creatively utilizing salvaged components in new projects. Following these detailed instructions will equip you with the knowledge to confidently tackle damaged cords and avoid potentially hazardous situations. Let's get started with the step-by-step process.
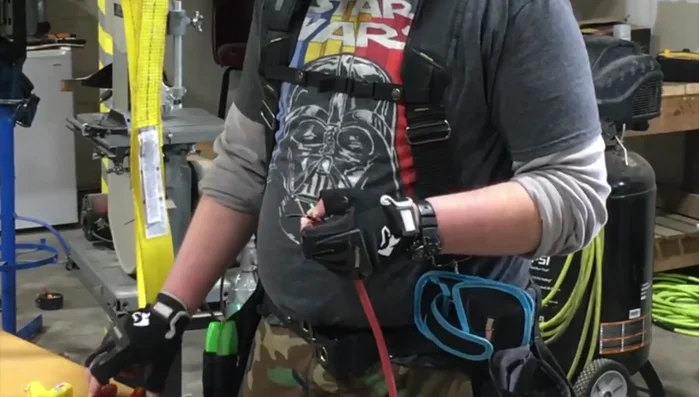
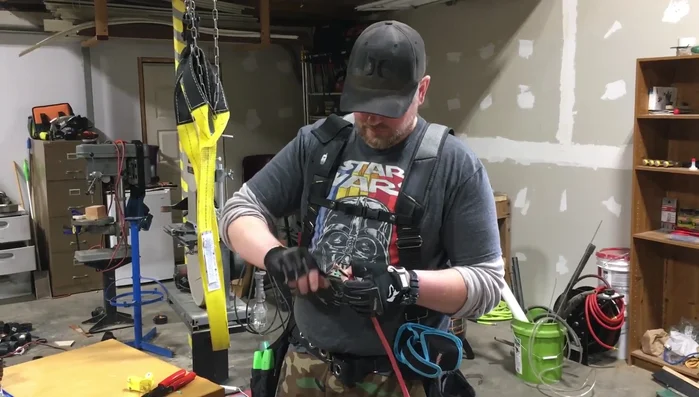
Preparation and Safety Guidelines
- Replacement plug (hinged style)
- Wire strippers
- Electrical tape
- Screwdrivers
- Heat shrink tubing (optional)
- Never attempt repairs if you are not comfortable working with electricity. Incorrect repairs can lead to electric shock, fire, or equipment damage.
- Always unplug the extension cord from both the outlet and the appliance before beginning any repairs. Never work on a live cord.
- If the cord's insulation is severely damaged, or the wires are exposed, the cord should be discarded and replaced. Repairing heavily damaged cords is unsafe.
Step-by-Step Instructions
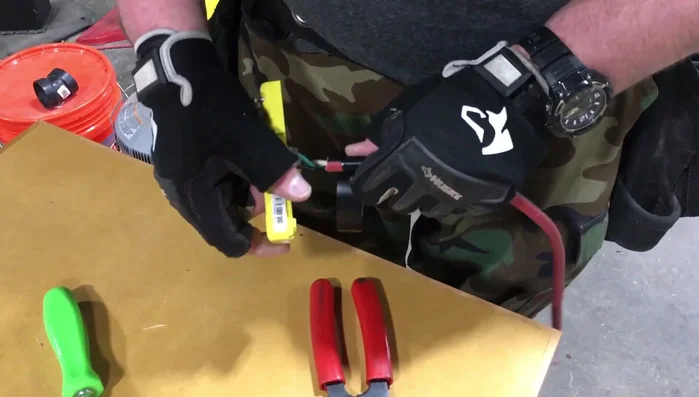
Untangle the Cord
- Untangle the extension cord.
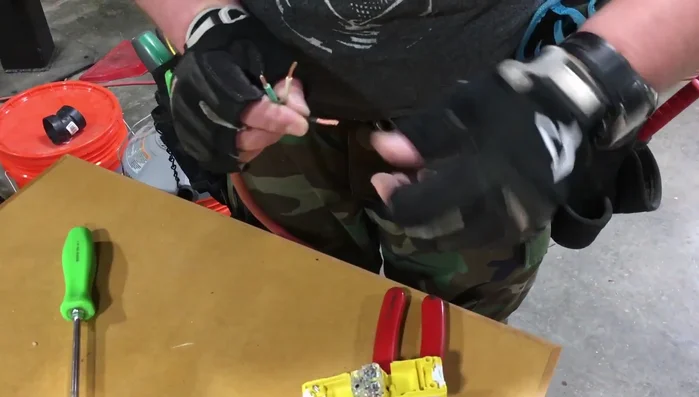
Prepare the Wires
- Strip back the outer jacketing and about 3/8 inch of insulation from the individual wire strands.
- Tightly twist the exposed copper wire on each strand.

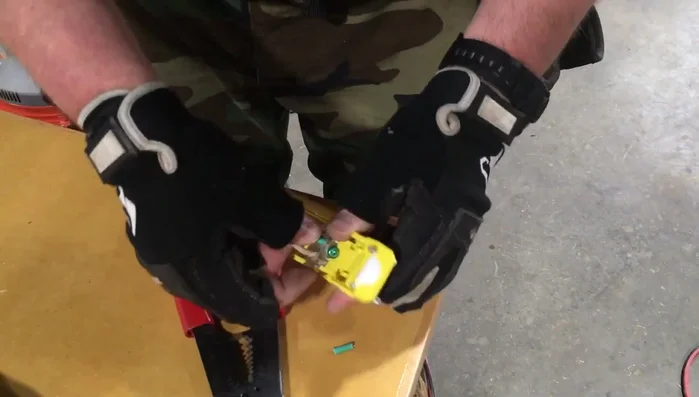
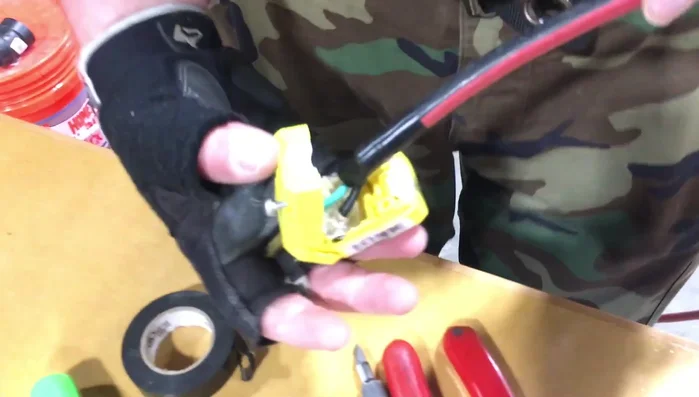
Prepare the Wires Connect to Plug Terminals
- black (hot) to gold, white (neutral) to silver, green (ground) to green.
Connect to Plug Terminals Secure Connections
- Securely tighten the terminal screws.
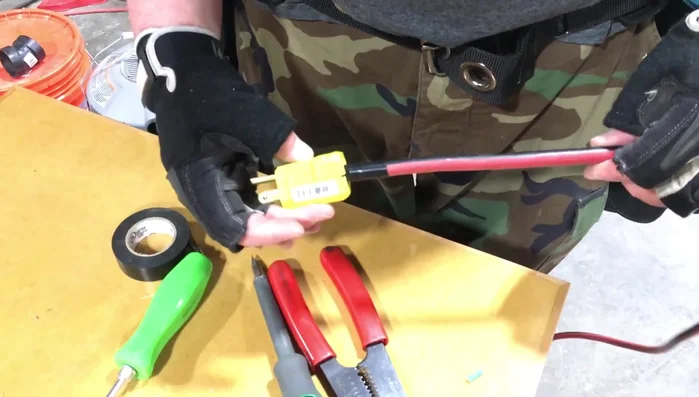
Secure Connections Add Extra Support (Optional)
- Wrap the end of the cord with electrical tape or heat shrink tubing for extra support (optional).
Add Extra Support (Optional) Close and Secure the Plug
- Close the replacement plug and tighten the screws.
Close and Secure the Plug Repeat for Other Ends/Cords
- Repeat steps for the other end of the cord and/or additional cords.
Repeat for Other Ends/Cords
Read more: Installing an Outdoor GFCI Receptacle: A Step-by-Step Guide
Tips
- Use a hinged-style replacement plug for easier connection.
- Adjust the amount of exposed copper wire to ensure a solid connection without causing a short.
- Heat shrink tubing provides better support than electrical tape.
- Tighten the terminal screws just enough to make a secure connection.