Are your cherished kitchen or dining room chairs looking a little worse for wear? Faded fabric, ripped seams, or simply outdated style can detract from the overall aesthetic of your dining space. Instead of replacing them entirely, consider the rewarding and cost-effective option of reupholstering! This comprehensive guide will equip you with the knowledge and techniques to breathe new life into your beloved seating, transforming them from tired and worn to stylish and comfortable. Reupholstering is a surprisingly achievable DIY project that offers immense satisfaction.
This guide covers everything from selecting the right fabric and tools to tackling the intricate steps of removing old upholstery, measuring for new material, and expertly reinstalling it. We'll walk you through the entire process, step-by-step, so even beginners can confidently tackle this project. Prepare to be amazed at the transformation you can achieve with a little patience and the right instructions. Let's get started!
Preparation and Safety Guidelines
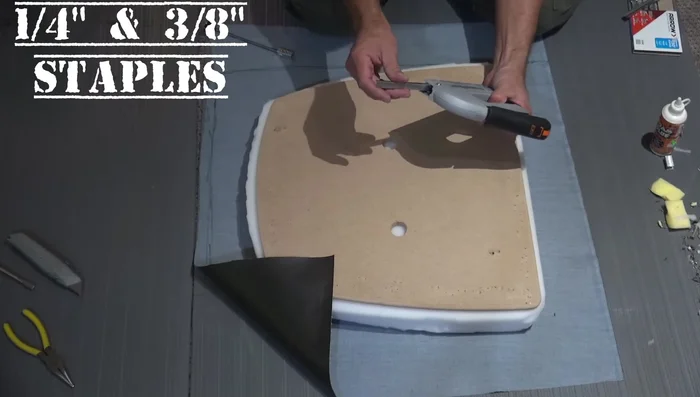
- Heavy duty staple gun (1/4 inch and 3/8 inch staples)
- Foam glue
- Drill or screwdriver
- Craft scissors
- Needle nose pliers
- Utility knife
- Flat blade screwdriver
- Marine grade vinyl
- Foam
- Cambric dust cover (optional)
- Always disconnect power to any electrical outlets near your work area before starting. This prevents accidental shocks.
- Use appropriate safety glasses and a dust mask to protect your eyes and lungs from staples, dust, and fabric fibers.
- Handle sharp objects like upholstery needles, scissors, and staple guns with extreme care to avoid injury.
Step-by-Step Instructions
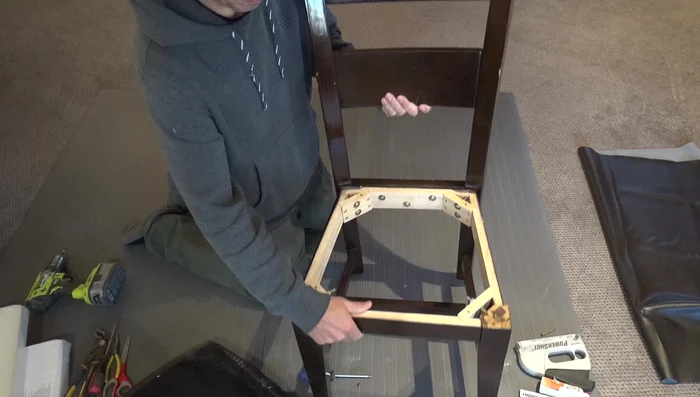
Chair Disassembly
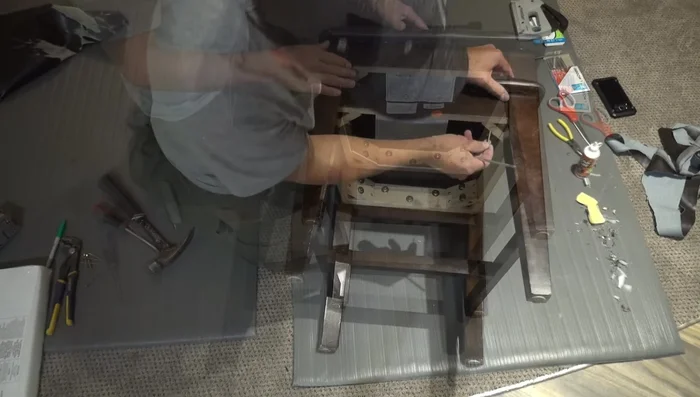
- Remove the seat cushion using screws on the bottom.
- Inspect the chair frame for any repairs needed.
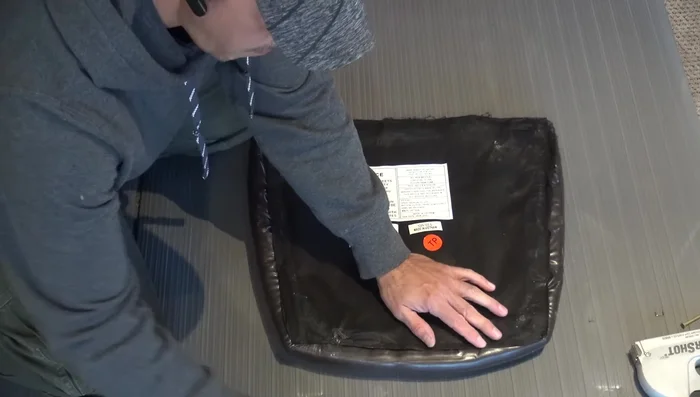
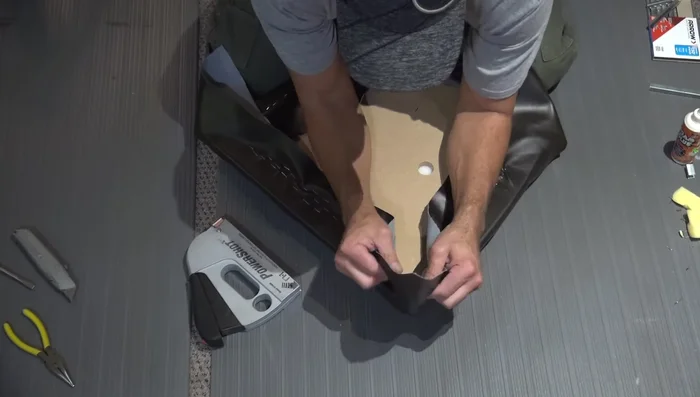
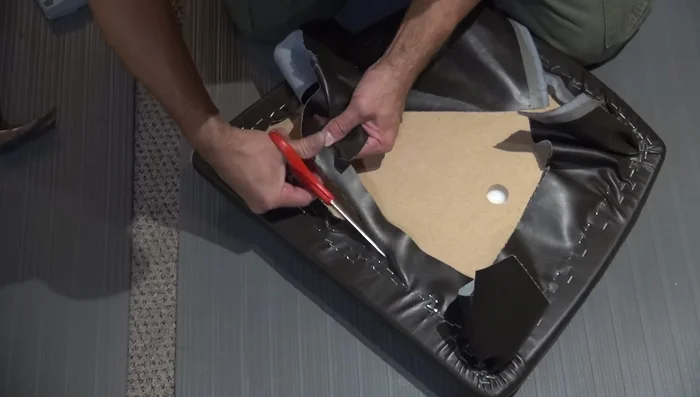
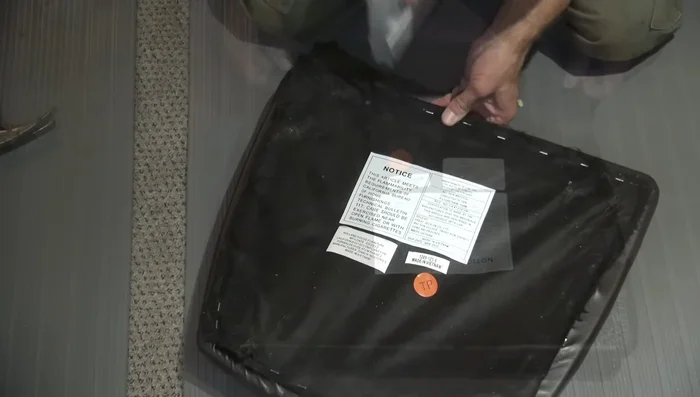
- Remove staples from the cambric dust cover using a utility knife, flathead screwdriver, and needle nose pliers.
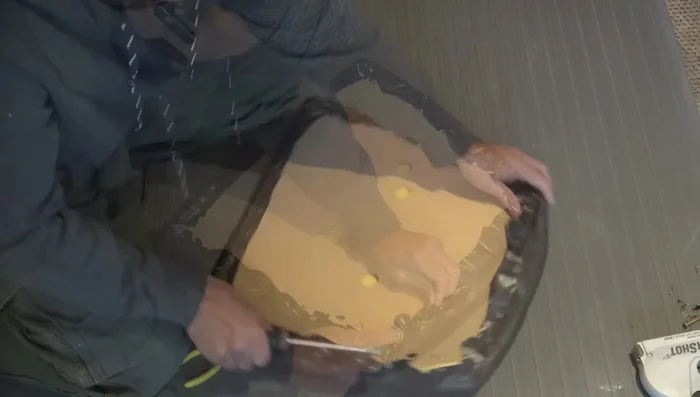
- Remove the old vinyl (carefully if reusing, otherwise pry it off).

Chair Disassembly - Remove the old foam.
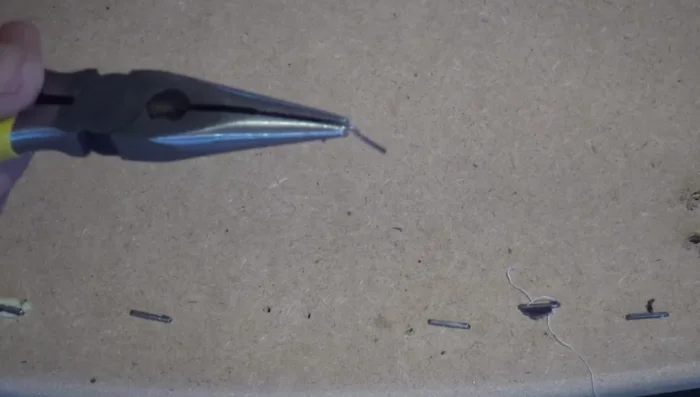
- Remove remaining staples from the wood backing.
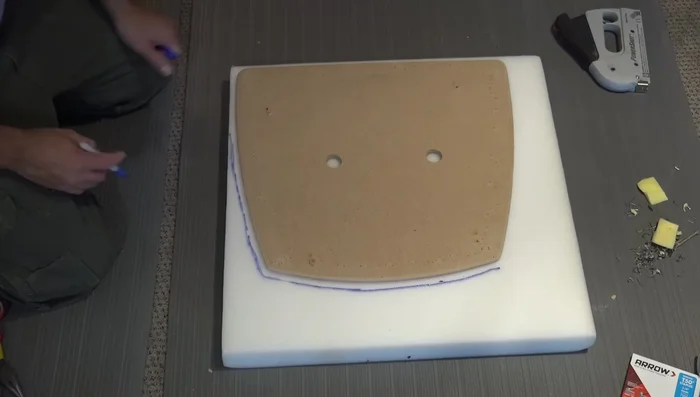
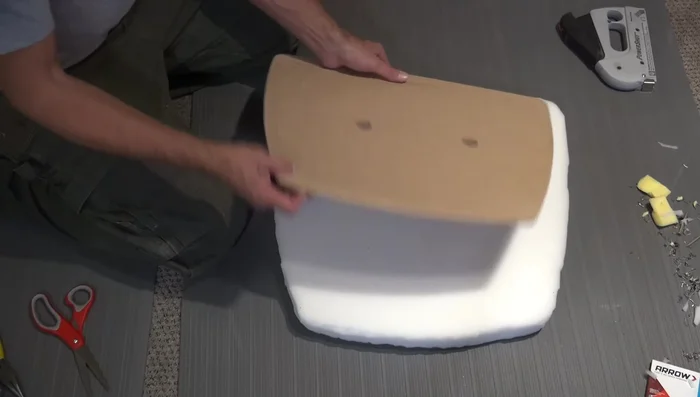
Chair Disassembly Foam Preparation and Cutting
- Place the wood backing on the new foam, trace an outline 1/2 inch larger on all sides, and cut the foam.
- Secure the foam to the wood backing with foam glue.
Foam Preparation and Cutting Vinyl Application
- Cut the vinyl, ensuring it's large enough to wrap around the cushion and onto the backing (at least 3 inches on each side).
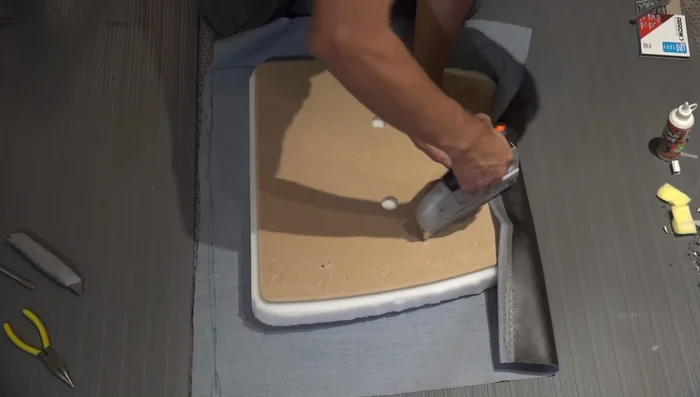
- Secure the vinyl to the backing with staples, starting with the back edge and pulling with tension.
- Stretch and staple the vinyl on all four sides, stopping 2 inches from the corners.
- Stretch the corners tightly to remove wrinkles and staple.
Vinyl Application - Cut off excess vinyl.
Vinyl Application Final Assembly
- Secure the cambric dust cover with staples.
- Attach the cushion to the chair frame with screws.
Final Assembly


Read more: Silence that Squeaky Bed: A Complete Fix-It Guide
Tips
- Use marine grade vinyl for durability.
- Wear safety glasses when removing staples.
- Use sharp, large scissors for cutting foam.
- Round the corners of thicker foam only.
- Ensure adequate vinyl excess for stretching.