Tired of that drab, outdated rolling bookshelf gathering dust in the corner? It's time to unleash your inner artist and transform it into a stunning focal point for your home! A simple DIY makeover can breathe new life into this often-overlooked piece of furniture, adding personality and style to any room. With a little creativity and some readily available materials, you can achieve a dramatic upgrade that will leave you amazed at the difference. Forget expensive, store-bought solutions – this project is all about embracing your personal style and achieving a truly unique result.
This guide will take you through a step-by-step process to revitalize your rolling bookshelf, from preparing the surface to adding the finishing touches. Whether you're envisioning a chic minimalist design or a bold, vibrant statement piece, we'll equip you with the knowledge and inspiration you need to achieve your dream bookshelf. Get ready to roll up your sleeves and discover the joy of DIY!
Preparation and Safety Guidelines
- Old unused bookshelf
- Decorative aluminum sheets
- Spray paint (optional)
- Wood glue
- Small pieces of wood
- Large wood slabs
- Copper pipes
- Spade bit
- Screws
- Caster wheels
- Bolts
- Always wear safety glasses and a dust mask when sanding and working with paints/stains. Wood dust is harmful to your lungs.
- Ensure the bookshelf is stable and secure before beginning the makeover. Reinforce any weak points or wobbly areas before painting or adding weight.
- Use proper ventilation when using paints, stains, and sealants. Follow manufacturer instructions carefully and work in a well-ventilated area or outdoors if possible.
Step-by-Step Instructions
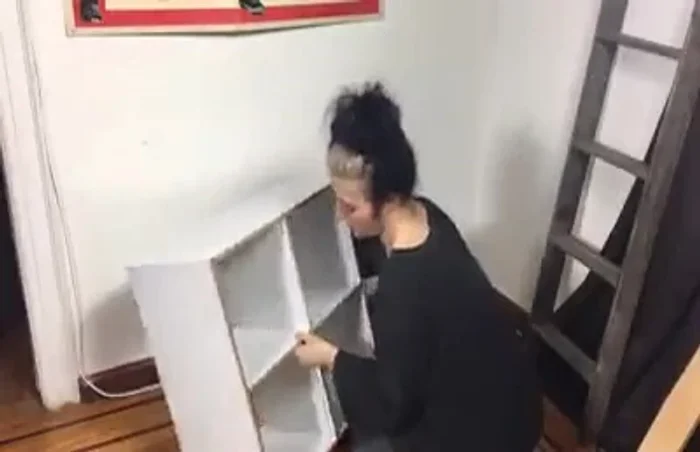
Prepare the Bookshelf
- Clear off an old, unused bookshelf.
- Nail decorative aluminum sheets to the front of the bookshelf.

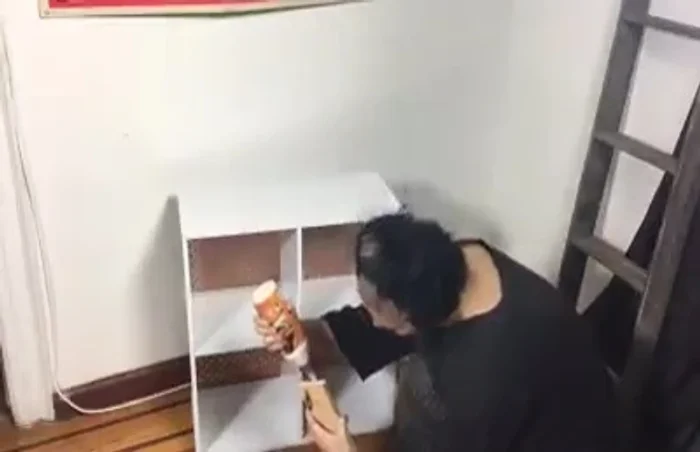
Prepare the Bookshelf Add Functional Details
- Attach small pieces of wood to the front of the lower shelves to create lips for smaller items.
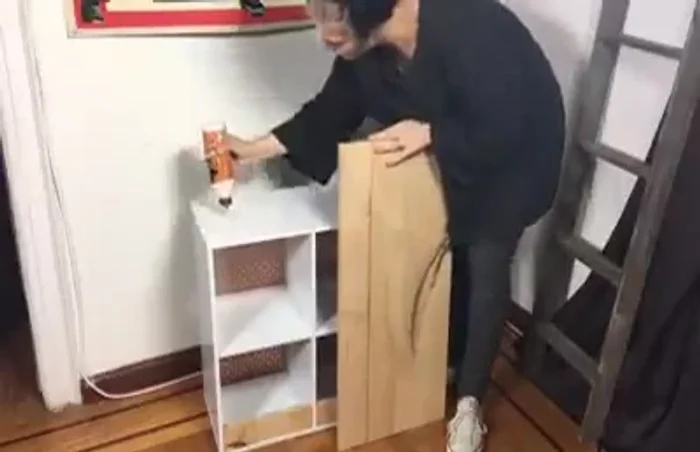
Add Functional Details Attach Top Wood Slab and Pipes
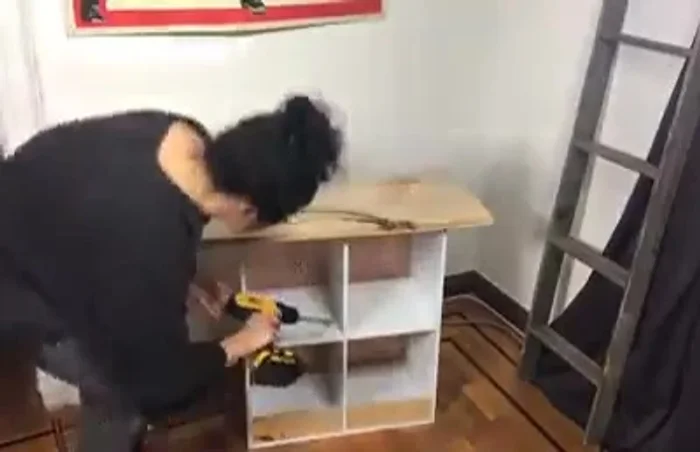
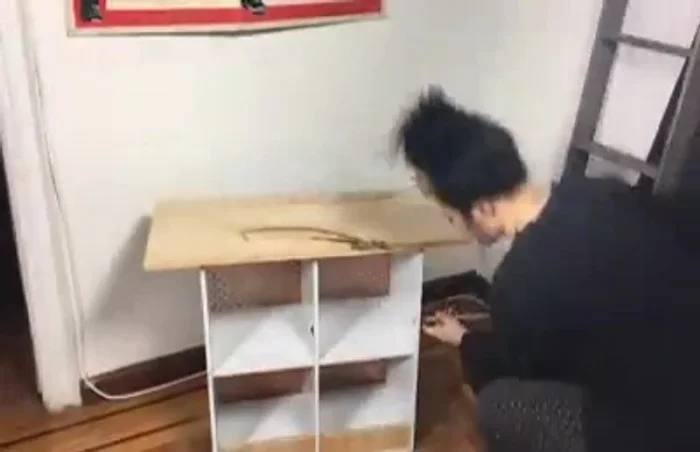
- Attach a large wood slab to the top of the bookshelf using wood glue and screws.
- Drill holes through the bookshelf walls, aligned with each other, to insert copper pipes.
- Insert copper pipes through the holes, leaving half an inch exposed on each side. Cap the ends.
Attach Top Wood Slab and Pipes Attach Bottom Wood Slab
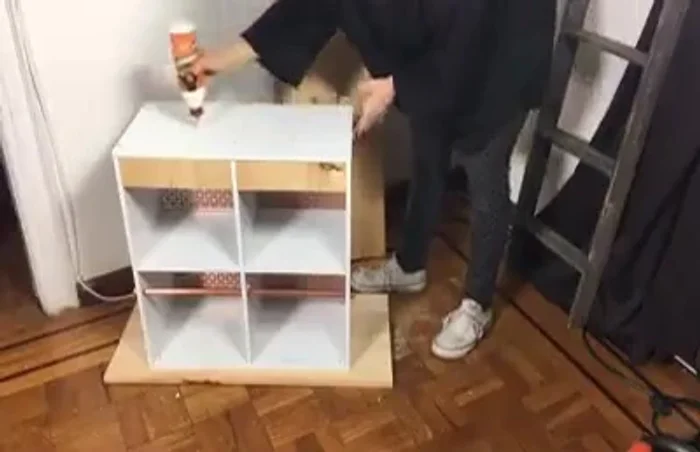
- Attach the bottom wood slab, screwing from the bottom up through the slab and into the shelf. Use wood glue for extra security.
Attach Bottom Wood Slab Add Caster Wheels
- Attach caster wheels by measuring, marking, drilling pilot holes, and securing with bolts.
Add Caster Wheels

Read more: DIY Upcycled Bed Frame: A Step-by-Step Guide
Tips
- Spray-painting the aluminum sheets is optional.
- Use wood glue in addition to screws for extra security when attaching wood.