A properly installed roof drip edge is crucial for the longevity and structural integrity of your roof. It's a relatively inexpensive piece of flashing, but its function is invaluable: preventing water from seeping under your roofing materials and causing costly damage like rot, mold, and ice dams. Without drip edge, water can easily penetrate the vulnerable areas where your roofing meets the fascia board and eaves, leading to significant repairs down the line. This seemingly small detail makes a huge difference in protecting your biggest investment – your home.
This ultimate guide provides a comprehensive, step-by-step walkthrough of the entire roof drip edge installation process, from selecting the right materials to finalizing the installation. We'll cover everything you need to know to ensure a professional-looking and watertight finish, helping you avoid common pitfalls and save money on future repairs. Let's get started and learn how to install roof drip edge correctly!
Preparation and Safety Guidelines
- Putty knife
- Tin snips
- Gloves
- Measuring tape
- Square
- Short nails or screws (optional)
- Roofing sealant or tar (optional)
- Always use appropriate safety equipment, including a sturdy ladder, safety harness, and work gloves. Never work on a roof in inclement weather or high winds.
- Be mindful of your footing at all times. Roof surfaces can be slippery, especially when wet. Take breaks if you feel tired or unsteady.
- If you are uncomfortable performing this task, hire a qualified roofing professional. Improper installation can lead to significant water damage.
Step-by-Step Instructions
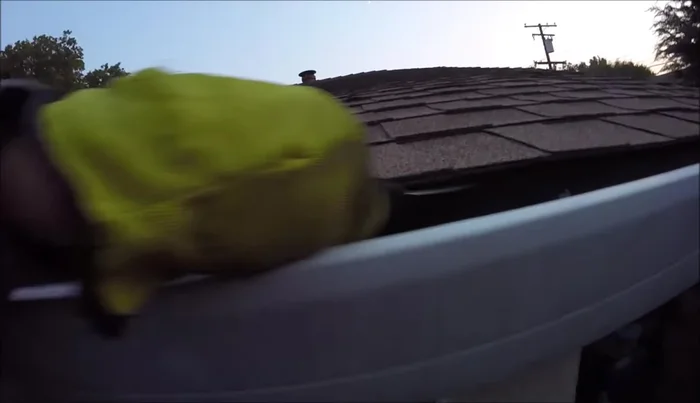
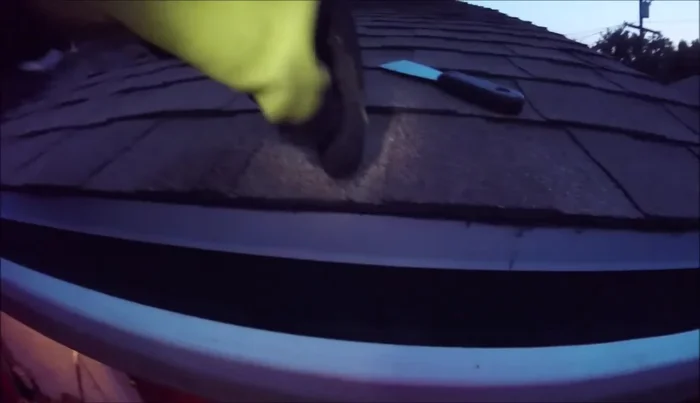
Prepare the Roof Edge
- Loosen the bottom edge of the shingles using a putty knife.

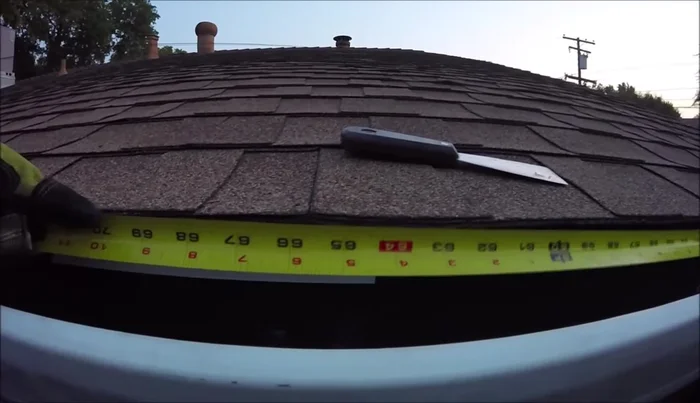
Prepare the Roof Edge Measure and Cut Drip Edge
- Measure and cut the drip edge, ensuring at least a couple of inches overlap for the next piece.
- Use tin snips to cut the drip edge. Wear gloves!
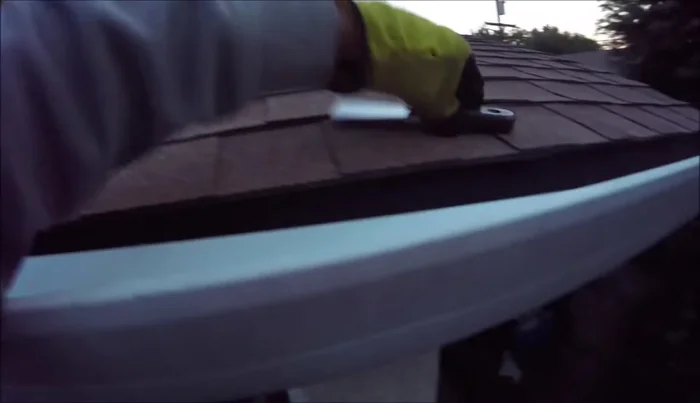
Measure and Cut Drip Edge Install Drip Edge
- Slip the drip edge underneath the loosened shingles using the putty knife to lift them.
- Ensure the drip edge is fully pushed in, extending over the gutter's edge if applicable. If you don't have a gutter, leave a half-inch gap between the drip edge and fascia.
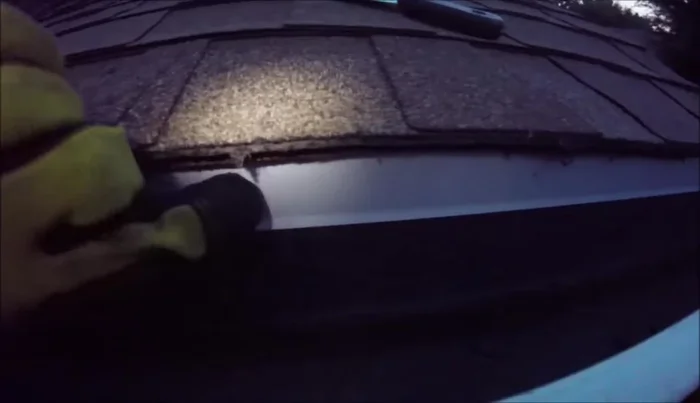
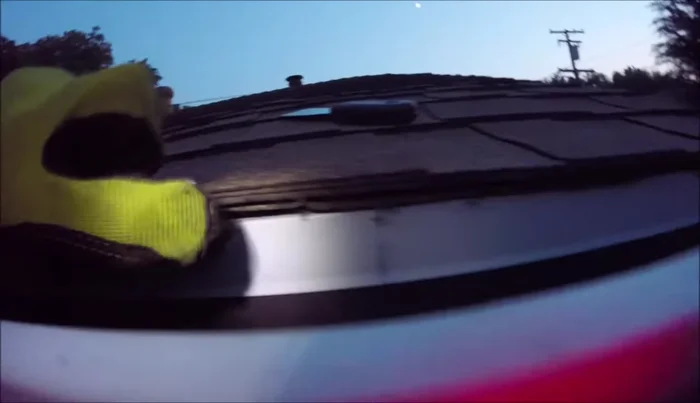
Install Drip Edge Secure Drip Edge
- Secure the drip edge. Ideally, drive short nails or screws through the top of the drip edge, underneath the shingles, avoiding face nailing. If face nailing is necessary, cover the nails with roofing sealant.
- Alternatively, apply roofing sealant or tar underneath the shingles and on top of the drip edge, pressing firmly to adhere.
Secure Drip Edge

Read more: DIY Roof, Shingle, Fence, and Flashing Repair with Henry Wet Patch 208
Tips
- Install drip edge before applying roofing.
- If you have gutters, install the drip edge over the gutter to direct water into the gutter.
- Leave a half-inch gap between the drip edge and the fascia if you do not have gutters to prevent water damage.