A stuffy, hot attic isn't just uncomfortable; it can lead to serious problems like mold growth, structural damage, and increased energy bills. Proper attic ventilation is crucial for maintaining a healthy and energy-efficient home, and installing a roof vent is a significant step in achieving this. This often overlooked but vital component plays a critical role in drawing out hot, moist air, preventing condensation, and extending the life of your roof. Many homeowners are surprised to discover how straightforward this improvement can be.
This DIY guide will walk you through the process of installing a roof vent, providing clear instructions and helpful tips for a successful installation. Whether you're a seasoned DIY enthusiast or a complete beginner, we'll empower you with the knowledge and confidence to tackle this project. Let's get started with our step-by-step guide to a cooler, drier, and healthier attic.
Preparation and Safety Guidelines
- Plumb bob
- Hammer
- Nails
- Reciprocating saw or jigsaw
- Utility knife
- Roofing nails
- Roof and flashing polyurethane sealant
- Ducting foil tape
- Self-tapping screws
- Always turn off power to any nearby electrical circuits before starting work to prevent electric shock.
- Wear appropriate safety gear including gloves, safety glasses, and sturdy footwear to protect yourself from falls and potential injuries.
- If you are uncomfortable with heights or any aspect of the installation, consult a qualified roofing professional. Your safety is paramount.
Step-by-Step Instructions
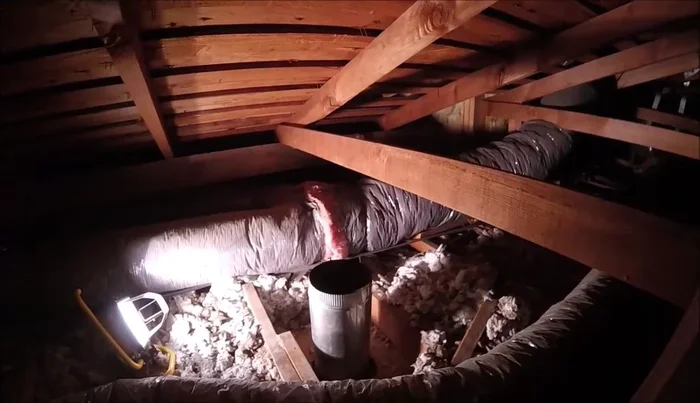
Planning and Marking
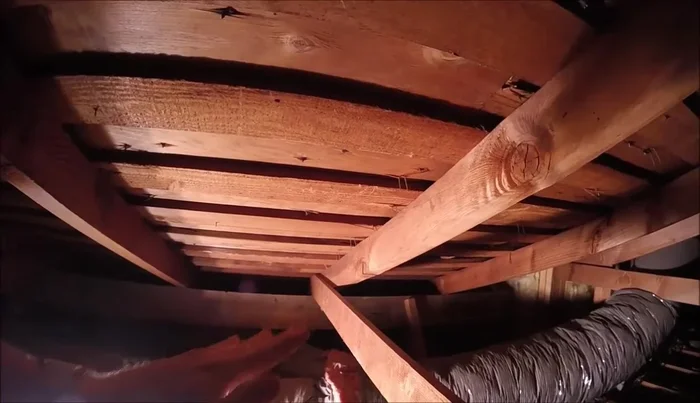
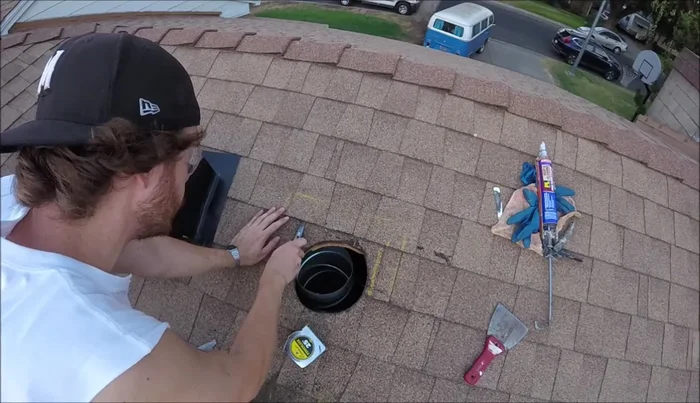
- Locate the vent location in the attic and mark its position on the roof using a plumb bob.
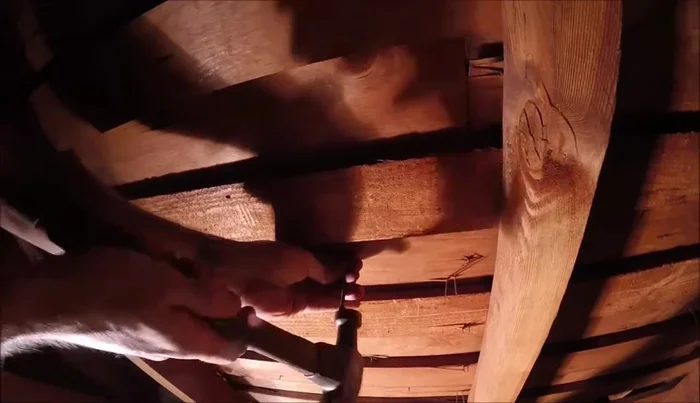
- Mark the roof where the vent will be installed, ensuring it's not near ridges or valleys. Use a hammer to check for obstructions.
- Drive a nail through the marked spot to indicate the center of the hole.

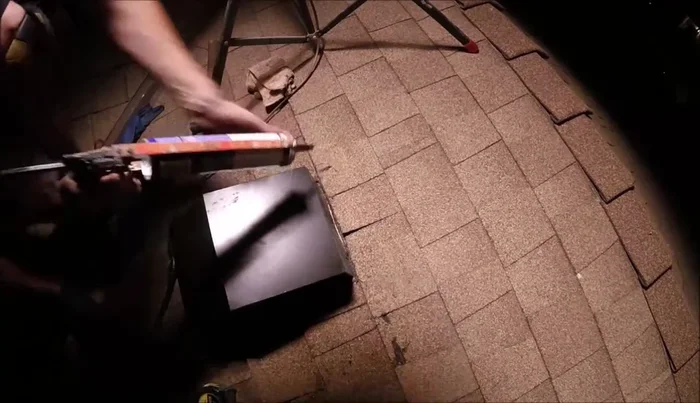
Planning and Marking Cutting the Roof Hole
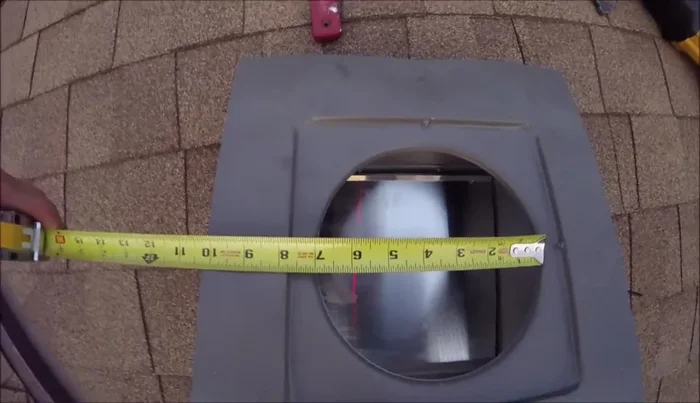
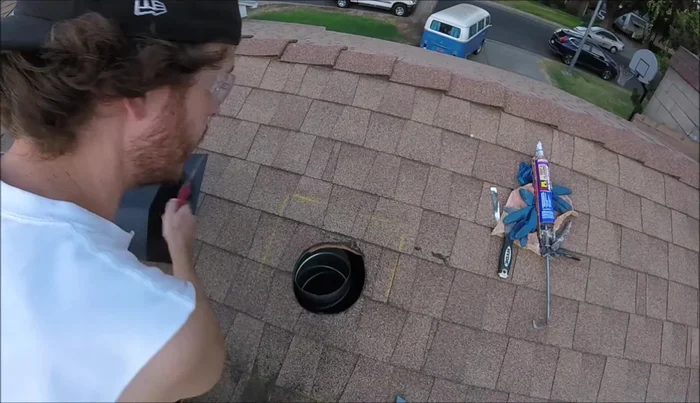
- Measure the hole in the bottom of the vent (approximately 7 inches) and cut a slightly larger hole on the roof using a reciprocating saw or jigsaw.
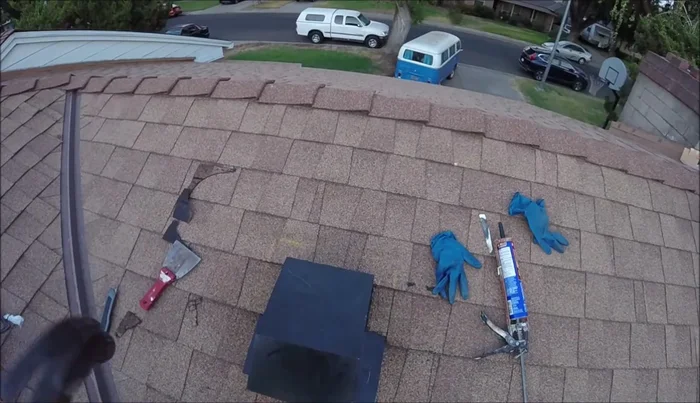
Cutting the Roof Hole Preparing for Vent Installation
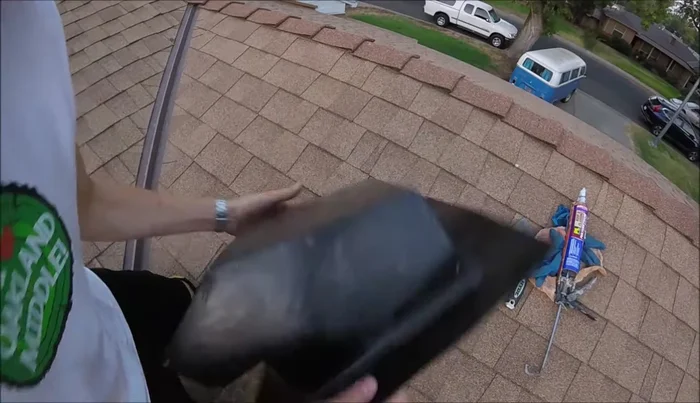
- Align the bottom hole of the vent with the roof hole and trace around the top half of the vent.
- Carefully lift the shingles using a putty knife or pry bar to create space for the vent's top.
- Slide the top of the vent under the shingles and trim any excess shingle material.
- Remove any roofing nails interfering with the vent installation.
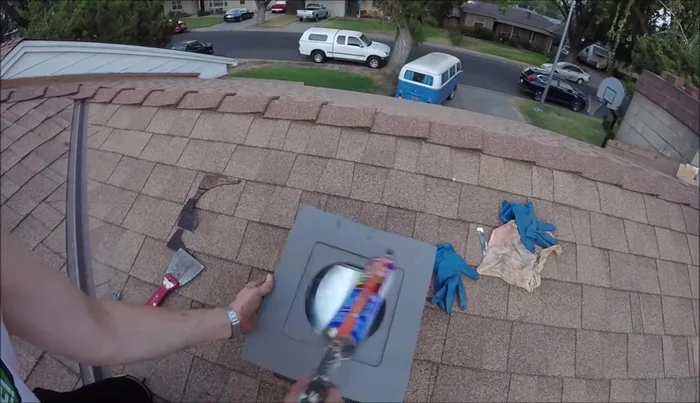
Preparing for Vent Installation Securing the Vent
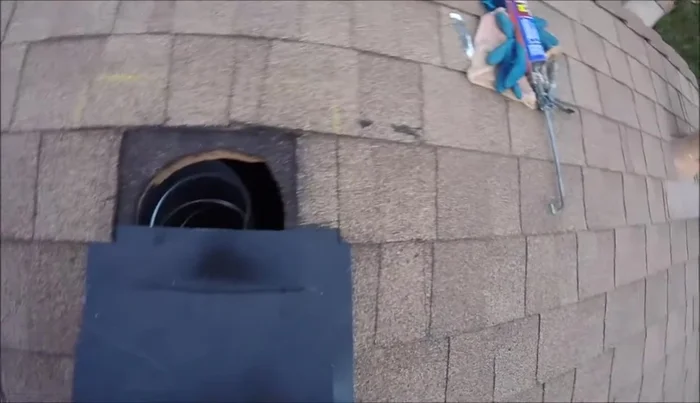
- Slide the vent top under the shingles on each side and the back, ensuring all flashing is covered.
- Apply roofing sealant around the top edge and sides of the vent, leaving the bottom open for drainage.
- Secure the vent with four roofing nails—two at the top and one on each side—making sure the shingles cover the nails.
- Apply more sealant over the nail heads and along the top and sides of the vent to ensure a watertight seal.
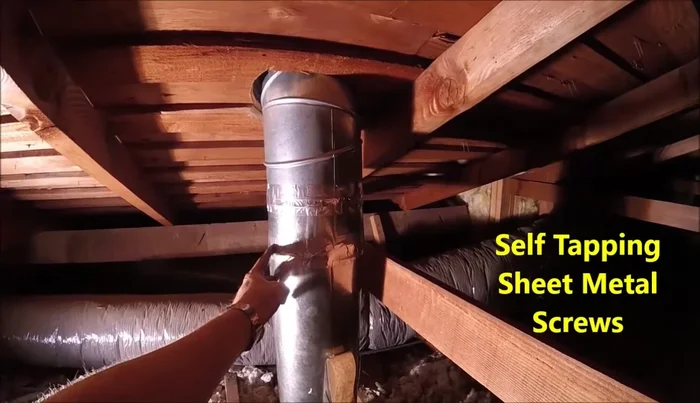
Securing the Vent Attic Ductwork Connection
- In the attic, connect the ducting pipe to the vent using self-tapping screws and seal all joints with ducting foil tape.
Attic Ductwork Connection
Read more: DIY Roof, Shingle, Fence, and Flashing Repair with Henry Wet Patch 208
Tips
- Do this work during the cool part of the day, especially during hot weather.
- If using accordion tubing, skip the initial marking process with a plumb bob.
- Ensure nails are placed under the shingles for a clean finish and proper sealing.
- Use appropriate sealant and paint to match your roof for a seamless finish.