A leaky roof can be a homeowner's worst nightmare, leading to costly water damage and structural problems. But before you panic and call for emergency repairs, understand that a roofing recover—the process of replacing your existing roofing materials without completely tearing down the roof structure—can often be a cost-effective and efficient solution. This is particularly true if your roof's underlying structure is still sound but the shingles, tiles, or other coverings are worn, damaged, or outdated. Replacing the roofing material itself can significantly extend the lifespan of your roof and protect your home for years to come.
This comprehensive guide will take you through the entire roofing recover process, step-by-step, ensuring you have the knowledge and confidence to tackle this project successfully, or to effectively oversee contractors if you choose to hire help. We'll delve into crucial preparation stages, the precise techniques for material removal and installation, and invaluable expert tips to ensure a long-lasting, watertight roof that adds value to your property. Let's get started!
Preparation and Safety Guidelines
- Shingles
- Ice Shield
- Ridge Vent
- Roofing Nails (1 3/4 inch)
- Gutter Apron
- Drip Edge
- Knife
- Always prioritize safety! Wear appropriate safety gear including a hard hat, safety glasses, and fall protection equipment at all times. Working at heights is extremely dangerous.
- Never work on a roof during inclement weather (rain, snow, strong winds). Wait for safe conditions before starting or resuming work.
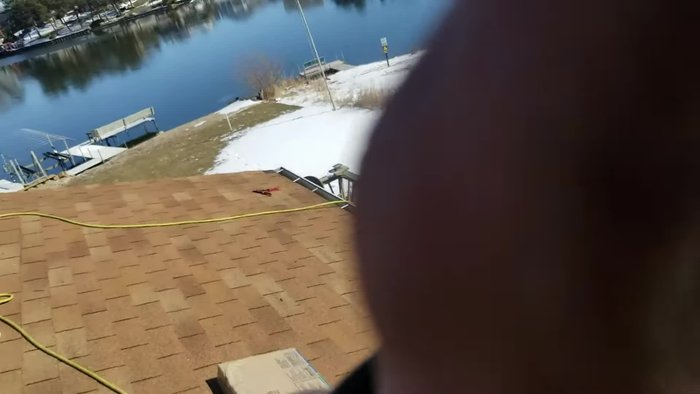
- Inspect the existing roof thoroughly before beginning any work to identify any structural weaknesses or potential hazards. If unsure, consult a qualified roofing professional.
Step-by-Step Instructions
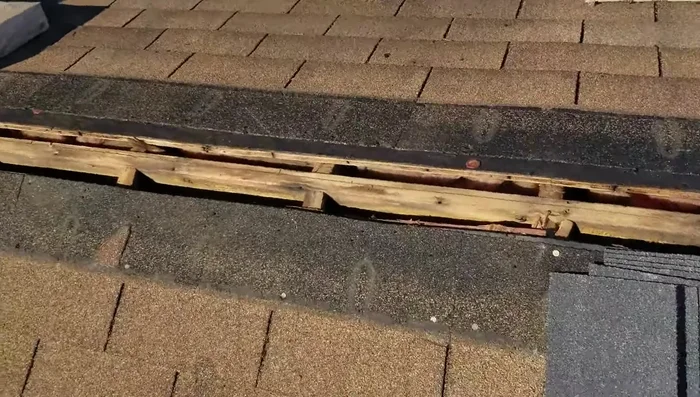
Roof Deck Preparation
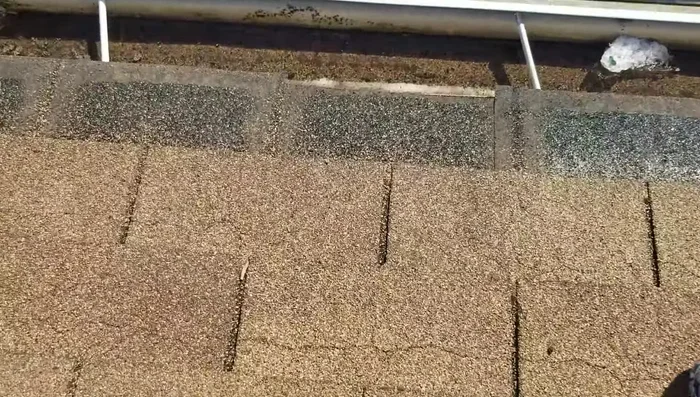
- Remove problematic areas, existing ridge vent, and any old shingles.
- Remove an extra row of old shingles above the ridge if installing a new ridge vent.

Roof Deck Preparation Ventilation Upgrade
- Install new ridge vent. If vaulted ceilings, existing vents may be ineffective.
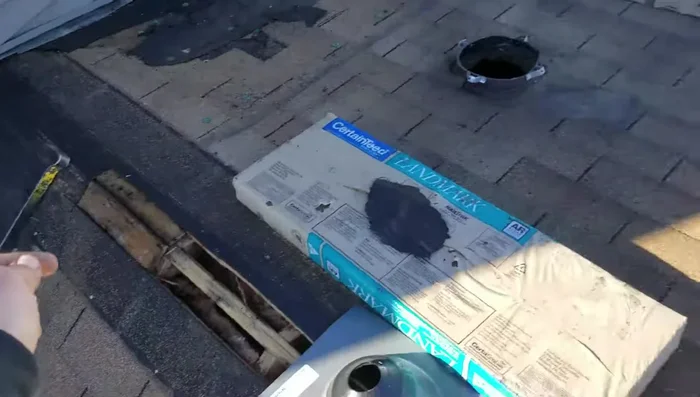
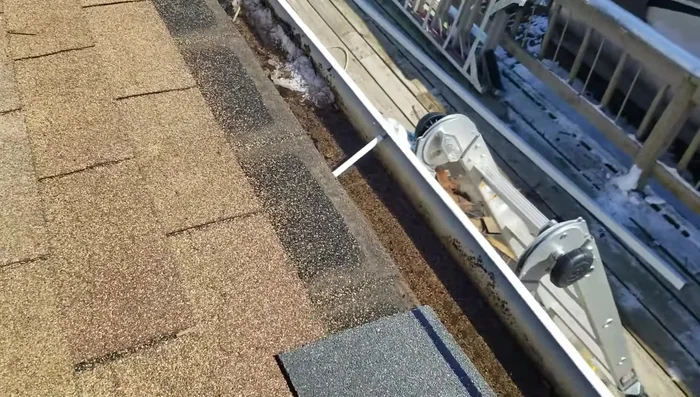
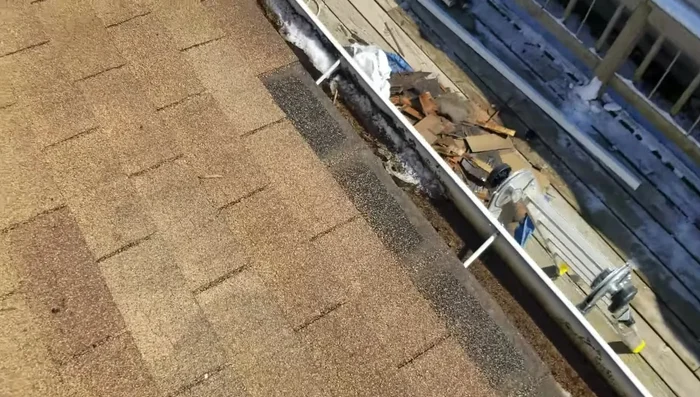
Ventilation Upgrade Underlayment Installation
- Install one row of ice shield at the bottom, cutting back the first tab to avoid bulk.
Underlayment Installation Starter Shingle Installation
- Apply starter shingles, making sure they are not overhung.
- Cut back the bottom row of the old shingle layer (if necessary) to allow for better fitting and reduce thickness.
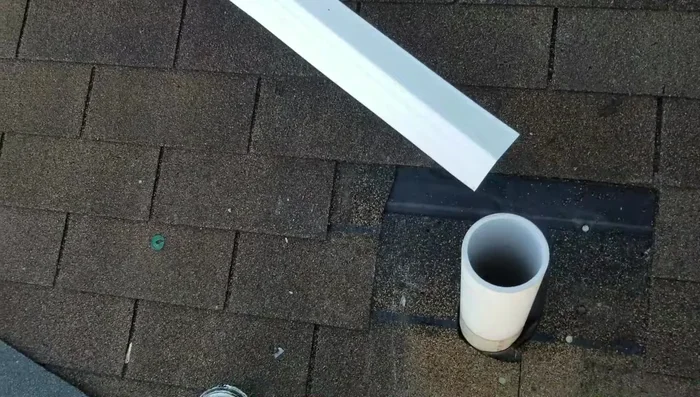
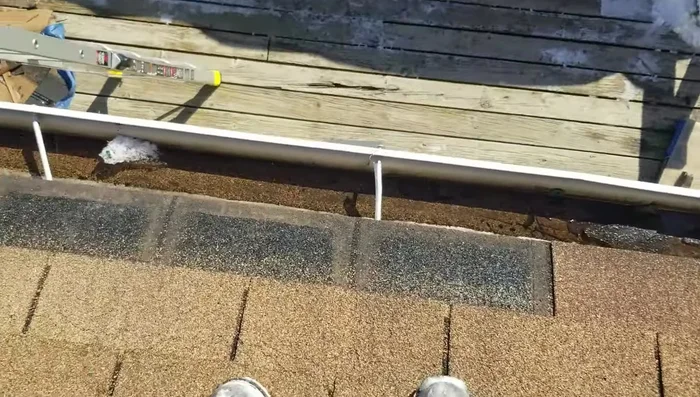
Starter Shingle Installation Flashing and Gutter Installation
- Install gutter apron.
- Install new flashing around pipes, and clean excess material for a flush fit.
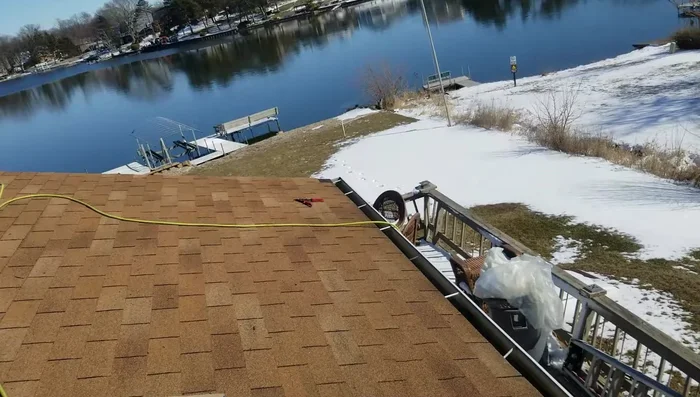
Flashing and Gutter Installation Shingle Installation
- Begin shingling as normal, using 1 3/4 inch roofing nails.
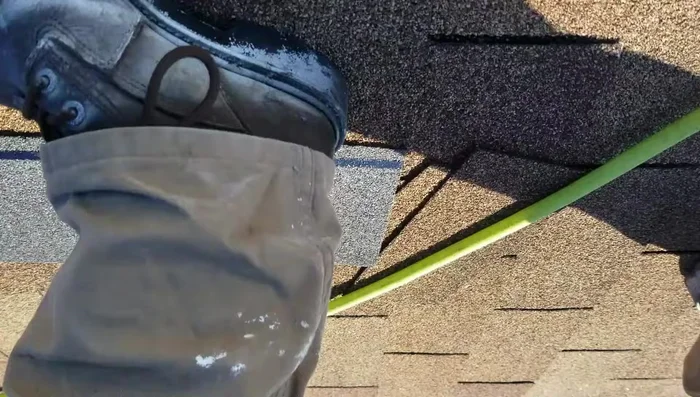
Shingle Installation Drip Edge Installation
- Fasten the drip edge to the fascia, using face nails.
Drip Edge Installation
Read more: DIY Roof, Shingle, Fence, and Flashing Repair with Henry Wet Patch 208
Tips
- Always use 1 3/4 inch roofing nails for a recover. Shorter nails are less effective.
- Avoid recovering if possible; a tear-off is far more durable and cost-effective in the long run.
- Cutting back the bottom row of old shingles is important for a better fit and to avoid bulk.
- Ensure proper overhang of starter and drip edge to ensure watertight seal.