Rubber membranes offer unparalleled protection and sealing capabilities across diverse applications, from industrial containment to medical devices. Achieving a truly seamless bond, however, requires precision and the right techniques. A poorly executed bond can compromise the integrity of the entire system, leading to leaks, failures, and potentially catastrophic consequences. The strength and longevity of the final product depend heavily on the quality of the bonding process. Therefore, understanding the intricacies of achieving a robust, reliable seal is paramount.
This comprehensive guide will delve into the critical aspects of seamless rubber membrane bonding, providing a clear and detailed understanding of the process. We will walk you through each step, from surface preparation and adhesive selection to curing and final inspection, ensuring you achieve a perfect bond every time. Let's begin with a step-by-step process that will equip you with the knowledge to confidently tackle even the most challenging bonding projects.
Preparation and Safety Guidelines
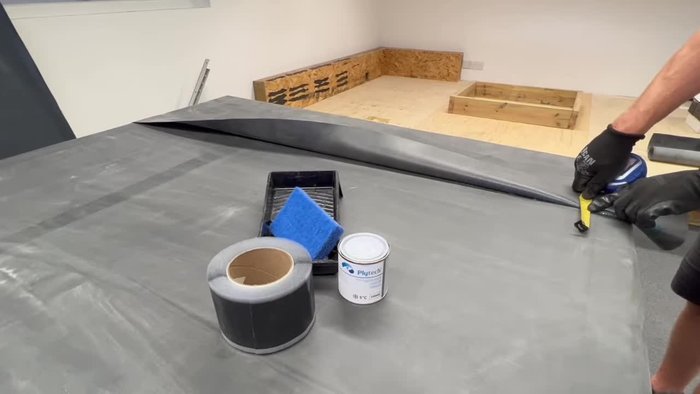
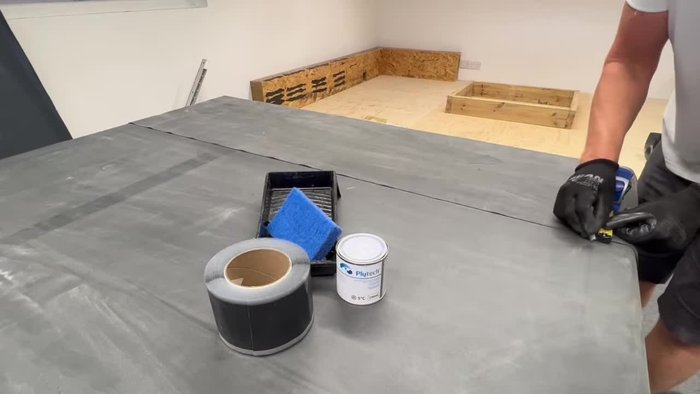
- Seam tape
- Primer
- Seam tape roller
- Scrub pad
- Membrane cleaner
- Measuring tools
- Always use appropriate respiratory protection when working with adhesives and solvents. Fumes can be harmful.
- Ensure adequate ventilation in your workspace to prevent the buildup of hazardous vapors.
- Wear appropriate gloves and eye protection to prevent skin and eye irritation from adhesives and solvents.
Step-by-Step Instructions
Preparation
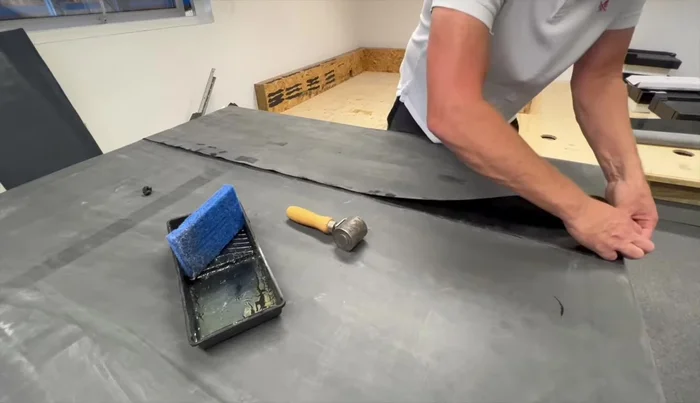
- Ensure a minimum 100 Mil overlap in the rubber.
- Measure 10 millimeters beyond the upper rubber and mark the priming area.
- Use seam tape offcuts to temporarily bond the upper rubber.

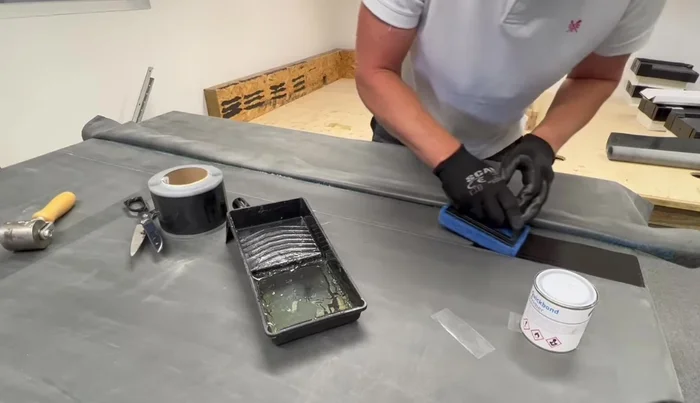
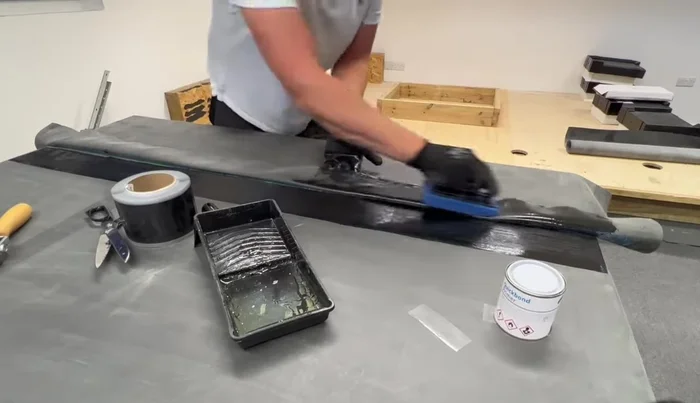
Preparation Primer Application
- Mix and pour the primer.
- Apply primer up to the marked line on the lower rubber using a scrub pad.
- Apply primer to the underside of the upper rubber.
- Ensure the primer is not wet or stringy.
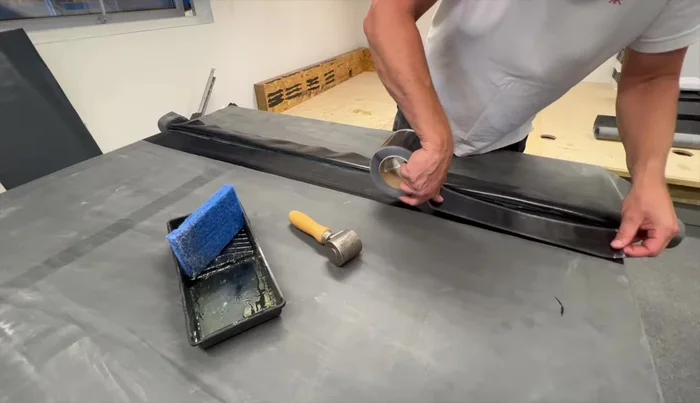
Primer Application Seam Tape Application (Lower Side)
- Apply seam tape to the lower rubber, aligning the edge with the primed line.
- Use the seam tape roller to bond the seam tape to the primer, rolling along the length and sides.
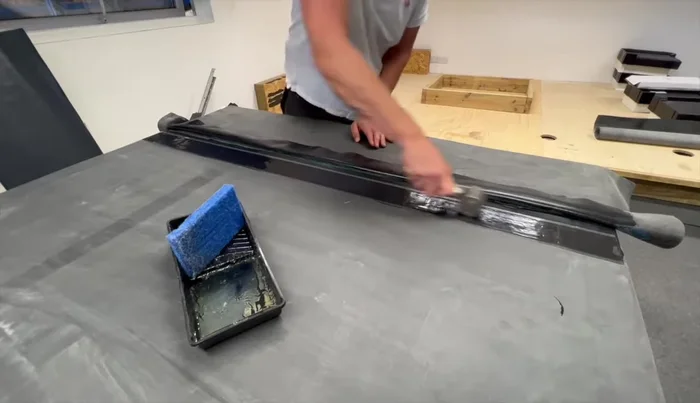
Seam Tape Application (Lower Side) Rubber Bonding and Finishing
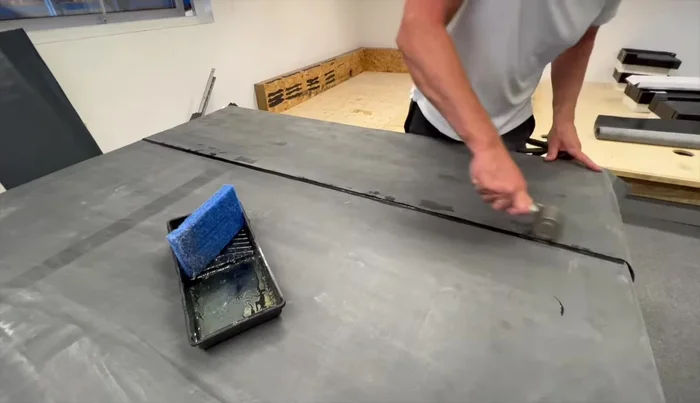
- Release the upper rubber lap and remove seam tape tacks.
- Ensure seam tape is showing from under the rubber lap.
- Pull back the lap and release the plastic from the seam tape at a 45-degree angle, pushing the lap into place. Avoid trapping the plastic.
- Roll down the primed lap into the seam tape using the seam roller.
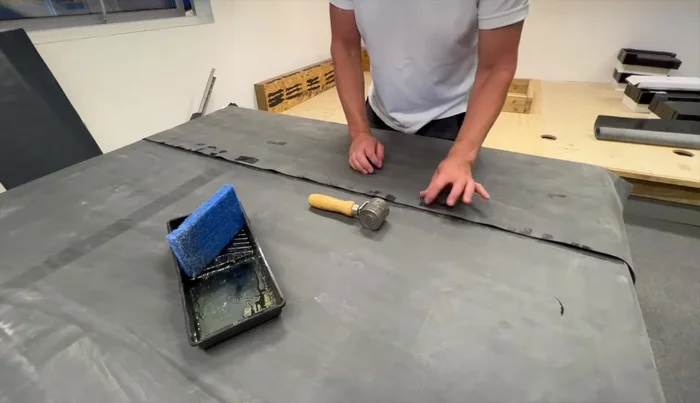
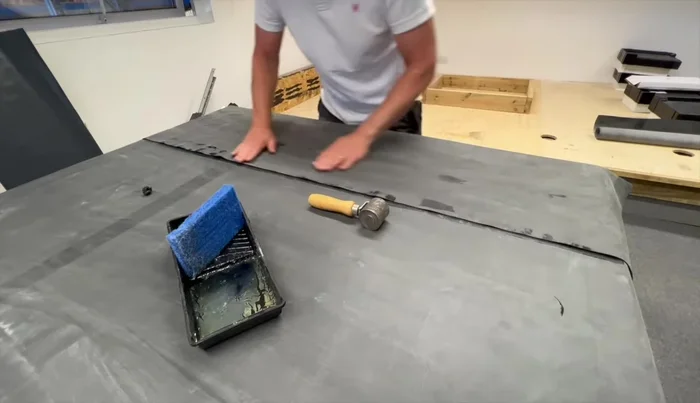
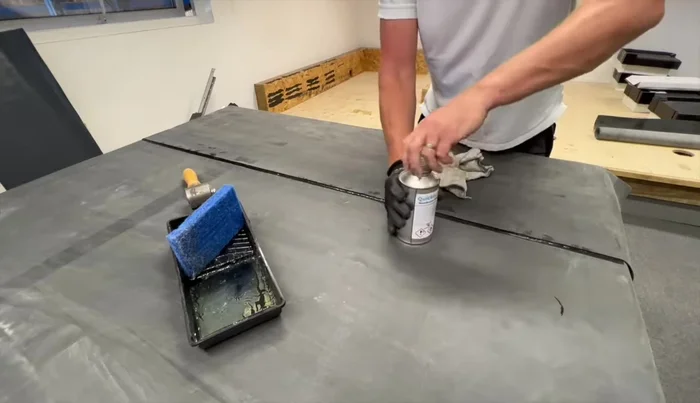
Rubber Bonding and Finishing - Use membrane cleaner to remove any marks.
Rubber Bonding and Finishing


Read more: DIY Roof, Shingle, Fence, and Flashing Repair with Henry Wet Patch 208
Tips
- Maintain a consistent 100 Mil overlap for a strong bond.
- Proper primer application is crucial for adhesion.
- Thorough rolling ensures complete bonding of the seam tape.
- Careful removal of the plastic backing prevents trapping it under the rubber.
- Cleaning the surface removes imperfections and improves aesthetics.