Rubber roofs, known for their durability and longevity, are not impervious to damage. Over time, exposure to the elements, temperature fluctuations, and general wear and tear can lead to leaks, potentially causing significant structural damage if left unaddressed. A seemingly small leak can quickly escalate into a costly repair, making timely intervention crucial. Ignoring a leaking rubber roof can lead to mold growth, water damage to the underlying structure, and even compromise the overall integrity of your building.
Understanding how to effectively repair a rubber roof leak is a valuable skill, both for homeowners and property managers. This knowledge can save you considerable money on professional repair costs and prevent further deterioration. This step-by-step guide will walk you through the process of identifying the leak, preparing the area, and applying the necessary repairs, ensuring your rubber roof remains watertight and protected for years to come.
Preparation and Safety Guidelines
- Utility knife
- Screwdriver
- Measuring tape
- High-density fiberboard
- Scrap rubber
- Rubber roof patch
- Membrane cleaner
- Rubber cement
- Lap sealant
- Roller
- Always work on a dry, stable roof surface. Wet surfaces are extremely slippery and dangerous.
- Use appropriate safety equipment: wear sturdy footwear, gloves, safety glasses, and a harness if working at height.
- Never work alone on a roof. Have someone spot you or be nearby in case of an emergency.
Step-by-Step Instructions
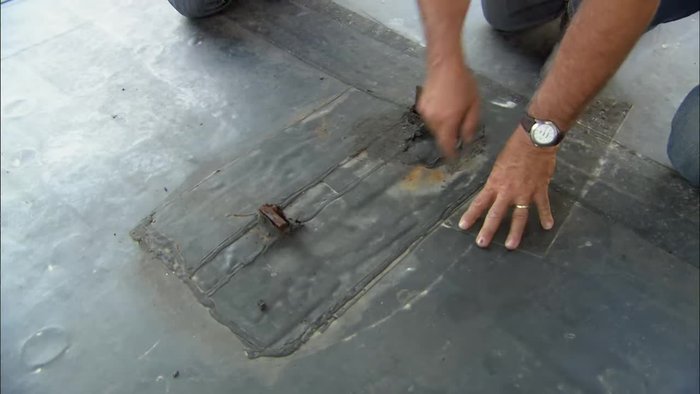
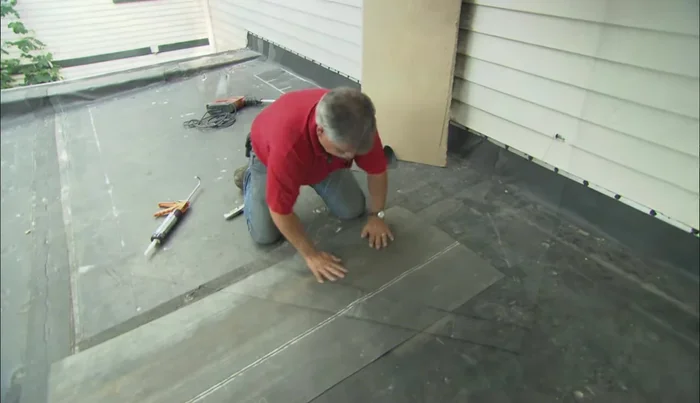
Access the Damaged Area
- Cut open the roof section to access the damaged ladder bracket.
- Remove the damaged bracket (if not already secured).

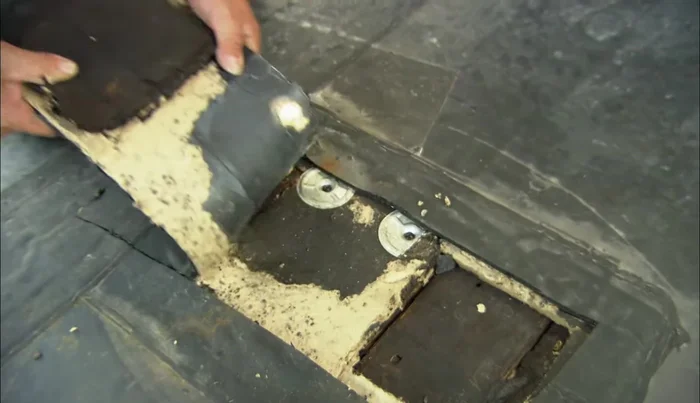
Access the Damaged Area Remove and Replace Substrate
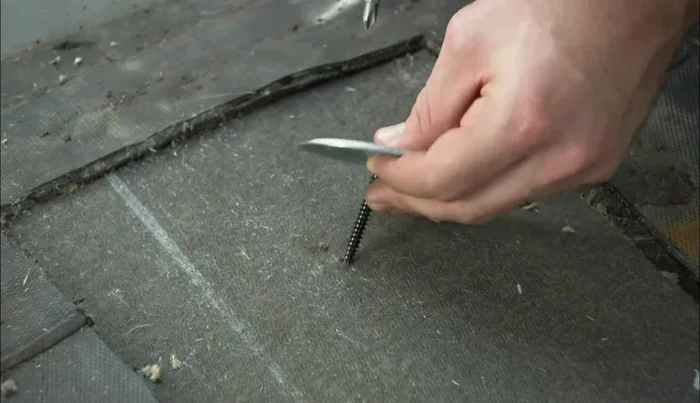
- Remove the two screws and washers securing the damaged substrate.
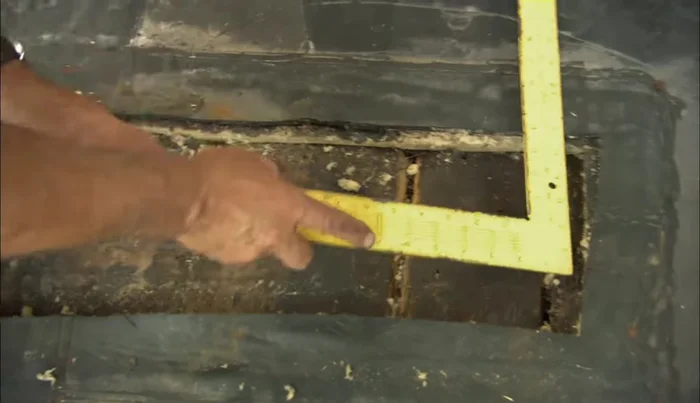
- Cut out the damaged piece of substrate.
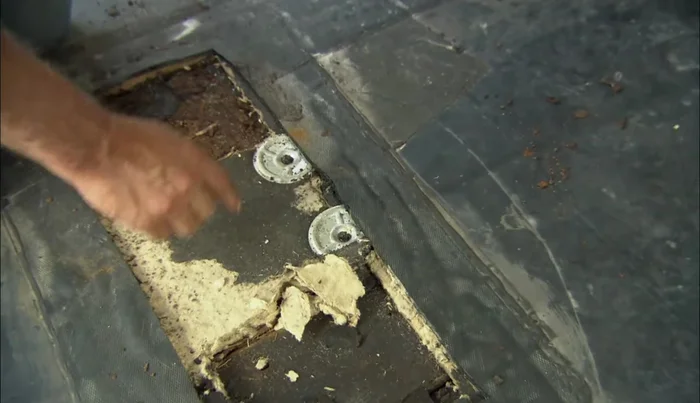
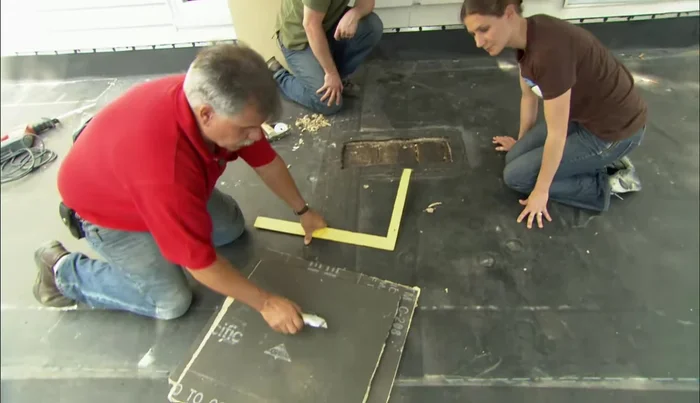
- Measure the damaged area (7 3/4 x 8 1/2 in this example).
- Cut a replacement piece of high-density fiberboard to match the measurements, using another piece of substrate as a guide to avoid cutting through.
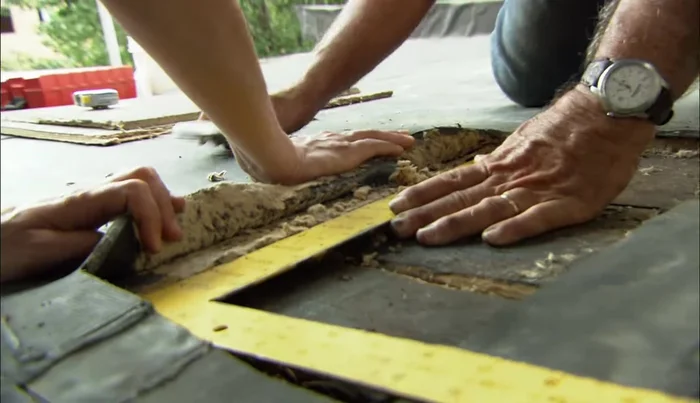
Remove and Replace Substrate - Install the new substrate piece using screws.
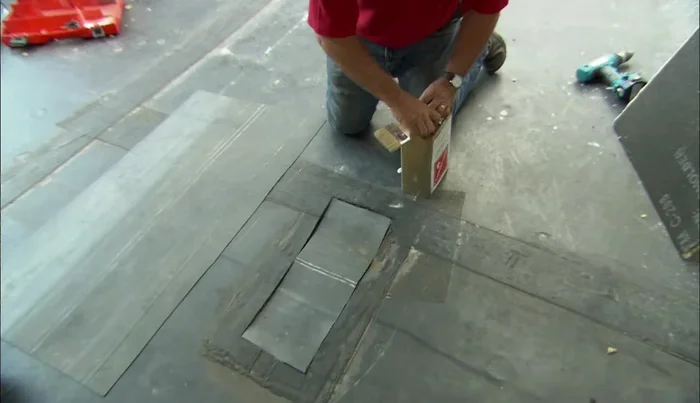
Remove and Replace Substrate Prepare for Patching
- Use scrap pieces of rubber to fill any depressions before patching.
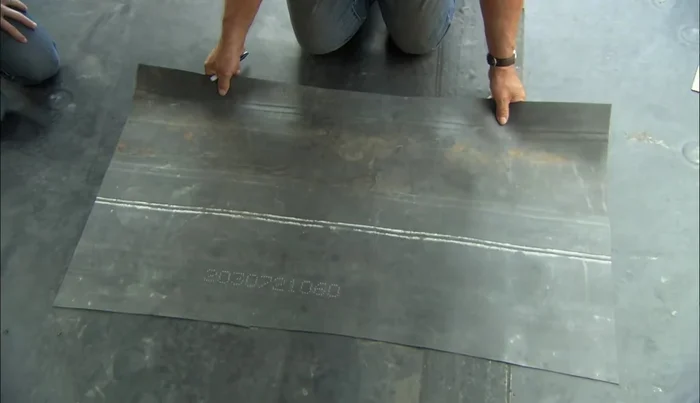
Prepare for Patching Cut and Position Rubber Patch
- Cut the rubber roof patch to the desired size, using a piece of fiberboard underneath for support.
- Position the patch over the hole and mark its outline on the old rubber roof.
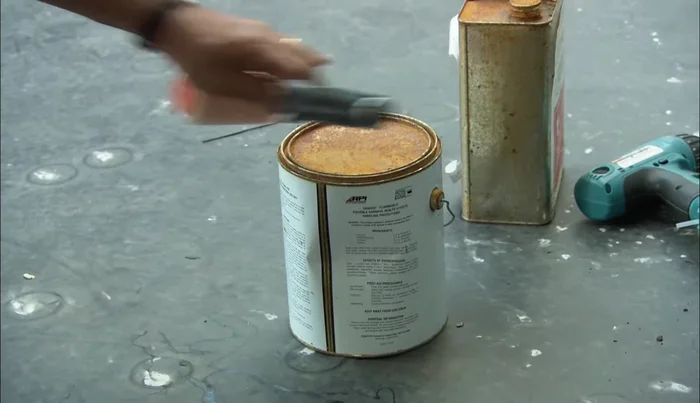
Cut and Position Rubber Patch Clean and Apply Adhesive
- Clean both surfaces (the roof and underside of the patch) with membrane cleaner.
- Apply rubber cement to the roof and half of the patch, let dry.
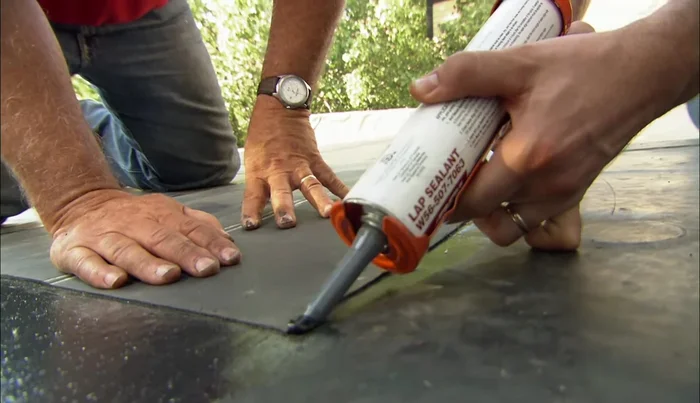
Clean and Apply Adhesive Install and Seal Patch
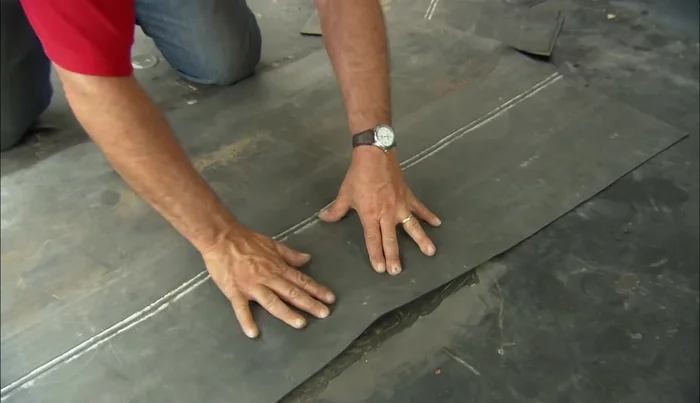
- Apply the patch to the roof, smoothing it out to avoid stretching.
- Apply lap sealant around the edges of the patch.
Install and Seal Patch

Read more: DIY Roof, Shingle, Fence, and Flashing Repair with Henry Wet Patch 208
Tips
- Use a high-density fiberboard substrate under the rubber roof for added resilience.
- Clean the surfaces thoroughly with membrane cleaner before applying adhesive for a strong bond.
- Avoid stretching the patch while applying it to ensure a smooth, even finish.