Love the look of rustic farmhouse décor but intimidated by complicated DIY projects? Then you're in the right place! This guide will show you how to build a charming and functional rustic crate bookshelf in a fraction of the time you might expect. Forget expensive, pre-made shelving units; we’re harnessing the beauty of repurposed wooden crates to create a unique and personalized piece for your home. This project requires minimal tools and a handful of readily available materials, making it perfect for beginners or anyone looking for a quick weekend project.
Transforming ordinary crates into a stunning bookshelf is easier than you think. We'll walk you through each step of the process, from selecting your crates and preparing the wood to assembling the shelves and adding those final rustic touches. Ready to get your hands dirty and create a beautiful, one-of-a-kind bookshelf? Let's dive into the step-by-step instructions!
Preparation and Safety Guidelines
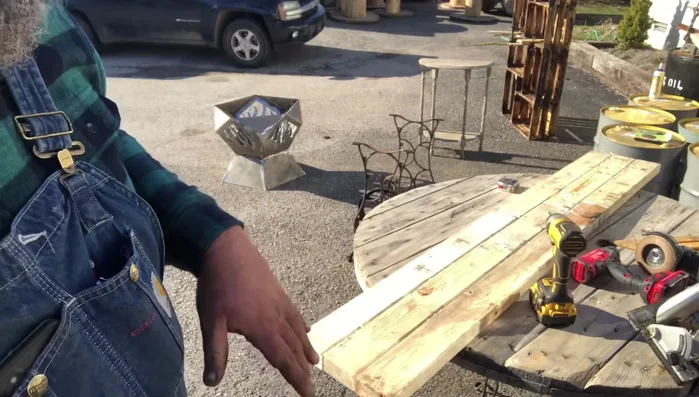
- Vegetable crates
- Torch
- Wire brush (optional)
- Wood glue
- Screws
- Sandpaper (120 grit)
- Danish Oil (dark walnut)
- Paint (white)
- Safety Glasses
- Always wear safety glasses to protect your eyes from flying debris while sawing and hammering.
- Ensure the crates are sturdy and free of any loose nails or splinters before assembling. Sand any rough edges to prevent injuries.
- Use appropriate-sized screws and a level to ensure the bookshelf is stable and won't tip over once loaded with books.
Step-by-Step Instructions
Prepare the Crates
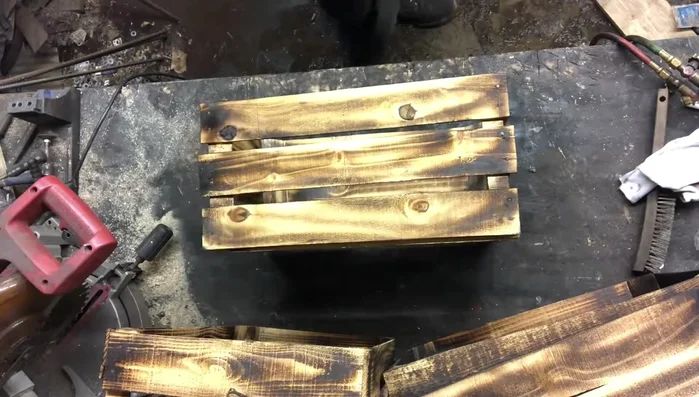
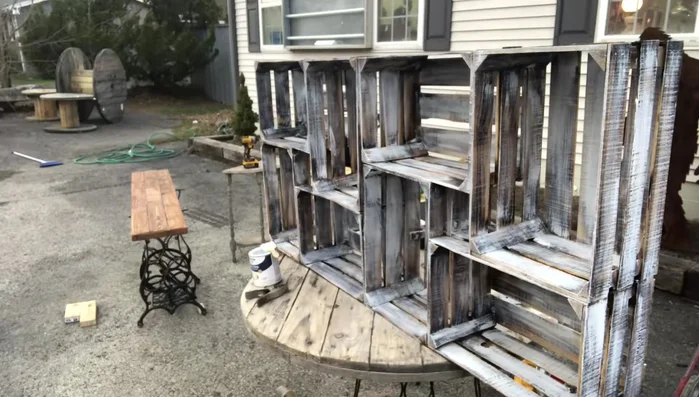
- Lightly toast the vegetable crates with a torch. Avoid charring; aim for a light toasting effect.
- Lightly brush the crates with a wire brush (optional) to create a slightly rough texture. If you don't have a wire brush a rubber duckie can be used instead.
- Paint the crates white (optional)

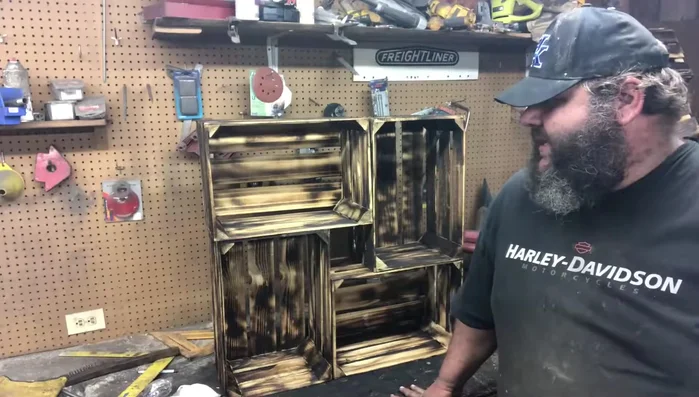
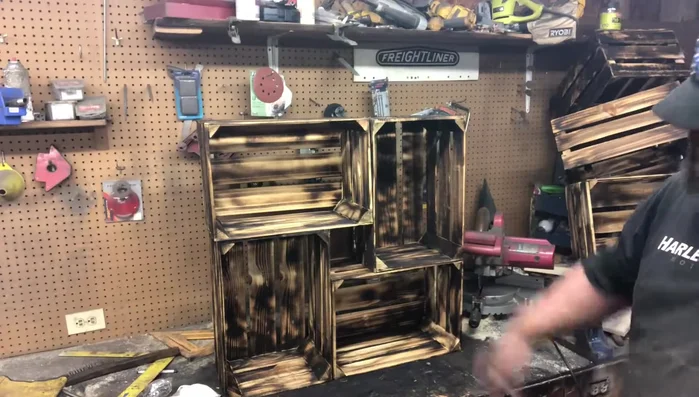
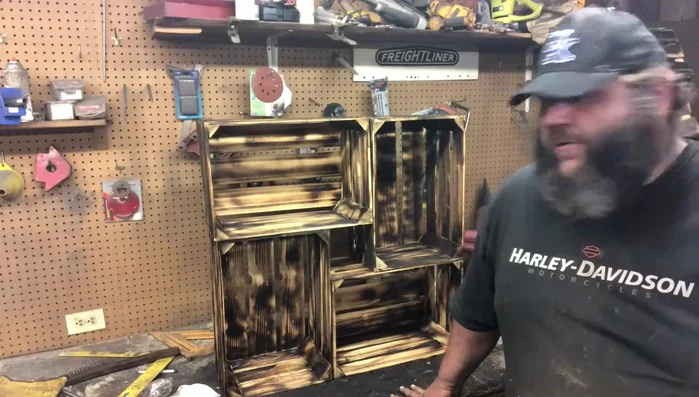
Prepare the Crates Assemble the Base
- Build two identical structures using the crates. Glue the crates together to form each structure.
- Glue the two structures together side-by-side.
Assemble the Base Build the Top
- Construct the top of the bookshelf using scrap wood. Glue and clamp it into place.
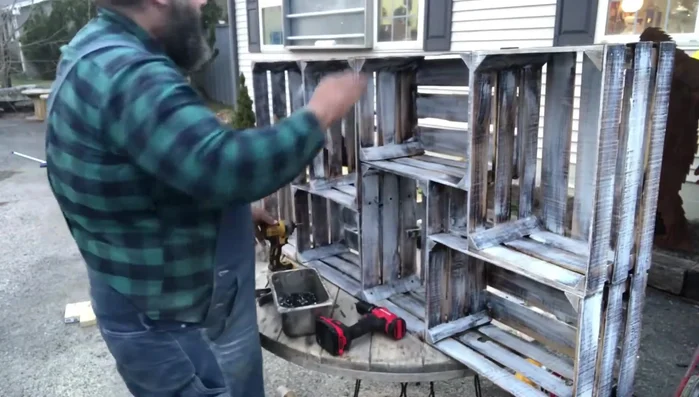
Sand and Finish
- Sand the entire bookshelf using a grinder and 120 grit sandpaper to smooth the surface.
- Apply several coats of dark walnut Danish oil to finish and stain the bookshelf.
Sand and Finish Final Assembly
- Secure the bookshelf with screws for added stability.
- Mount the top to the bookshelf.
Final Assembly

Read more: DIY Upcycled Bed Frame: A Step-by-Step Guide
Tips
- Use a low torch setting to avoid burning the crates.
- Allow adequate drying time between coats of Danish oil.