Mobile home vents, while essential for proper ventilation and preventing moisture buildup, are notorious for becoming leaky over time. This can lead to significant problems, ranging from uncomfortable drafts and energy inefficiency to more serious issues like mold growth and structural damage. A poorly sealed vent pipe can quickly escalate from a minor inconvenience to a costly repair, making proper sealing crucial for maintaining the health and longevity of your mobile home. Neglecting this seemingly small detail can have far-reaching and detrimental consequences.
Understanding how to correctly seal a mobile home vent pipe is a valuable skill for any mobile home owner. A leaky vent not only compromises your home's comfort and efficiency, but can also void warranties and create a breeding ground for unwanted pests. This article provides a clear and comprehensive, step-by-step guide on how to effectively seal your mobile home vent pipes and prevent those frustrating and potentially expensive leaks. Let's dive into the process!
Preparation and Safety Guidelines
- hammer
- scraper/chisel
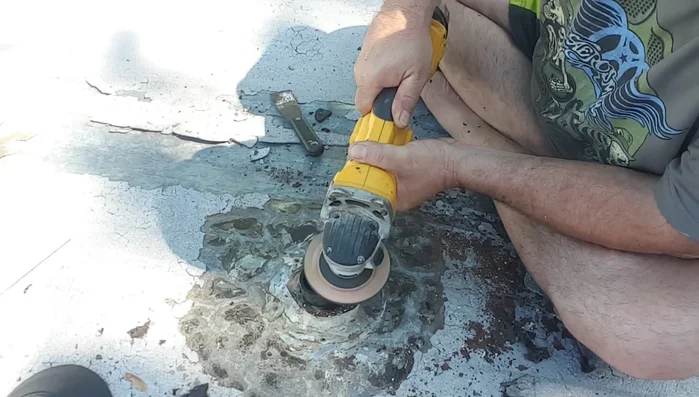
- grinder
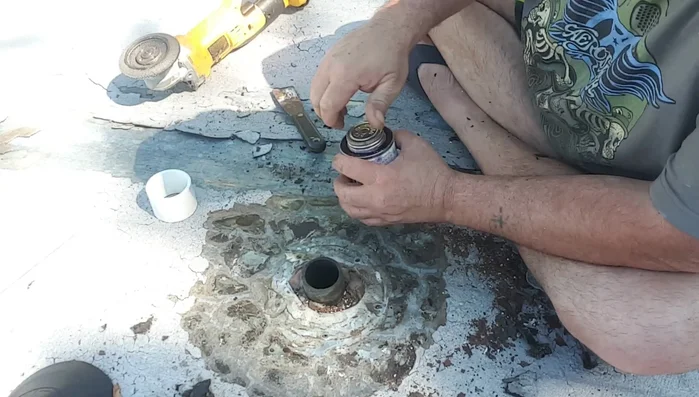
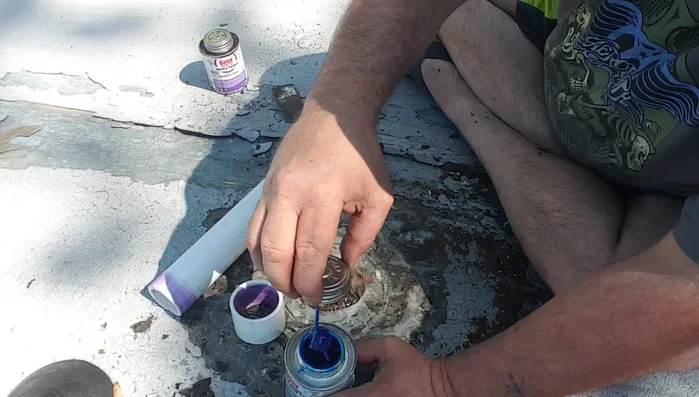
- purple primer
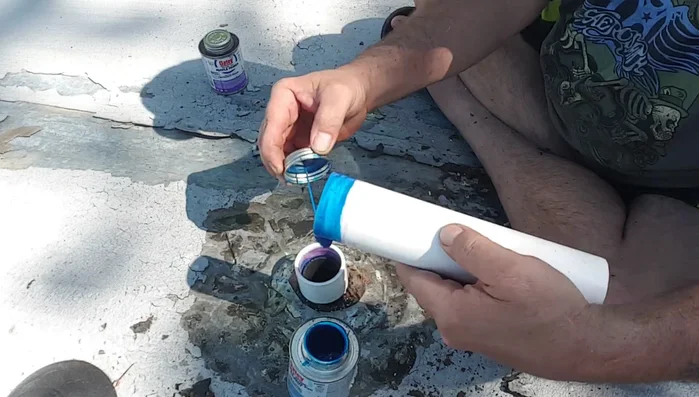
- glue
- tar
- caulking gun (optional)
- Always disconnect power to any nearby electrical components before working near vents to prevent electric shock.
- Use appropriate safety gear, including gloves and eye protection, to prevent injury from sharp edges or sealant materials.
- Ensure adequate ventilation while working with sealants, as many contain fumes that can be harmful if inhaled.
Step-by-Step Instructions
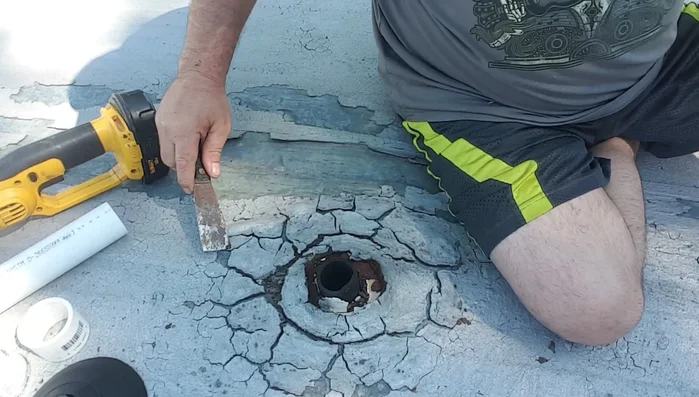
Preparation
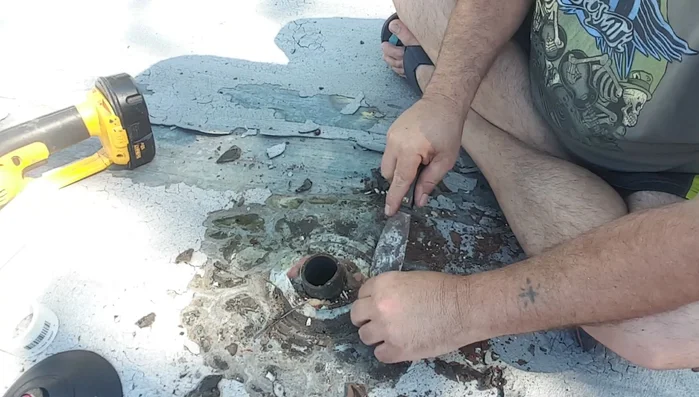
- Remove old, damaged tar and debris from around the vent.
- Clean the vent flange and surrounding area.
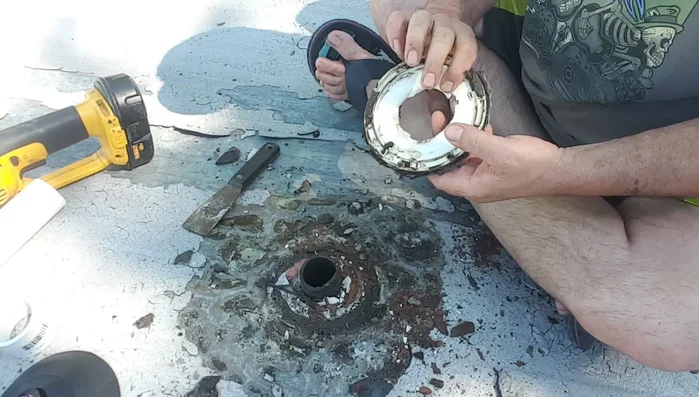
- Remove the old vent pipe and screws if necessary.
- Clean and prepare the vent opening.

Preparation Vent Pipe Installation
- Straighten the new vent pipe if needed.
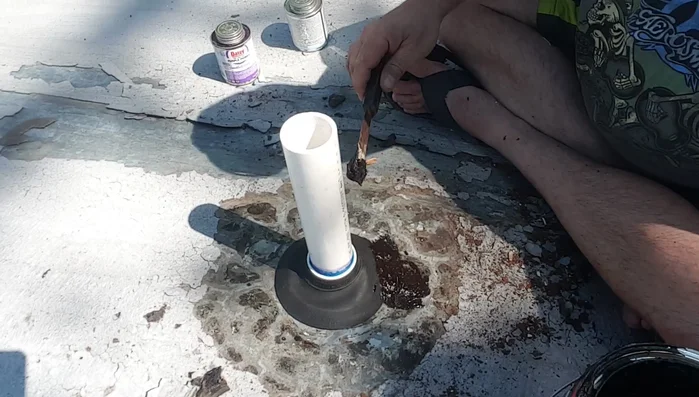
- Test fit the new vent pipe. Apply purple primer to ensure a clean, good seal.
- Apply glue to the vent pipe and opening.
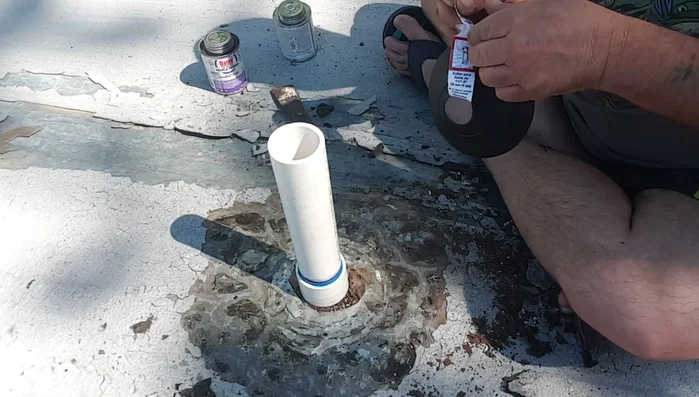
- Insert the new vent pipe into the opening and ensure it’s seated properly.
Vent Pipe Installation Boot Installation
- Apply the boot (rubber sealant) over the pipe and vent opening. May require some force and possibly trimming the boot.
Boot Installation Sealing
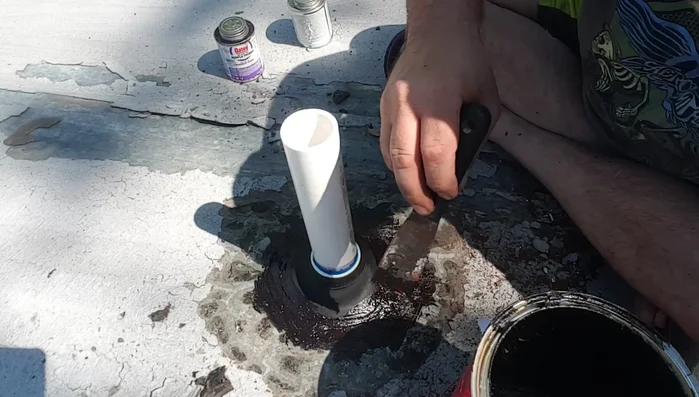
- Apply a thin, even coat of tar or caulking around the base of the boot and vent.
- Feather out the tar to create a smooth, weatherproof seal.
Sealing
Read more: DIY Roof, Shingle, Fence, and Flashing Repair with Henry Wet Patch 208
Tips
- Don't apply tar or sealant too thickly. A thin coat is better to prevent cracking and future leaks.
- Ensure all surfaces are clean and dry before applying glue and sealant.
- A tight, secure fit is crucial for a leak-proof seal.
- Properly sealed vents prevent unpleasant odors from backing up into the home.