Tired of staring at that dull, lifeless mirror frame? Does its plainness bore you to tears? Then get ready to unleash your inner artist and transform that mundane piece into a charming focal point! This project demonstrates how to breathe new life into a boring mirror frame using a simple yet elegant shabby chic bird print makeover. We’ll transform a drab accessory into a statement piece that will add a touch of rustic elegance to any room. The process is surprisingly easy and requires minimal crafting skills, perfect for beginners and seasoned DIY enthusiasts alike.
Imagine a mirror framed not in plain wood, but in a delightful tapestry of charming birds perched amongst delicate floral patterns, all rendered in soft, muted colours. This shabby chic makeover is achievable with readily available materials, and the results are truly breathtaking. Ready to give your mirror a personality makeover? Let's dive into the step-by-step instructions and create your own stunning shabby chic bird print masterpiece.
Preparation and Safety Guidelines
- Sandpaper
- Damp cloth
- Acrylic paint
- Decoupage napkins (with bird print)
- Mod Podge (gloss finish)
- DecoPatch Glaze (or similar sealant)
- Paintbrush
- Mirror
- Always work in a well-ventilated area when using paints and sprays. Wear a mask to protect your lungs from fumes.
- Use caution when handling sharp objects like scissors or craft knives. Always cut away from yourself.
- Ensure the mirror is securely fastened to its frame before and after the upcycling process to prevent breakage and injury.
Step-by-Step Instructions
Preparation
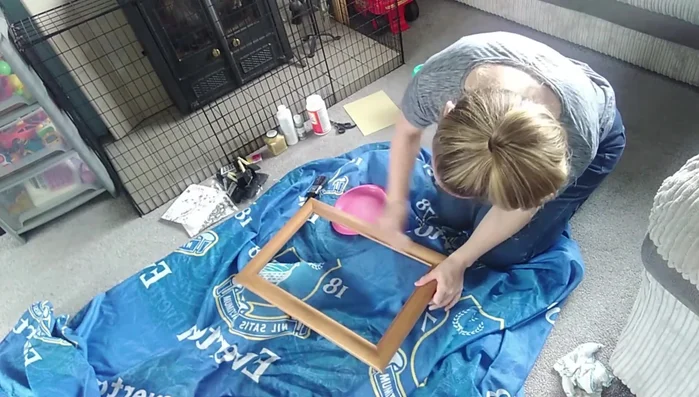
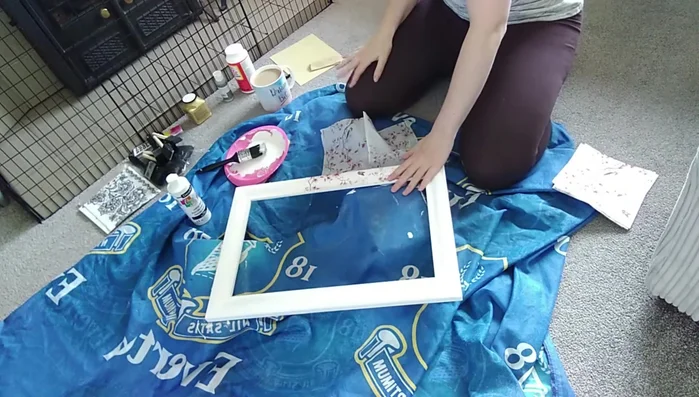
- Sand the mirror frame lightly to remove marks and scratches.
- Wipe the frame with a damp cloth to remove dust.

Preparation Base Coat Application
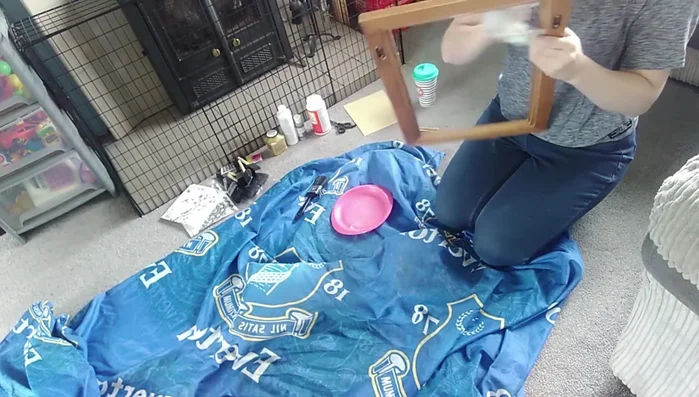
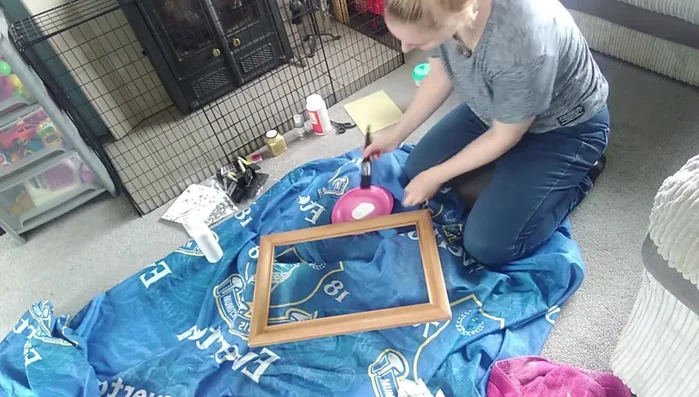
- Paint the frame with a base coat of acrylic paint. Don't aim for perfection; brushstrokes will add to the shabby chic look.
Base Coat Application Decoupage Application
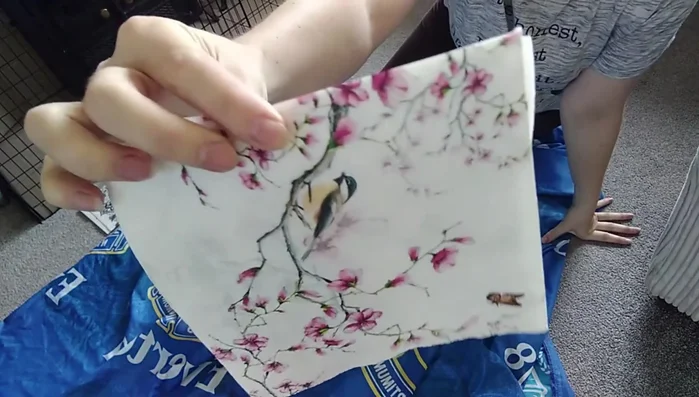
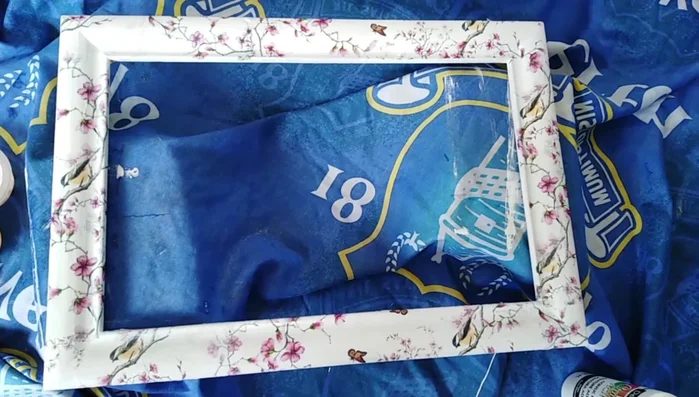
- Carefully separate the top layer of the decoupage napkin, revealing the bird print.
- Position the napkin layer on the frame and apply Mod Podge over the top to adhere it, smoothing out any air bubbles.
- Allow the Mod Podge to dry completely.
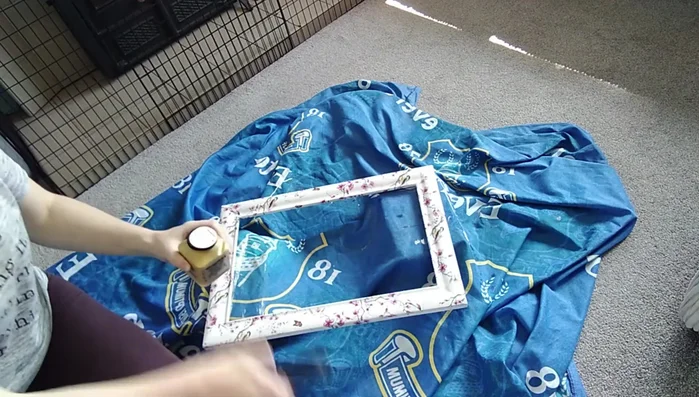
Decoupage Application Sealing and Finishing
- Apply a finishing gloss (like DecoPatch Glaze) to seal and protect the design. Let dry.
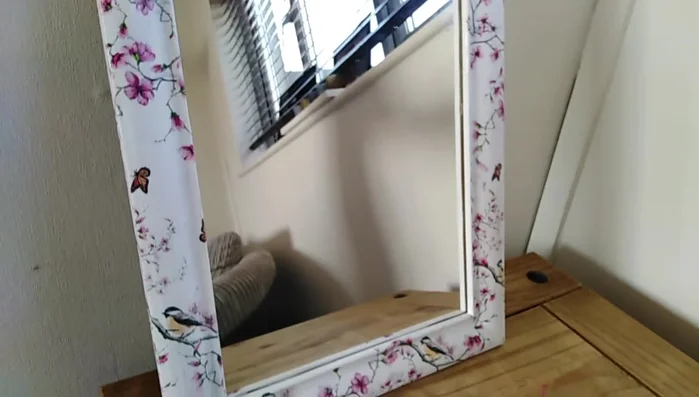
Sealing and Finishing Final Assembly
- Insert the mirror into the frame.
Final Assembly
Read more: DIY Upcycled Bed Frame: A Step-by-Step Guide
Tips
- A light sanding is sufficient; you don't need a perfect finish as the paint and napkin will cover imperfections.
- Embrace imperfections in the paint application for a more authentic shabby chic look.
- Decoupage napkins can be delicate; handle them carefully to avoid tearing. Sometimes you need to peel off multiple layers to get just the image layer.
- A sealant is crucial for a durable and water-resistant finish.