Cooking is the heart of many homes, and a reliable stove is essential for preparing delicious meals. However, a faulty or outdated stove outlet can pose a significant safety hazard, potentially leading to electrical shocks, fires, or even appliance malfunctions. A damaged outlet might be sparking, feel warm to the touch, or show signs of physical damage like loose wires or a broken faceplate. Ignoring these issues can be incredibly risky, impacting both the functionality of your stove and the safety of your household. Upgrading to a properly functioning outlet is crucial for peace of mind and a safe cooking environment.
This is especially important given the high-power demands of electric stoves. Replacing a stove outlet might seem daunting, but with the right tools and a methodical approach, it's a manageable DIY project. This step-by-step guide will walk you through the entire process, ensuring you can safely and effectively replace your stove outlet and restore confidence in your kitchen's electrical system. Let's get started!
Preparation and Safety Guidelines
- Non-contact voltage meter or multimeter
- Screwdriver (flat head and Phillips head)
- Drill
- Pliers
- New stove outlet
- Always turn off the power to the outlet at the breaker box before beginning any work. Failure to do so could result in serious injury or death.
- Ensure the stove is unplugged and completely cool before working near the outlet. Working with a hot appliance or live wires is extremely dangerous.
- If you are not comfortable working with electricity, hire a qualified electrician. Improper wiring can lead to fire hazards and other dangerous situations.
Step-by-Step Instructions
Preparation
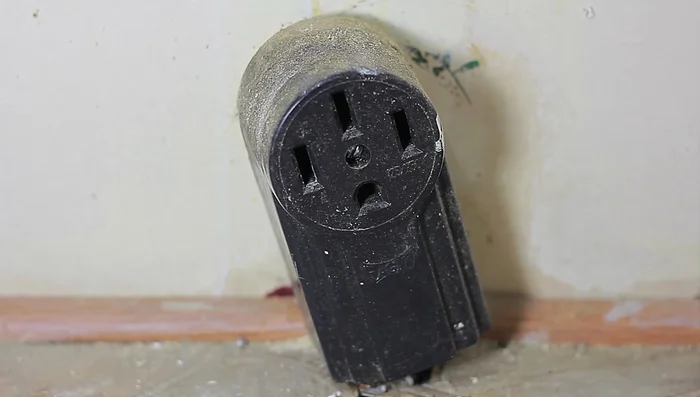
- Verify the correct outlet type by checking the old outlet or stove cord prongs.
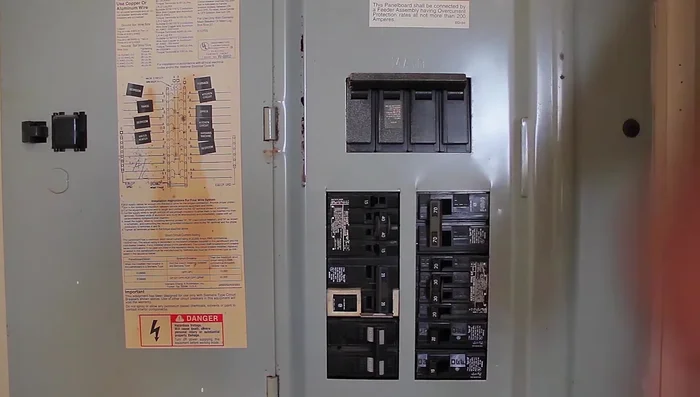
- Turn off the breaker to ensure no electricity is present at the outlet.
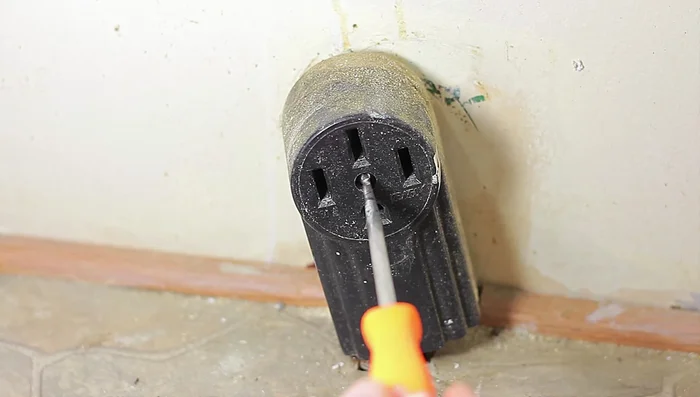
- Double-check for electricity using a voltage meter.

Preparation Remove Old Outlet
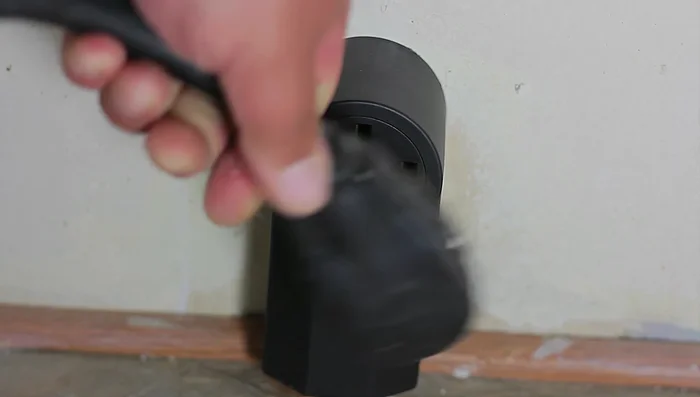
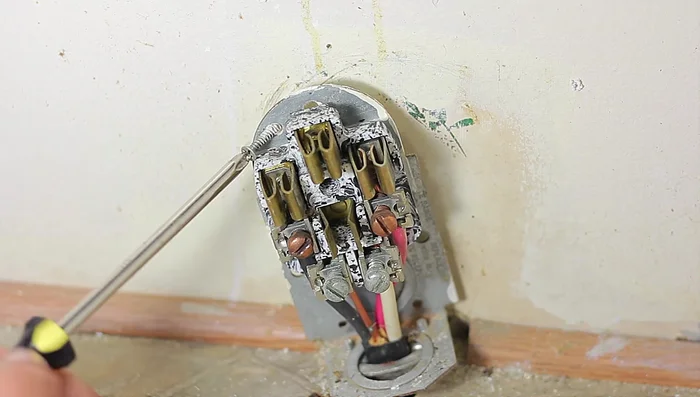
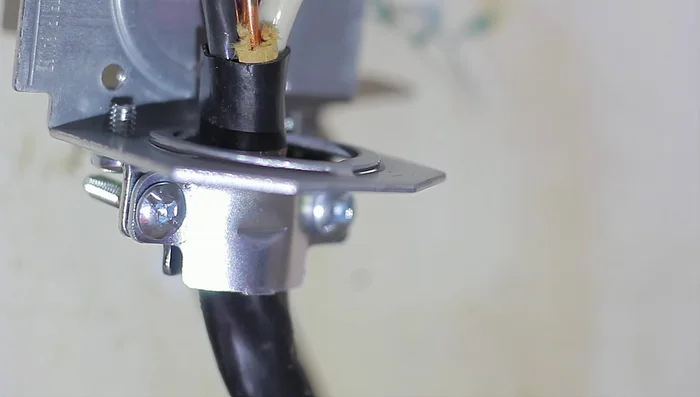
- Remove the center screw and plastic cover of the old outlet.
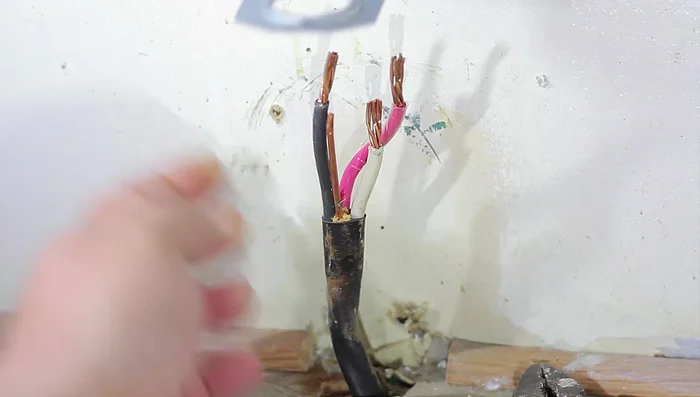
- Take a picture of the wire setup for reference during reinstallation.
- Remove the screws holding the outlet to the wall.
- Loosen the screws holding the wires to the outlet (75% is enough).
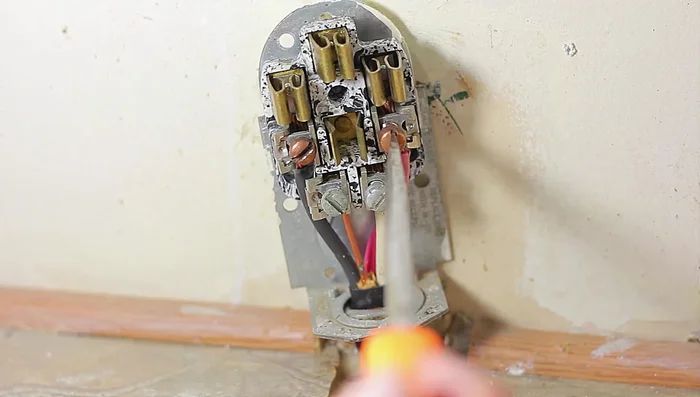
Remove Old Outlet - Remove the wire clamp by removing one screw completely.
- Remove the old outlet.
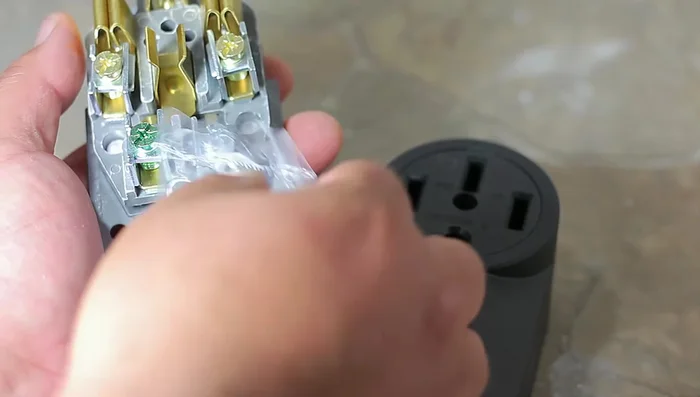
Remove Old Outlet Prepare New Outlet
- Remove the appropriate knockout on the new outlet (bottom in this case).
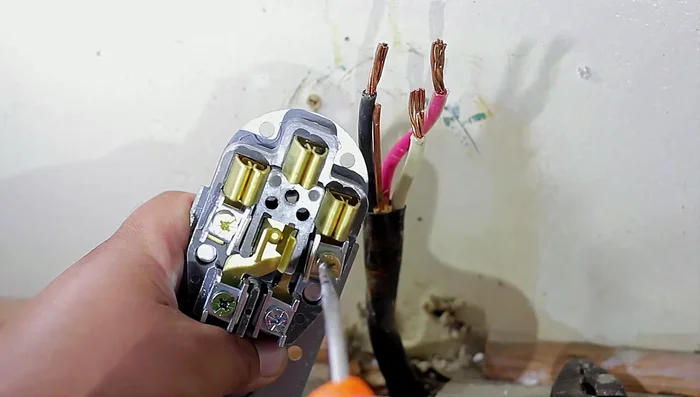
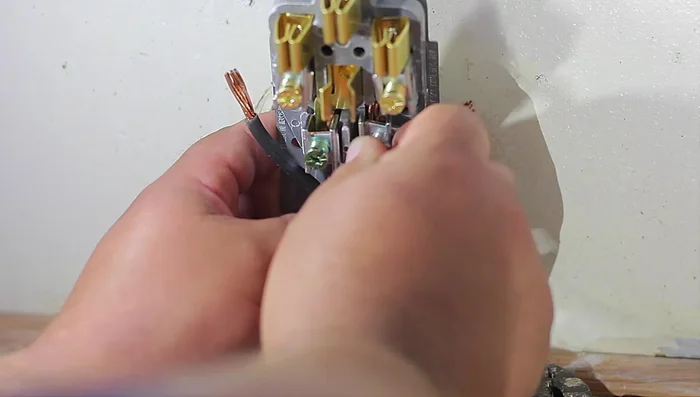
Prepare New Outlet Wire the New Outlet
- Loosen the screws that hold the wires on the new outlet. Refer to the picture of the old setup.
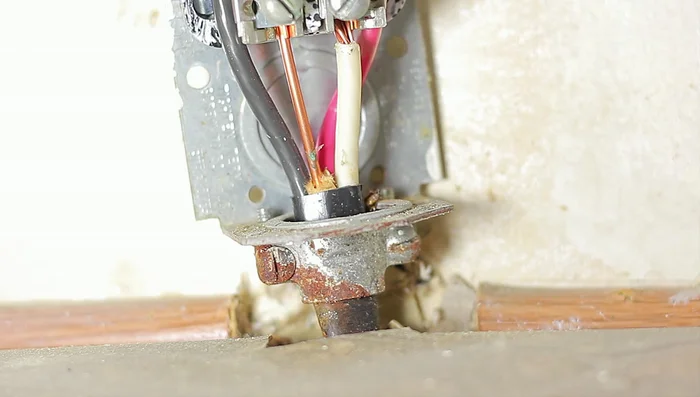
- Install the ground and neutral wires first.
- Install the remaining wires, ensuring only the metal part of the wire touches the screw.
- Tighten all screws securely.
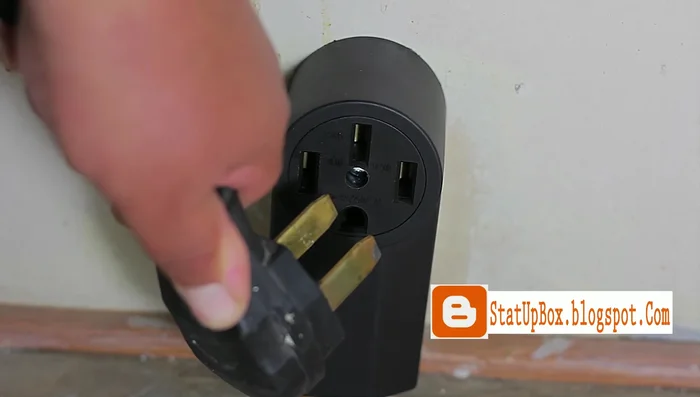
Wire the New Outlet Install New Outlet
- Attach the clamp and screws to the wall.
- Reinstall the plastic housing and center screw.
Install New Outlet

Read more: Installing an Outdoor GFCI Receptacle: A Step-by-Step Guide
Tips
- Always keep your screws and parts within easy reach.
- Don't let the plastic touch the screw to prevent overheating.