Roofing projects often involve the tedious and time-consuming task of installing underlayment. Traditional asphalt-saturated felt, while familiar, presents drawbacks such as vulnerability to tearing, moisture absorption, and a generally slower installation process. Homeowners and professional contractors alike are increasingly turning to synthetic roofing underlayment as a superior alternative. This innovative material offers enhanced strength, durability, and weather resistance, promising a more efficient and ultimately more resilient roof structure. Its lighter weight and ease of handling translate to significant time savings on the job site, resulting in a faster project completion.
This article will explore the many advantages of synthetic roof paper, comparing its performance and installation characteristics to traditional felt. Ready to learn how to seamlessly integrate this faster, stronger alternative into your next roofing project? Let's delve into a step-by-step guide to installing synthetic roof paper.
Preparation and Safety Guidelines
- Hitachi Cap Nail Gun
- Gopro
- Cap nails (alternative to nail gun)
- Safety Gear
- Always wear appropriate safety gear, including gloves, eye protection, and a dust mask. Synthetic roofing underlayment can irritate skin and eyes, and produce dust particles during installation.
- Ensure proper ventilation. Work in well-ventilated areas to avoid inhaling fumes, especially when working with adhesive-backed underlayments or during hot weather.
- Follow the manufacturer's instructions carefully. Different synthetic underlayments have varying installation procedures and requirements. Improper installation can compromise the roof's performance and void warranties.
Step-by-Step Instructions
Preparation
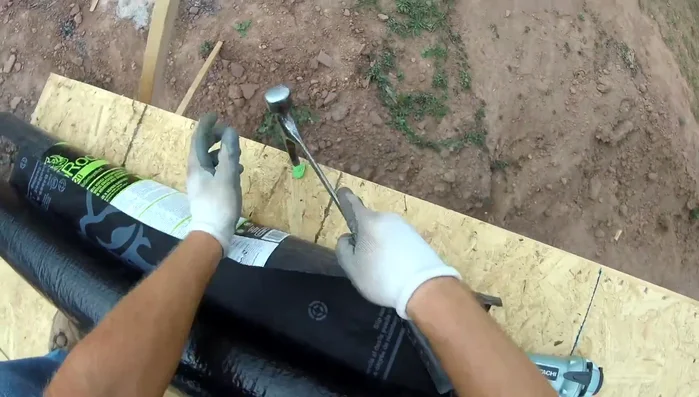
- Anchor your staples and nail gun ammo to prevent slippage.

Preparation Laying the First Row
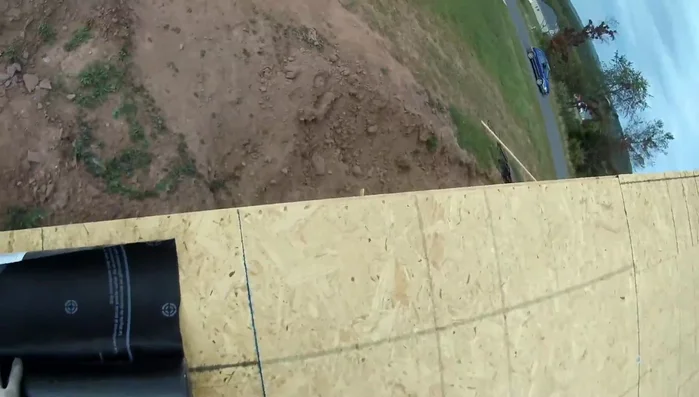
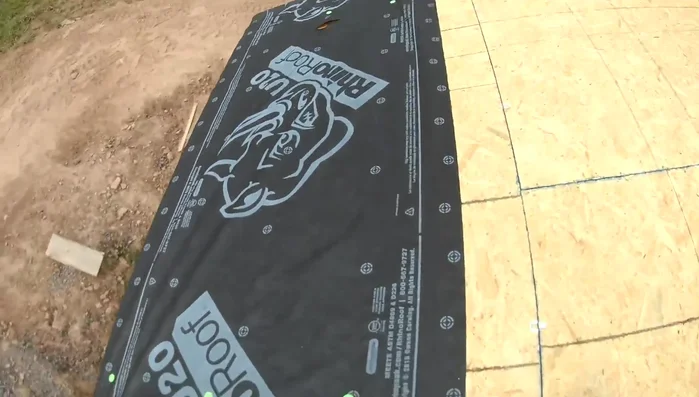
- Align the synthetic roof paper with the edge of the house, allowing for a slight overlap (about an inch) to accommodate potential shrinkage.
- Secure the edges of the first row firmly with nails to prevent wind from getting underneath.
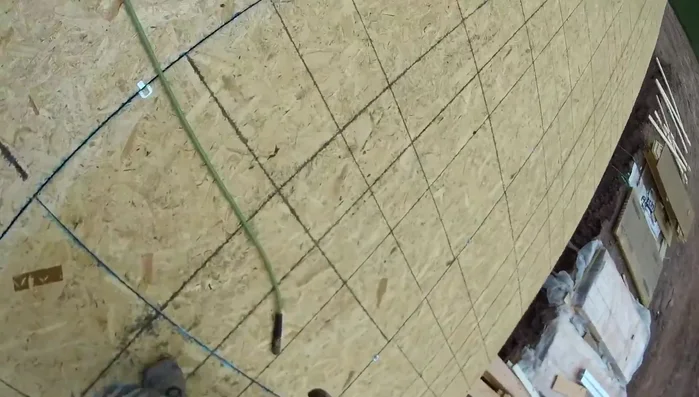
- Roll out the synthetic roof paper, allowing a slight overhang (about a quarter inch) to ensure complete coverage, even with shrinkage. Use three nails to keep the paper square.
- Nail the first row thoroughly, hitting every circle on the synthetic paper for maximum stability, especially near the edge of the roof.
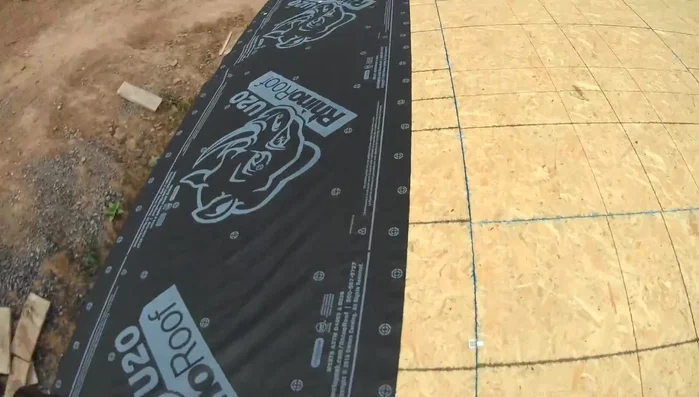
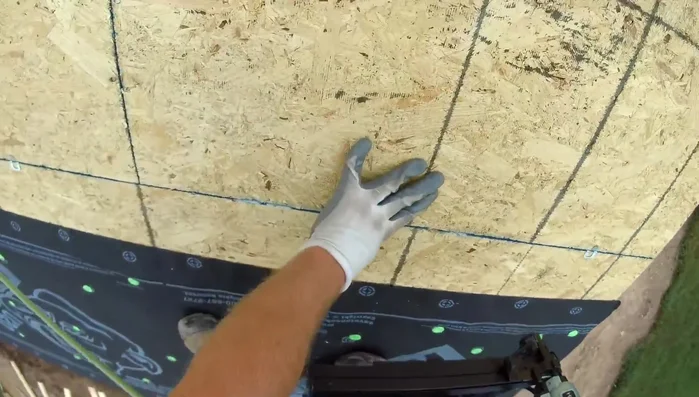
Laying the First Row Subsequent Rows
- For subsequent rows, nail approximately half of the designated circles on the synthetic roof paper.
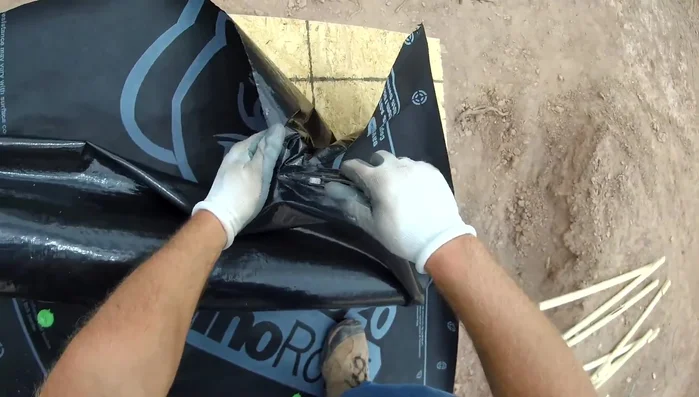
Subsequent Rows Cutting the Synthetic Paper
- Mark a cut line, aiming for a square cut to minimize overhang. For full rolls, this involves estimating the cut while holding the heavy roll.
- When the roll is smaller, trace the edge of the fascia board for an easier, more accurate cut.
Cutting the Synthetic Paper Completing the Roof
- Continue nailing the synthetic paper until you reach the top of the roof. Cut the final row flush with the plywood edge.
Read more: DIY Roof, Shingle, Fence, and Flashing Repair with Henry Wet Patch 208
Tips
- Safety first! Always prioritize safety when working on a roof. Let someone know your location and wear appropriate safety gear.
- Be mindful of the air hose: Avoid stepping on the air hose to prevent accidents.
- Use a cap nail gun for increased speed and efficiency. If you don’t have one, hand nailing is an option, but significantly slower.
- Synthetic roof paper is superior to felt due to its durability and resistance to ripping. It also offers better water resistance, especially when wet.
- Consider the cost-effectiveness: Synthetic roof paper is often cheaper than felt per square foot.