Maintaining a comfortable home temperature is crucial for both comfort and energy efficiency. Understanding your thermostat's wiring is key to ensuring your heating and cooling systems function properly. A faulty or incorrectly wired thermostat can lead to system malfunctions, wasted energy, and even costly repairs. This often overlooked aspect of home maintenance is simpler than many homeowners believe. Whether you're installing a new thermostat, troubleshooting an existing one, or simply curious about its inner workings, a grasp of basic thermostat wiring is invaluable.
This guide provides a clear and concise explanation of basic thermostat wiring for both furnace and air conditioner systems. We will break down the process into easy-to-follow steps, ensuring even beginners can confidently tackle this common home improvement task. Let's dive into our step-by-step guide to mastering the art of thermostat wiring.
Preparation and Safety Guidelines
- Thermostat
- Screwdriver (flathead)
- Wire strippers (optional)
- Wire nuts (if needed)
- Always turn off the power to the furnace and air conditioner at the breaker box before starting any wiring work. Failure to do so could result in serious electric shock or injury.
- If you are unsure about any aspect of the wiring process, consult a qualified HVAC technician. Incorrect wiring can damage your equipment and create safety hazards.
- Take clear photos of the existing wiring before disconnecting anything. This will help you rewire everything correctly and avoid confusion.
Step-by-Step Instructions
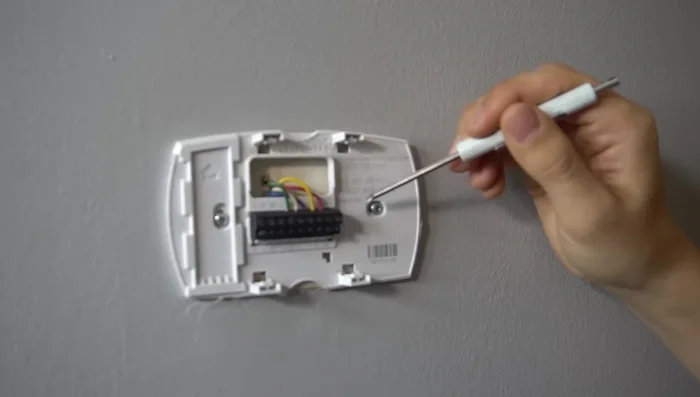
Power Off and Thermostat Removal
- Turn off the power switch at the furnace.
- Remove the thermostat from the wall base. Take a picture or label the wires before disconnecting them.
Disconnect Thermostat Wires
- Disconnect all wires from the thermostat base by loosening the screws.
- Spread the wires out to prevent them from falling back into the wall.

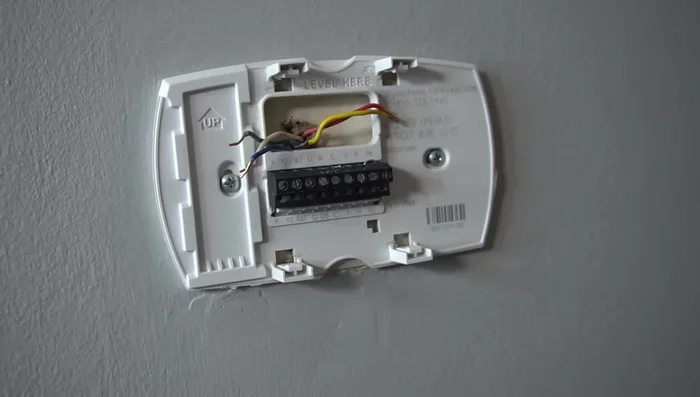
Disconnect Thermostat Wires Wire Identification and Color Coding
- Identify the wires (R, Y, G, W, C) and their corresponding colors. Note that colors may vary.
Wire Identification and Color Coding Connect Wires to Thermostat Base
- Connect the wires to the thermostat base terminals (R, Y, G, W, C) matching the wire colors. Ensure the 'C' (common) wire is connected; otherwise, the thermostat may not work.
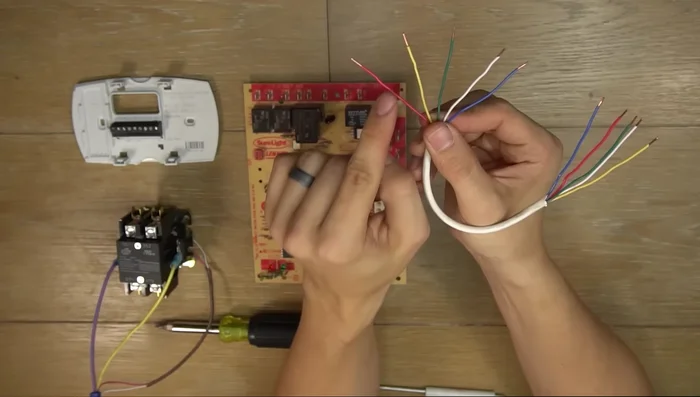
Connect Wires to Thermostat Base Connect Thermostat to Furnace Control Board
- Connect the wires from the thermostat to the furnace control board, matching the terminals (R, Y, G, W, C).
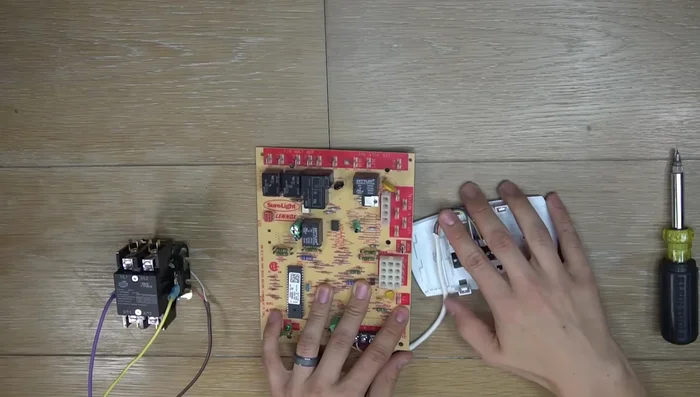
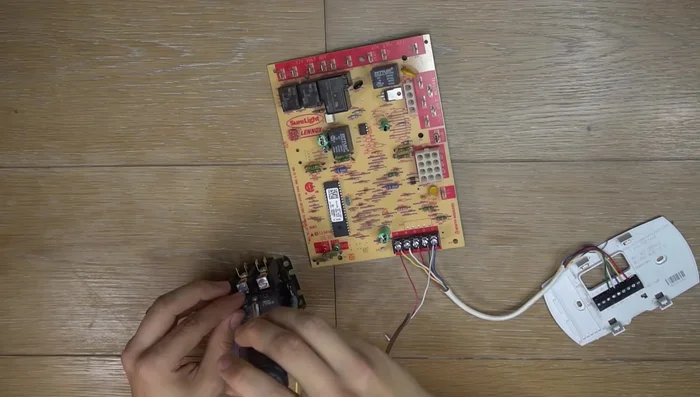
Connect Thermostat to Furnace Control Board Connect to Air Conditioner Contactor
- Connect the two-wire thermostat wire (typically brown, but can vary) from the control board to the outdoor air conditioner unit's contactor. Connect to 'Y' and 'C' on the control board; the order doesn't matter.
Connect to Air Conditioner Contactor Verify Contactor Operation
- Verify the contactor is functioning correctly by checking the plunger. If it's not pulling in, there might be other issues beyond the thermostat.
Verify Contactor Operation


Read more: Installing an Outdoor GFCI Receptacle: A Step-by-Step Guide
Tips
- Always take a picture or label the wires before disconnecting them to avoid confusion during reconnection.
- Some thermostats require a jumper wire between R and RC for cooling to function. Check your thermostat's documentation.
- Wire colors can vary; don't rely solely on color-coding. Refer to your equipment's wiring diagrams.