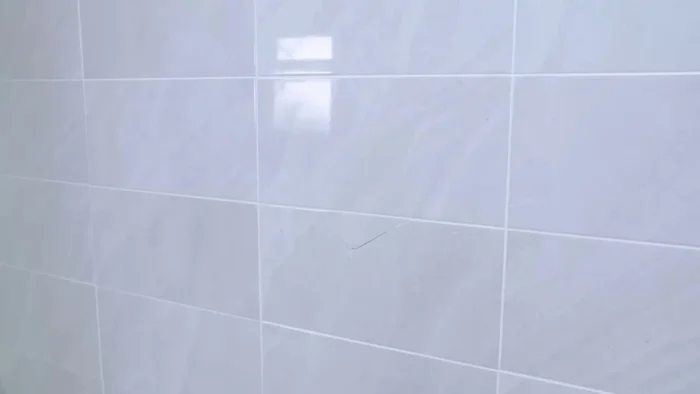
Cracked or damaged tiles can significantly detract from the aesthetic appeal of your home, whether it's a chipped bathroom tile or a fractured kitchen backsplash. These blemishes not only impact the visual beauty of your space but can also compromise the structural integrity of the surface, potentially leading to further damage and costly repairs down the line. Ignoring these imperfections is rarely a good idea, as water damage and further cracking are common consequences. Fortunately, repairing damaged tiles isn't always a job for professional contractors. With the right tools and a little patience, many common tile issues can be fixed at home.
This guide provides a comprehensive, step-by-step approach to repairing your cracked or damaged tiles, helping you restore your surfaces to their former glory. From assessing the damage and choosing the appropriate repair method, to expertly filling cracks and seamlessly blending the repair, we'll equip you with the knowledge and confidence to tackle this DIY project successfully. Let's dive into the detailed process and get those tiles looking brand new.
Preparation and Safety Guidelines
- Hammer
- Chisel
- Gaffer or Masking Tape
- Drill
- Ceramic Tile Bit
- Protective Goggles
- Gloves
- Grout Removing Rake or Heavy-duty Grout Rake
- Scraper
- Tile Spacers
- Grouting Spreader
- Grout Shaper
- Dry Sponge or Cloth
- Tile Adhesive
- Always wear safety glasses and a dust mask to protect your eyes and lungs from debris and tile fragments.
- Use appropriate personal protective equipment (PPE) such as gloves to prevent cuts and chemical exposure when working with adhesives, grout, or cleaning agents.
- Turn off electricity and water supplies to the affected area before starting any repairs to prevent electrical shock or water damage.
Step-by-Step Instructions
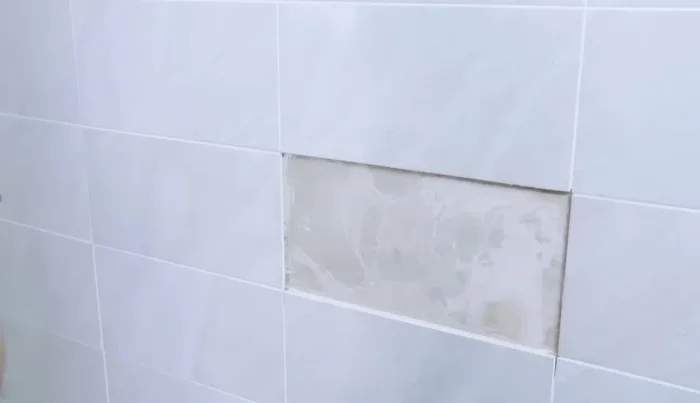
Assess and Prepare
- Assess the damage. For large cracks or holes, chip out the tile using a hammer and chisel . For smaller damage, use tape to secure the area
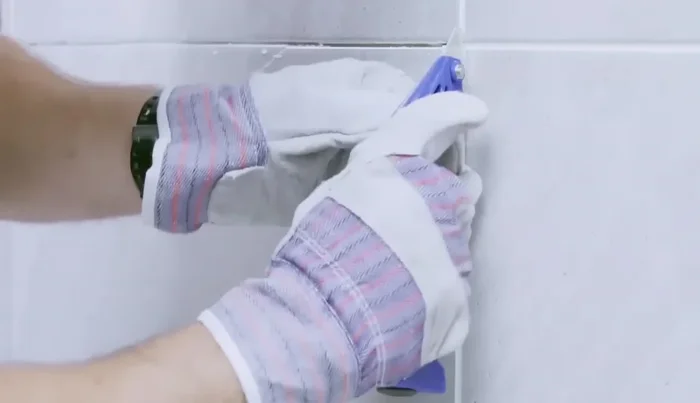
- Remove the tape and grout around the damaged tile using a grout removing tool .

Assess and Prepare Remove Damaged Tile
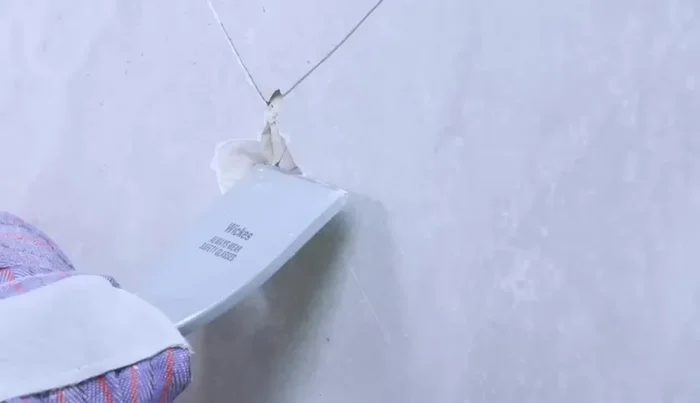
- Carefully drill a small, shallow hole in the center of the damaged tile using a drill with a ceramic tile bit . Remember to wear safety equipment
- Remove the damaged tile using a hammer and chisel, working from the center outwards .
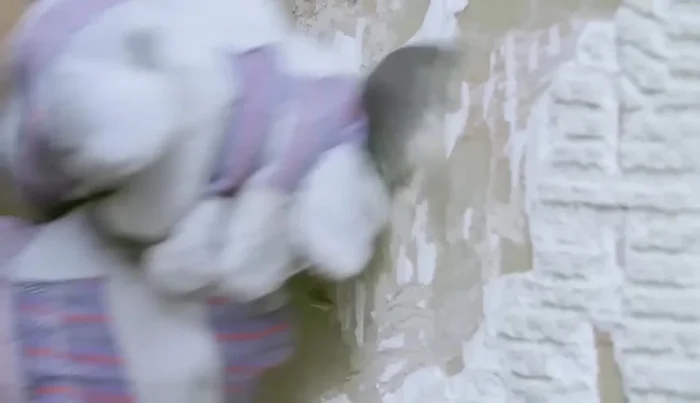
- Clean the wall surface of any remaining adhesive using a scraper or hammer and chisel .
Remove Damaged Tile Install Replacement Tile
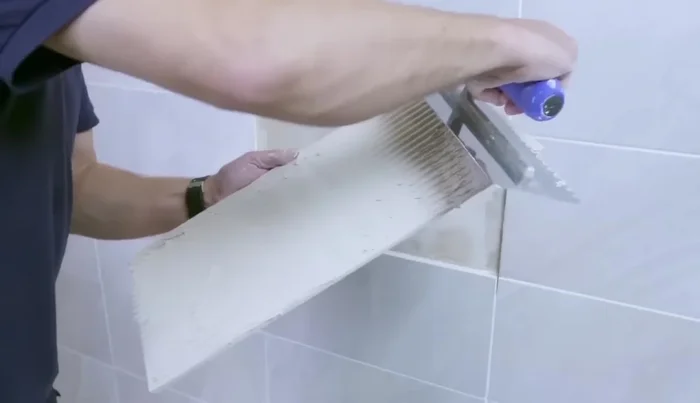
- Apply adhesive to the back of the replacement tile .
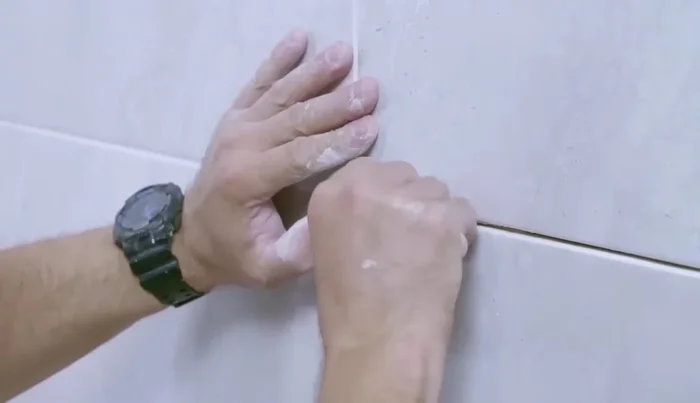
- Press the replacement tile firmly into position, ensuring it's flush with surrounding tiles . Adjust as needed
- Use tile spacers to maintain even grout lines .
Install Replacement Tile Grout and Finish
- Let the adhesive dry completely .
- Apply grout using a grouting spreader, working it into the joints .
- Once the grout is semi-hardened, use a grout shaper to create neat lines .
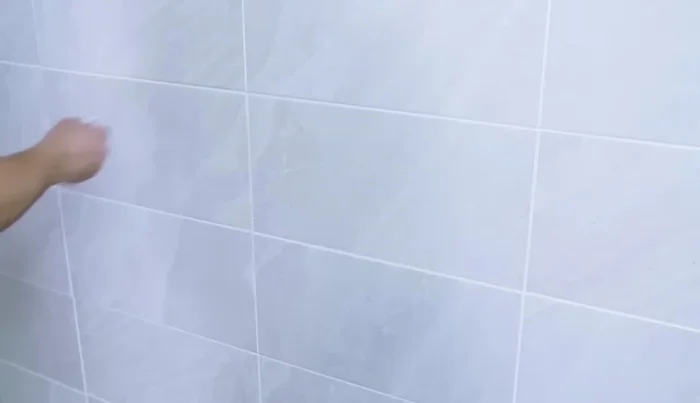
- After the grout has dried, buff the surface to remove residue .
Grout and Finish
Read more: Fixing Drywall Nail Pops: A Quick and Easy DIY Guide
Tips
- Keep spare tiles handy for easy replacement
- Wear protective goggles and gloves to prevent injury from broken tile shards