Smart home technology is rapidly transforming how we interact with our living spaces, and smart plugs are at the forefront of this revolution. One of the simplest and most effective ways to begin your smart home journey is by controlling your lamps with TP-Link Kasa smart plugs. These affordable and user-friendly devices offer a convenient way to automate lighting, schedule light changes, and even control your lights remotely, adding a layer of both convenience and security to your home. Imagine effortlessly turning off lights in a room you’ve left, or pre-setting the perfect ambiance for movie night – all from your smartphone.
This guide will walk you through the straightforward process of setting up your TP-Link smart plugs for seamless lamp control. Forget fumbling for switches in the dark; follow our step-by-step instructions below to unlock the potential of smart lighting and experience the benefits of a connected home.
Preparation and Safety Guidelines
- TP-Link Smart Plug Light Mini
- iPhone
- Wi-Fi Network
- Ensure your TP-Link smart plug is compatible with your lamp and its wattage. Overloading the plug can cause a fire hazard.
- Always plug the smart plug directly into a wall outlet; avoid using power strips or extension cords unless they are specifically rated for the smart plug's power draw.
- Never use the smart plug with damaged cords or outlets. Report any unusual smells, sounds, or excessive heat from the plug immediately.
Step-by-Step Instructions
Download and Open the App
- Download the Casa app from the App Store.
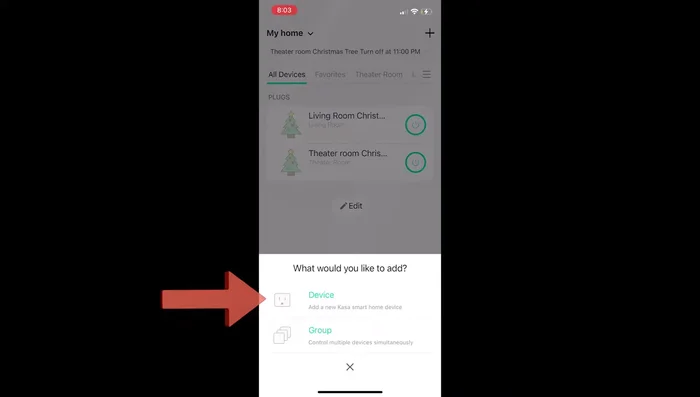
- Open the Casa app and select the plus sign to add a new device.

Download and Open the App Select Smart Plug and Plug In
- Select 'Device' > 'Smart Plugs' > 'Smart Plug Light Mini'.
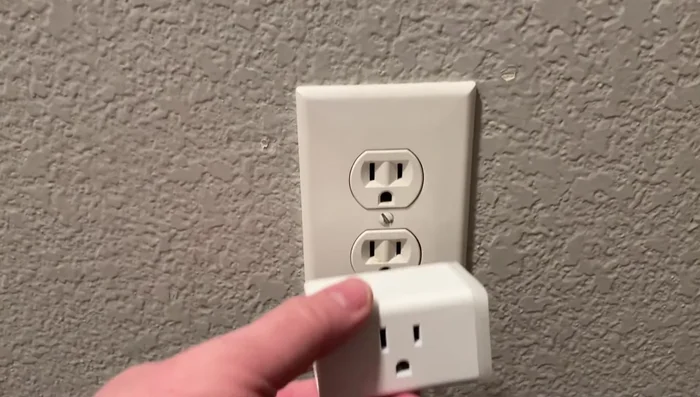
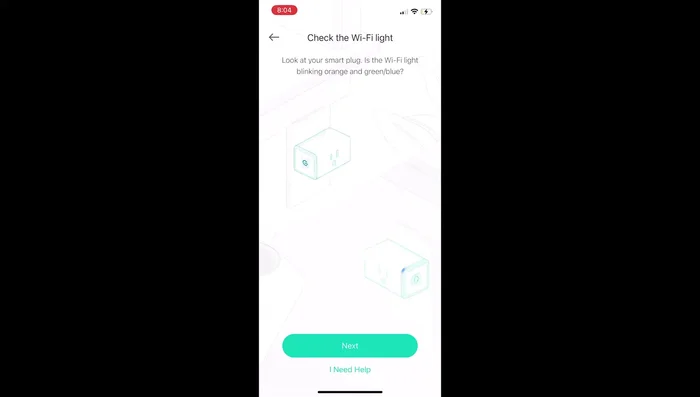
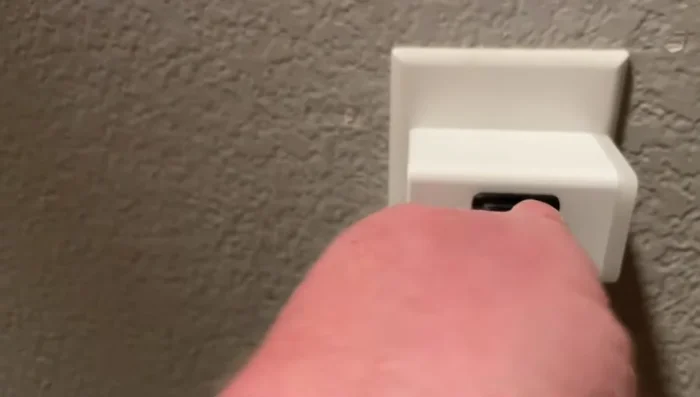
- Plug the Wi-Fi plug into the wall. It will start blinking orange and blue.
- Confirm the blinking lights in the app and hit 'Next'.
Select Smart Plug and Plug In Connect to TP-Link Network
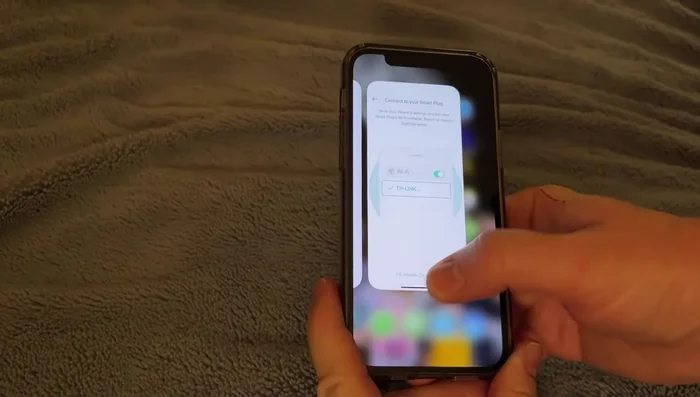
- Go to your iPhone settings, find 'tp-link', and connect to the 'tp-link Smart plug' network.
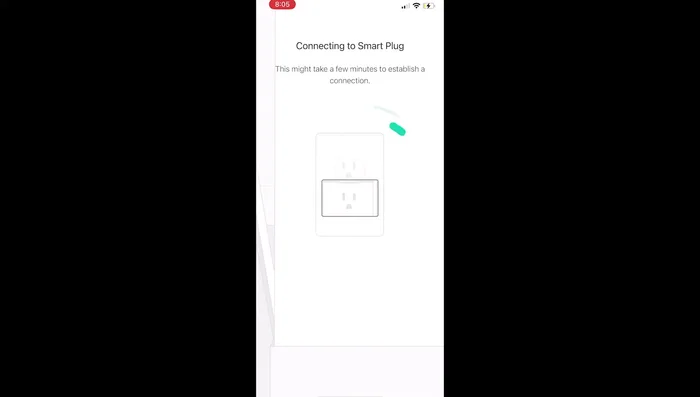
Connect to TP-Link Network App Connection and Wi-Fi Setup
- Return to the Casa app. The app will connect to the smart plug. If it doesn't connect, press the side button on the plug to resend the signal.
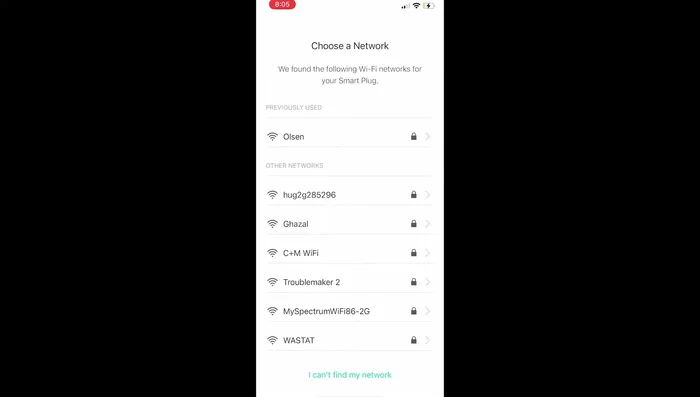
- Select your home Wi-Fi network in the app and enter the password.
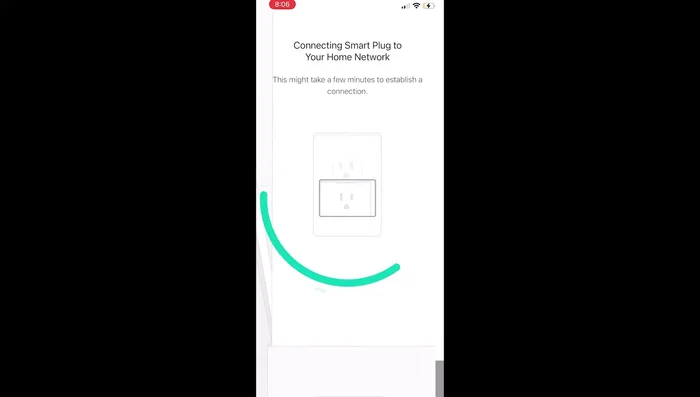
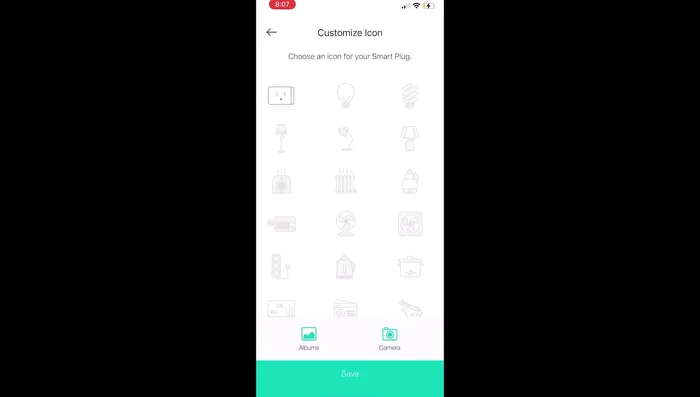
App Connection and Wi-Fi Setup Name and Customize the Device
- Give your device a name (e.g., 'Lamp').
- Choose a lamp icon and press 'Save'.
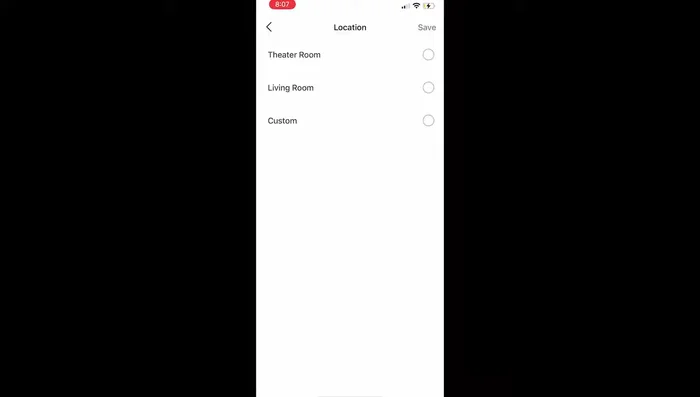
- Select a location for the smart plug (e.g., 'Living Room') and press 'Save'.
Name and Customize the Device Plug in the Lamp
- Plug the lamp into the smart plug.
Plug in the Lamp

Read more: Installing an Outdoor GFCI Receptacle: A Step-by-Step Guide
Tips
- Wait a few minutes for the initial connection before pressing the side button on the plug.
- You can schedule your lamp to turn on and off at specific times within the app.