Tired of those old, mismatched chairs gathering dust in the garage or attic? Don't toss them out! With a little creativity and elbow grease, you can transform those forgotten pieces into a stylish and functional outdoor bench. Upcycling is not only a fantastic way to reduce waste and save money, but it also allows for the creation of unique, personalized furniture that reflects your individual style. This project is perfect for those with a basic DIY skillset and a desire to add a touch of rustic charm or modern flair to their patio, garden, or porch.
This guide will show you how to repurpose old chairs into a charming and sturdy bench, breathing new life into discarded items and adding a unique focal point to your outdoor space. From choosing the right chairs to the final touches, we'll walk you through each step of the process, complete with helpful tips and tricks along the way. Ready to get started? Let's dive into the step-by-step instructions!
Preparation and Safety Guidelines
- Two matching antique chairs
- Six pieces of pine (1x4 and 1x6)
- Wood screws
- Circular saw
- KNF semi-gloss paint
- Always wear safety glasses and gloves when working with tools and potentially splintered wood.
- Ensure all screws and fasteners are securely tightened to prevent the bench from collapsing under weight.
- If using old paint or varnish, be aware of potential lead content and take appropriate precautions (e.g., wearing a respirator). Properly dispose of any hazardous materials.
Step-by-Step Instructions
Chair Disassembly
- Unscrew and remove the chair seats.
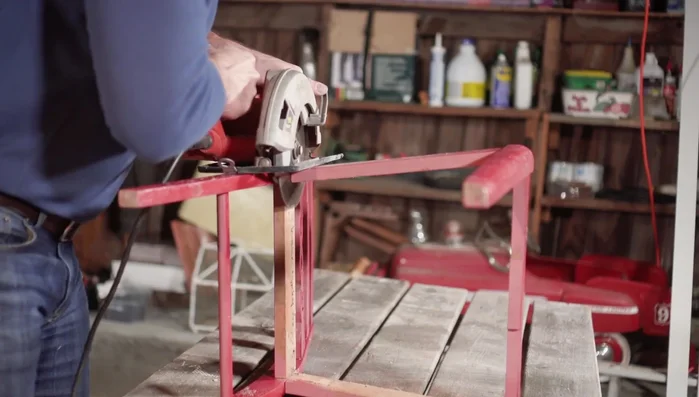
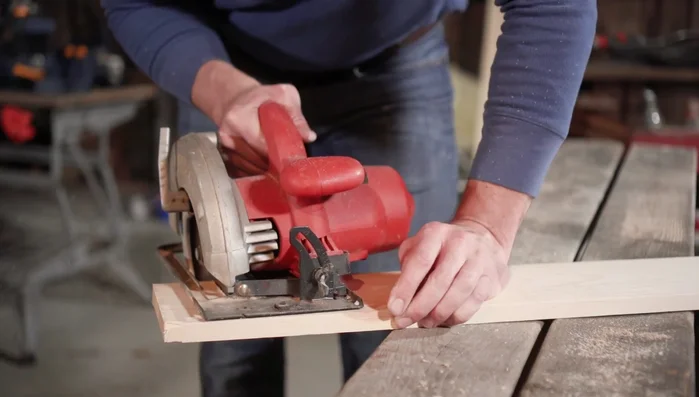
- Cut off the C framing and front legs using a circular saw.

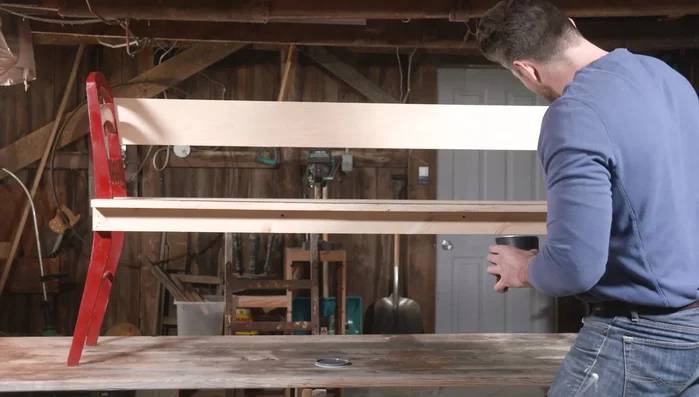
Chair Disassembly Constructing the Bench Frame
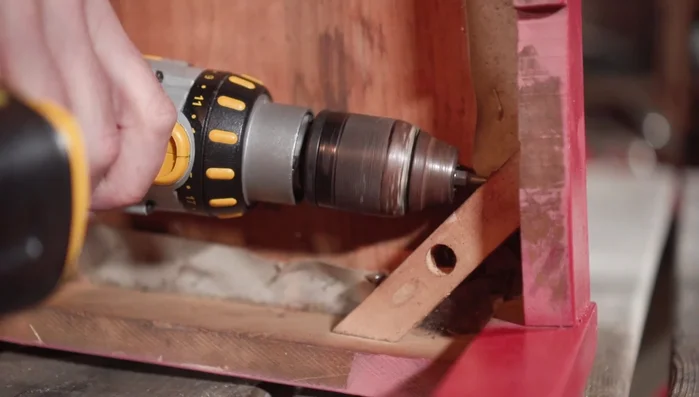
- Create supports (using 2x3 pine) to hold the bench together. Attach them at seat height using wood screws, ensuring everything is square.
Constructing the Bench Frame Adding Feet and Support
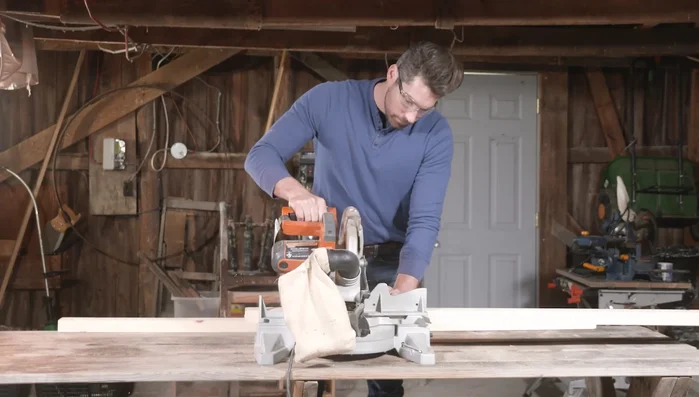
- Measure and cut 1x4 and 1x6 pine boards to create the feet (leaving a 1-inch gap between boards). Attach them to the frame with wood screws.
- Measure and cut another 1x6 pine board for the back support and screw it onto the bench.
Adding Feet and Support Finishing Touches
- Apply two coats of semi-gloss paint.
Finishing Touches

Read more: DIY Upcycled Bed Frame: A Step-by-Step Guide
Tips
- Choose matching chairs for a cohesive look.
- Ensure squareness during construction for stability.
- Consider paint color contrast for visual appeal.