Tired of staring at outdated countertops that drain your budget and your aesthetic inspiration? Consider this: a stunning, unique kitchen countertop doesn't require a hefty price tag or a complete kitchen renovation. In fact, a simple, readily available material might already be hiding in plain sight, waiting for its chance to shine: an old desk! This article explores the exciting possibility of transforming a discarded or unwanted desk into a beautiful and functional kitchen countertop, proving that sustainable living and stylish design can go hand in hand. Upcycling not only breathes new life into forgotten items but also offers a fantastic way to save money while reducing waste.
This budget-friendly project, perfect for DIY enthusiasts, demonstrates how a little creativity and elbow grease can dramatically improve your kitchen's look and feel. We'll guide you through each step, from selecting the right desk to the final sealing and finishing touches. Get ready to learn how to turn a discarded desk into the envy of your neighborhood with our easy-to-follow, step-by-step guide.
Preparation and Safety Guidelines
- Hand sander
- Wood filler
- Adhesive primer
- Kilz all-purpose primer
- Kilz chalk style paint (Platinum Ring)
- Jigsaw
- Finishing nail gun
- Polyurethane (triple thick, water-based)
- Scrap wood
- Hardware
- Ensure the desk's surface material is food-safe after cleaning and sealing. Avoid materials like particleboard or certain types of laminate which may contain harmful chemicals or be porous.
- Properly clean and seal the upcycled surface to prevent bacteria growth and ensure durability. Use food-safe sealants specifically designed for countertops.
- Check local building codes and regulations before installing the countertop. Some jurisdictions have specific requirements for kitchen surfaces.
Step-by-Step Instructions
Desk Preparation
- Clean the desk thoroughly with soapy water, then rinse.
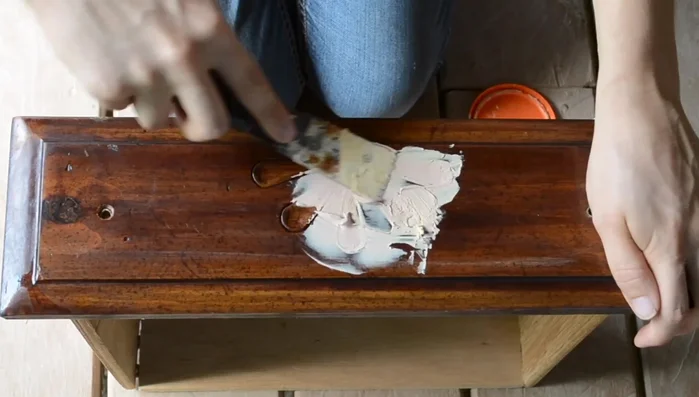
- Remove drawers and fill any unwanted features (like flower inlays) and hardware holes with wood filler.
- Sand down the filled areas and clean the drawers again.

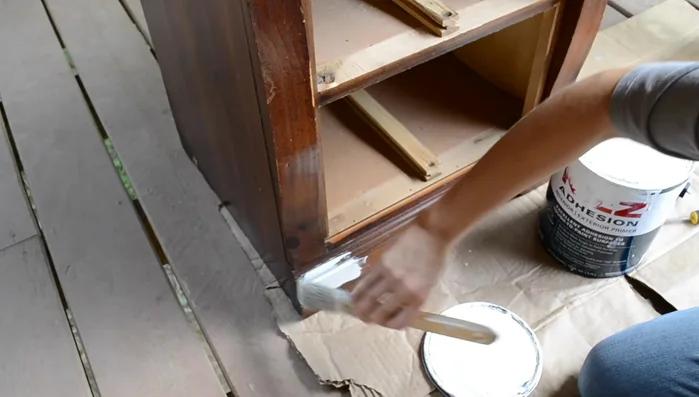
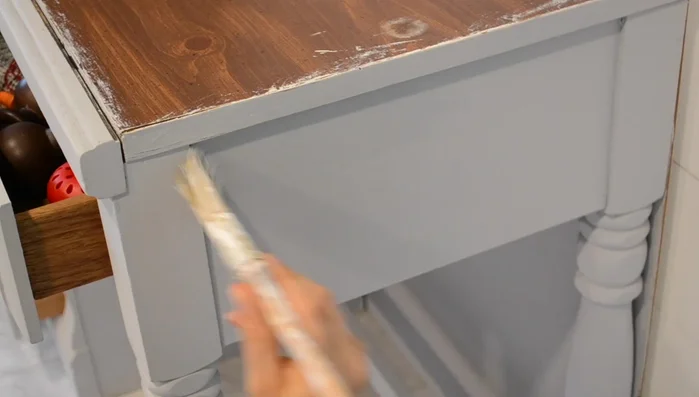
Desk Preparation Priming and Painting
- Apply adhesive primer, followed by Kilz all-purpose primer for better paint adhesion and coverage.
- Paint the desk and drawers with Kilz chalk style paint.
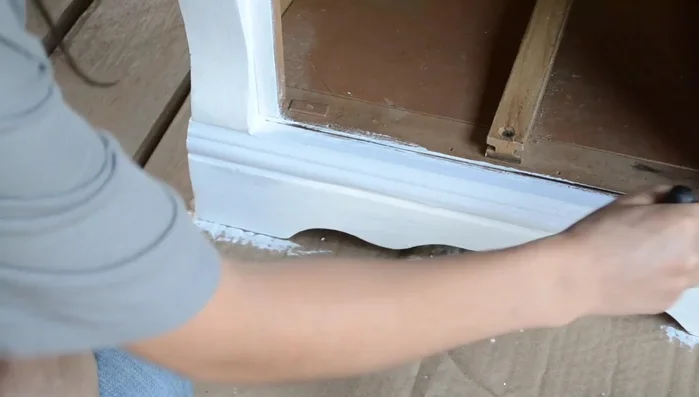
Priming and Painting Repairing Imperfections
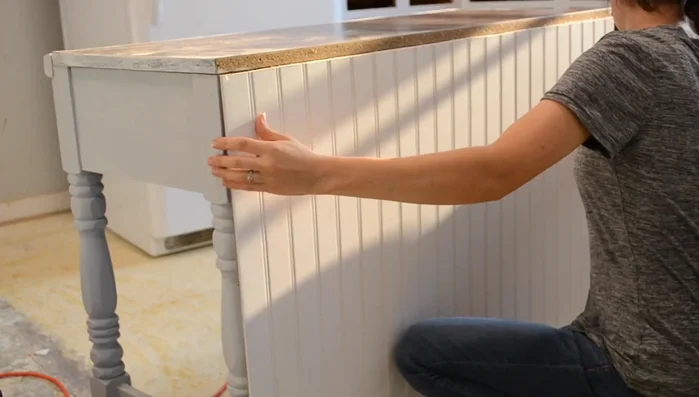
- Cut and attach a sheet of B board to the back and damaged side of the desk to cover imperfections. Paint the visible portion of the B board.
- Secure the B board to the desk using a finishing nail gun.
Repairing Imperfections Sealing and Protection
- Seal the entire piece with a water-based polyurethane for protection.
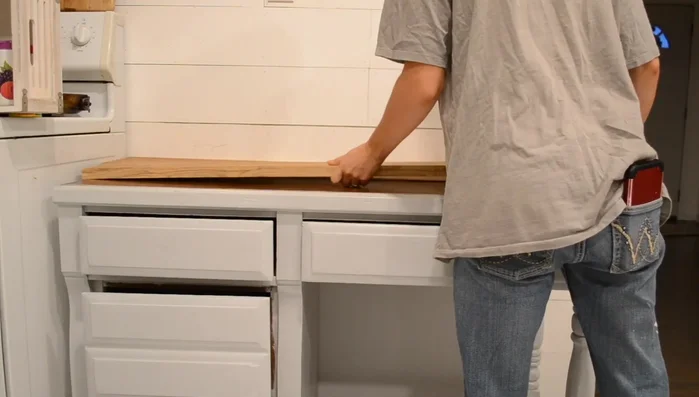
Sealing and Protection Countertop Construction
- Attach scrap wood to form a countertop.
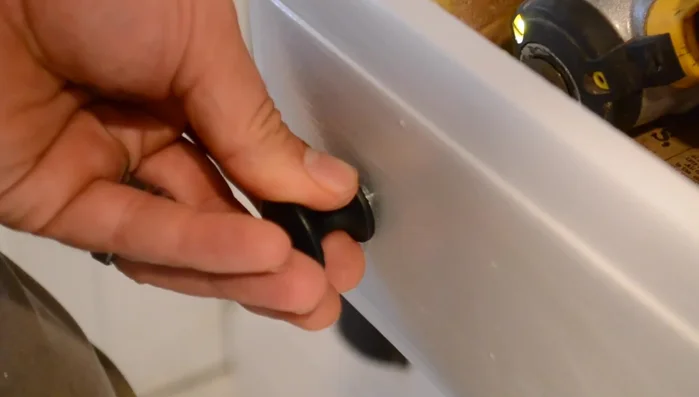
Countertop Construction Finishing Touches
- Install new hardware on the drawers.
Finishing Touches


Read more: DIY Upcycled Bed Frame: A Step-by-Step Guide
Tips
- Use adhesive primer on pressboard with laminate for better paint adhesion.
- Use a second coat of primer to reduce the number of paint coats needed, especially with lighter paint colors.
- Consider the placement of the finished piece before finalizing the design. Adaptability is key.
- Water-based polyurethane is a good choice for sealing, offering great self-leveling abilities.