Tired of the same old bathroom vanity? Yearning for a unique, character-filled piece that reflects your personal style, but dreading the hefty price tag of new furniture? Then look no further! This guide will show you how to transform a forgotten dresser into a stunning, one-of-a-kind bathroom vanity, breathing new life into both your space and your budget. Upcycling is not only a sustainable choice, reducing waste and saving money, but also a fantastic creative outlet allowing you to express your individuality through a functional and beautiful piece.
This project is surprisingly accessible, even for those with limited DIY experience. We'll take you through each step, from selecting the perfect dresser to the final finishing touches, ensuring a stress-free and rewarding experience. Ready to get your hands dirty and create a bathroom vanity that's both stylish and uniquely yours? Let's dive into the step-by-step instructions below!
Preparation and Safety Guidelines
- Dresser
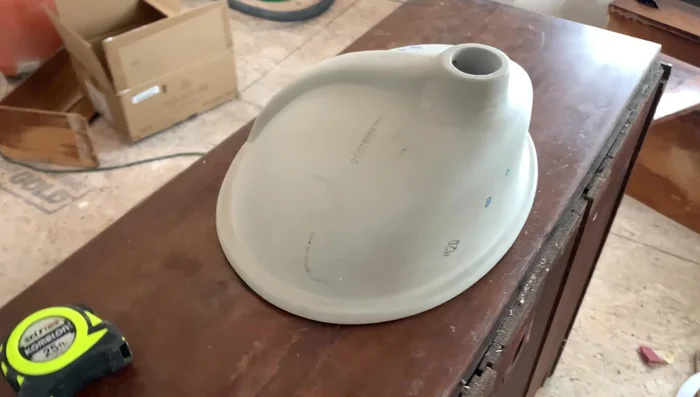
- Sink
- Pry bar
- Drill
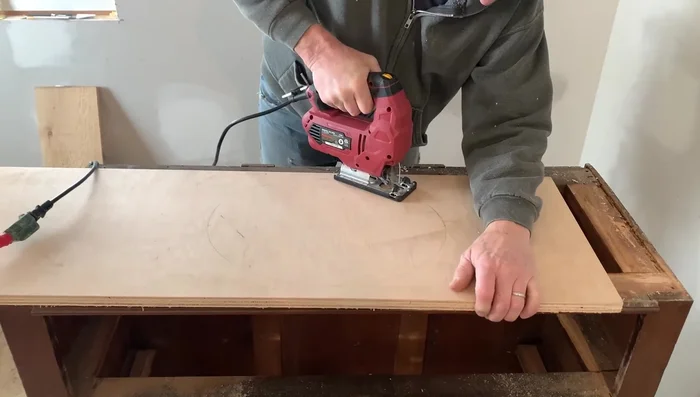
- Jigsaw
- Router
- Router bits (flush trim bit)
- Plywood
- Clamps
- Sandpaper
- Stain
- Houseman Spar Urethane
- Ultra flat polyurethane
- Silicone
- Sink hardware
- ¾ inch Pine boards
- Screws
- Always disconnect the power supply to the bathroom area before beginning any electrical work, such as adding lighting or outlets. Failure to do so could result in serious injury or death.
- Wear appropriate safety gear, including gloves and eye protection, throughout the project to protect yourself from splinters, sharp edges, and chemicals.
- Ensure proper ventilation when working with paints, stains, and sealants to avoid inhaling harmful fumes. Open windows and use appropriate respiratory protection if necessary.
Step-by-Step Instructions
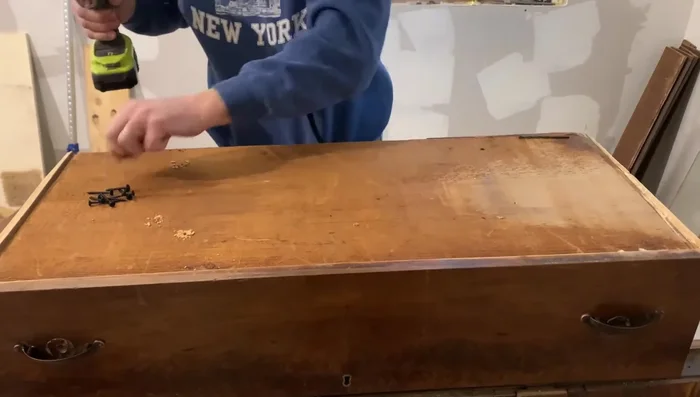
Prepare the Dresser
- Remove the backsplash and top of the dresser.
- Sand the dresser top to remove imperfections.

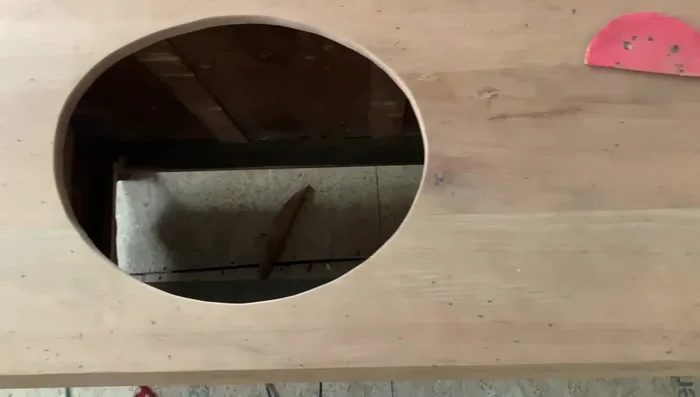
Prepare the Dresser Create Sink Cutout
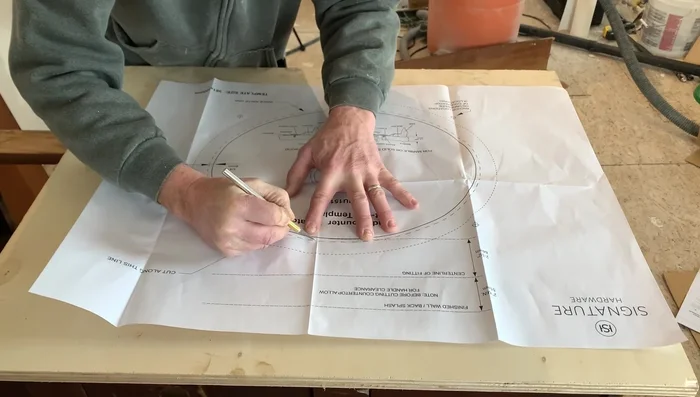
- Create a sink cutout template. If your sink didn't come with one, trace and measure your sink onto plywood.
- Cut out the sink hole using a drill, jigsaw, and router for a smooth edge. Adjust the cutout as needed to ensure a proper fit.
Create Sink Cutout Prepare and Install Sink
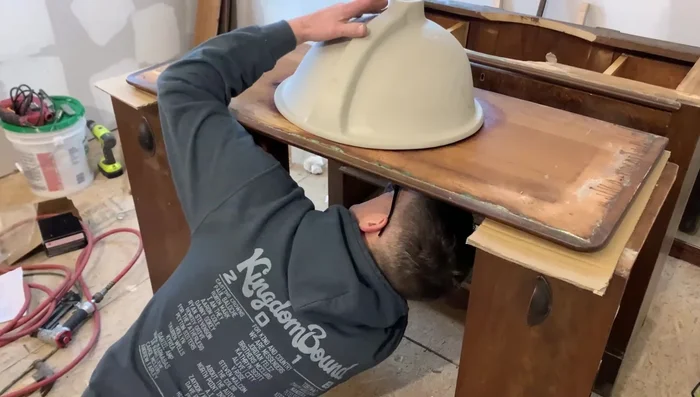
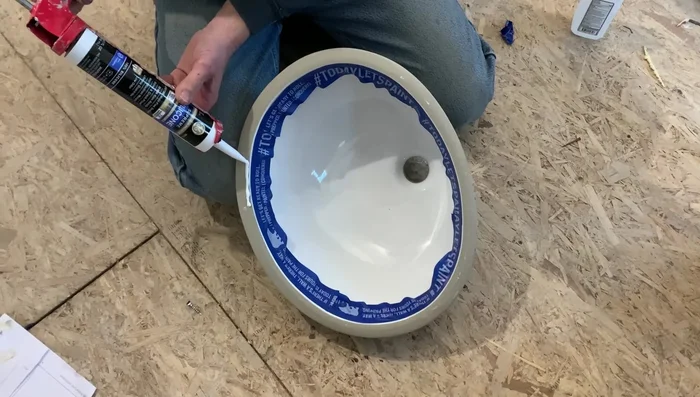
- Position the sink, mark its outline and alignment points on the dresser top.
- Apply silicone, set the sink in place, and secure it using sink hardware.
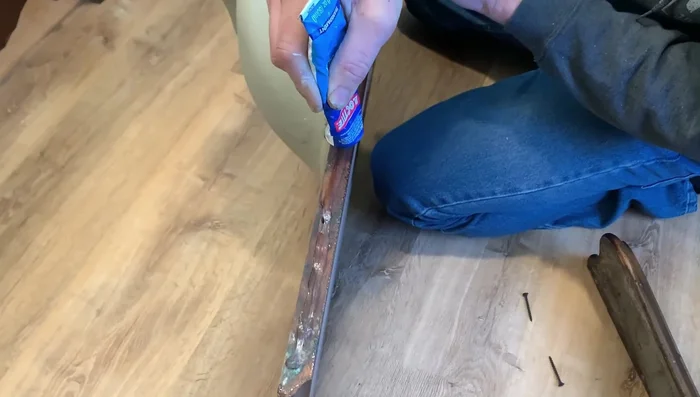
Prepare and Install Sink Modify Drawers for Plumbing
- Rebuild the drawers to accommodate plumbing; use pine boards to create new drawer fronts and sides, ensuring clearance for the plumbing.
- Attach the modified drawers back into the dresser.
Modify Drawers for Plumbing Finish Dresser Top
- Stain and seal the dresser top with multiple coats of urethane (Houseman Spar Urethane and Ultra Flat Polyurethane for a balance of protection and desired finish).
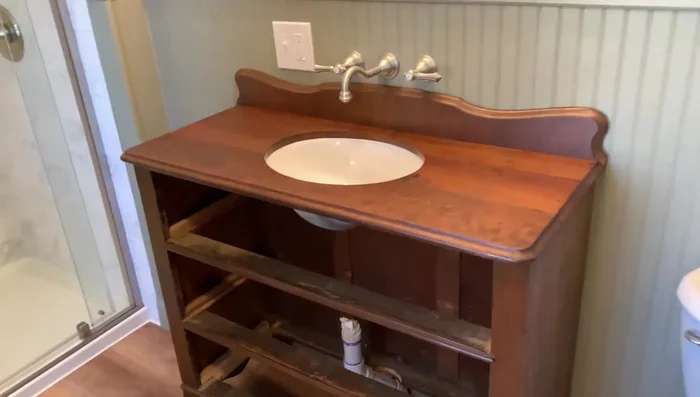
Finish Dresser Top Install Vanity
- Install the dresser in the bathroom, notching the bottom as needed for plumbing.
- Attach the dresser to the wall, apply silicone along the back edge of the dresser top, and reattach the backsplash.
- Set the dresser top in place and attach it with screws. Install new drawer hardware.
Install Vanity


Read more: DIY Upcycled Bed Frame: A Step-by-Step Guide
Tips
- Using a router with a flush trim bit creates a cleaner, smoother edge for the sink cutout compared to using a jigsaw alone.
- Multiple coats of urethane provide waterproofing and the desired finish. Sanding between coats can help achieve the desired level of gloss.
- Silicone sealant ensures a waterproof seal between the sink and the dresser top.