Tired of that old dresser gathering dust in the attic or garage? Don't consign it to the landfill just yet! With a little creativity and elbow grease, that forgotten piece of furniture can be transformed into a stunning and functional addition to your home. This isn't about a simple coat of paint; we're talking a complete metamorphosis, turning a dated dresser into a practical and stylish organizer for your kitchen essentials and beloved plants. Imagine the possibilities: perfectly organized spices nestled in custom-sized drawers, thriving herbs flourishing on a repurposed top, and a touch of rustic charm adding character to your space.
This project is surprisingly easy to tackle, even for DIY beginners. We'll guide you through each step of this upcycling journey, from cleaning and prepping the dresser to creating custom inserts and adding a stylish finishing touch. Ready to turn your old dresser into a breathtaking plant and kitchen organizer? Let's dive into the detailed step-by-step instructions below!
Preparation and Safety Guidelines
- Sandpaper
- Hammer
- Wood Glue
- Wood Filler
- Paintbrushes
- Paint Roller
- Electric Sander
- Wood Stain
- Polycrylic
- Metallic Blue Paint
- White Paint
- Contact Paper
- New Knobs
- Respirator
- Tape
- Always wear appropriate safety gear, including gloves and eye protection, when sanding, sawing, or using any power tools to modify the dresser.
- Ensure the dresser is thoroughly cleaned and dried before applying any paint or sealant to prevent mold or mildew growth and ensure proper adhesion.
- If using any chemicals (paint, stain, sealant), work in a well-ventilated area and follow all manufacturer's safety instructions and warnings carefully. Dispose of waste properly.
Step-by-Step Instructions
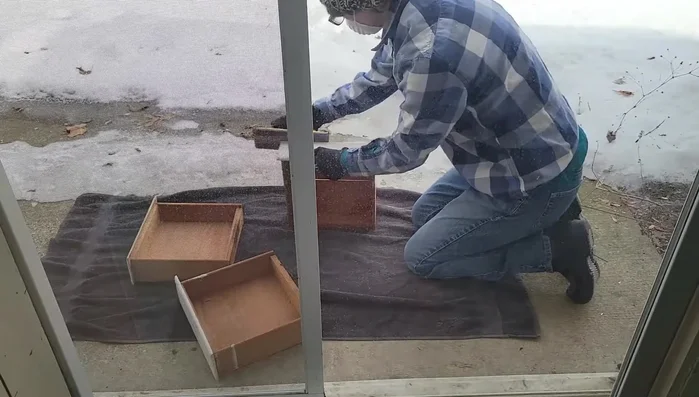
Preparation
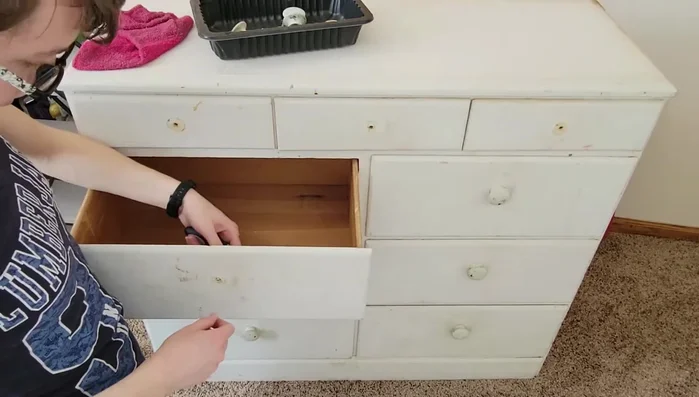
- Clean the dresser thoroughly.
- Remove the knobs.
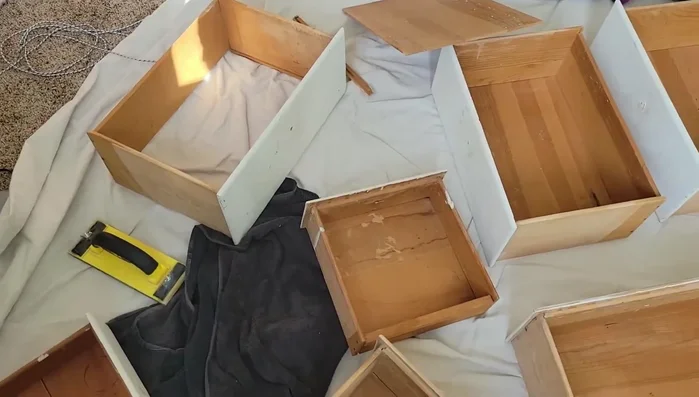
- Disassemble the dresser drawers carefully, separating the wood components.
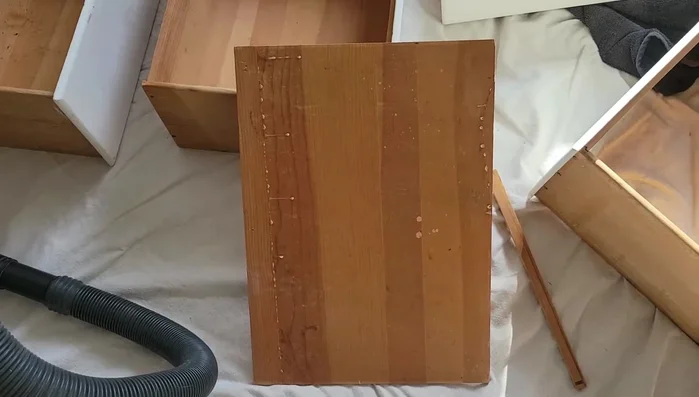
- Assess usable wood and plan the shelf layout. Decide to make shelves instead of restoring the dresser.

Preparation Wood Repair and Preparation
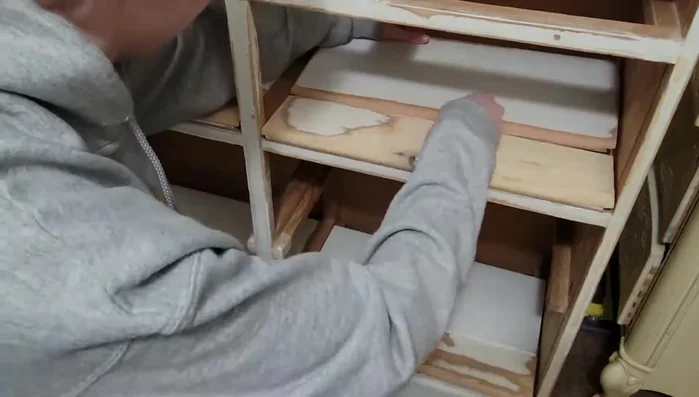
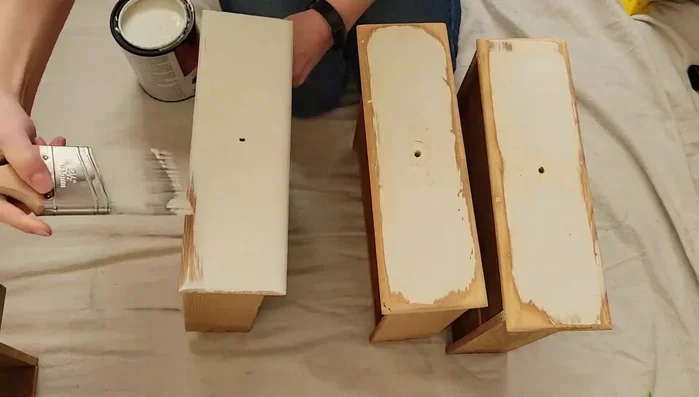
- Fill holes and cracks in the wood using wood filler and glue. Allow to dry.
- Sand down the wood to prepare for painting. Consider using an electric sander for efficiency.
Wood Repair and Preparation Painting
- Test paint adhesion on scrap wood before painting the shelves.
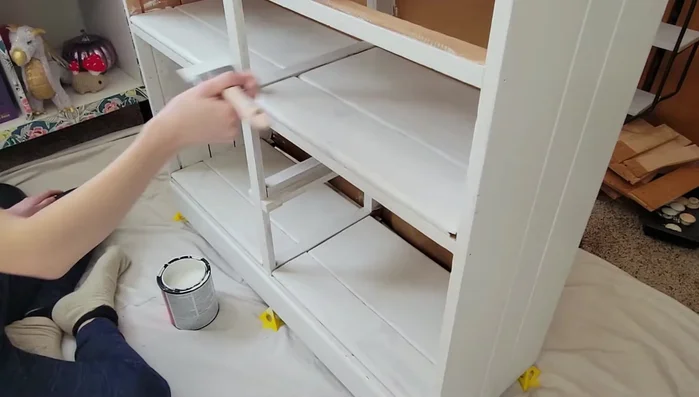
- Apply a base coat of white paint (two coats).
- Apply the metallic blue paint using a small roller and brush for hard-to-reach areas. Apply two coats.
- Protect the top surface with tape during painting.
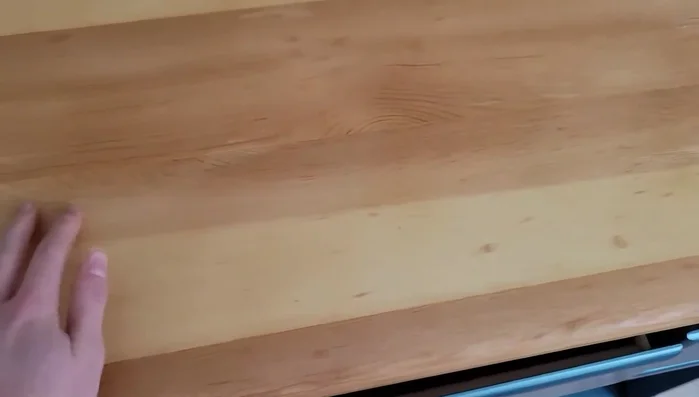
Painting Finishing and Protection
- Apply a clear topcoat (polycrylic) for protection. May require multiple layers.
- Apply contact paper to the back and inside of the shelves for a finished look.
Finishing and Protection Assembly
- Attach new knobs to the drawers.
Assembly


Read more: DIY Upcycled Bed Frame: A Step-by-Step Guide
Tips
- Remove knobs before cleaning for easier access.
- Use an electric sander for efficient sanding.
- Test paint adhesion before painting the entire project.
- Use a small roller to prevent brushstrokes in the paint application.
- Wear a respirator for protection when sanding and painting.