Have you ever gazed longingly at a piece of furniture, seeing its potential beyond its current state? Old, forgotten trunks often languish in attics or basements, their sturdy construction hinting at a life beyond storage. But what if we could transform these humble chests into stunning, functional pieces of furniture? This guide will show you exactly how to do just that, breathing new life into an old trunk with a simple yet impactful upcycled coffee table makeover. We'll explore the charm of repurposing and the satisfaction of creating something beautiful from something discarded.
This project is perfect for those with a DIY spirit and a desire to add unique character to their homes. Forget expensive, mass-produced furniture; let's unlock the potential hidden within that forgotten trunk! Ready to uncover the magic? Let’s dive into the step-by-step process of transforming your old trunk into a stylish and practical coffee table.
Preparation and Safety Guidelines
- Old trunk
- Shellac-based primer
- Mask
- Disposable roller
- TSP degreaser
- Fusion Mineral Paint (Little Lamb - medium gray, Buttermilk Cream, Casement - crisp white)
- Painter's tape (FrogTape recommended)
- Verithin Diamond Wood Finish (satin)
- Foam brush
- Wood for supports
- Legs
- Screws
- Always wear safety glasses and a dust mask when sanding and working with old paint or varnish. These materials can release harmful particles.
- Ensure the trunk is structurally sound before beginning the project. Reinforce any weak areas with wood glue and screws if necessary.
- Use appropriate ventilation when applying paints, stains, or sealants. Work in a well-ventilated area or wear a respirator.
Step-by-Step Instructions
Prepare the Trunk
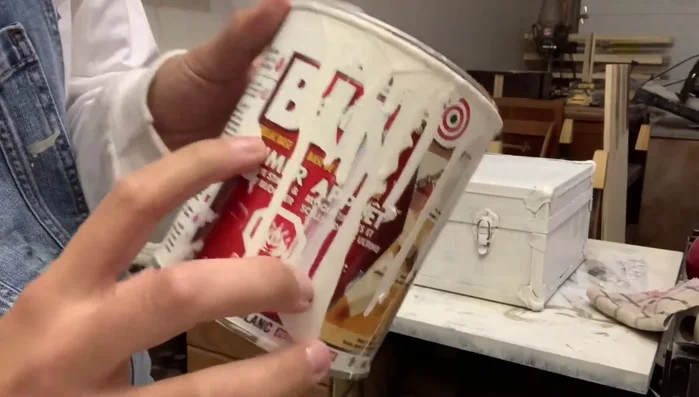
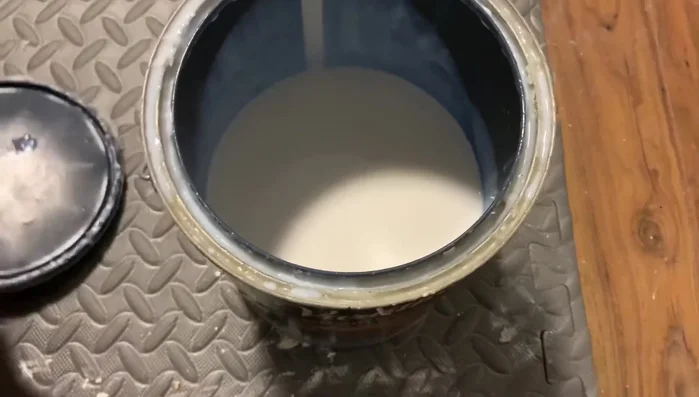
- Prime the trunk with a shellac-based primer. Ensure it's shellac-based, wear a mask, and use a disposable roller.
- Clean all surfaces with TSP degreaser to prepare for painting.

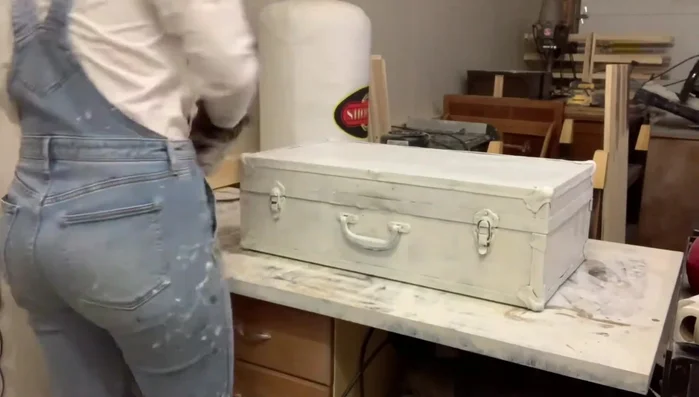
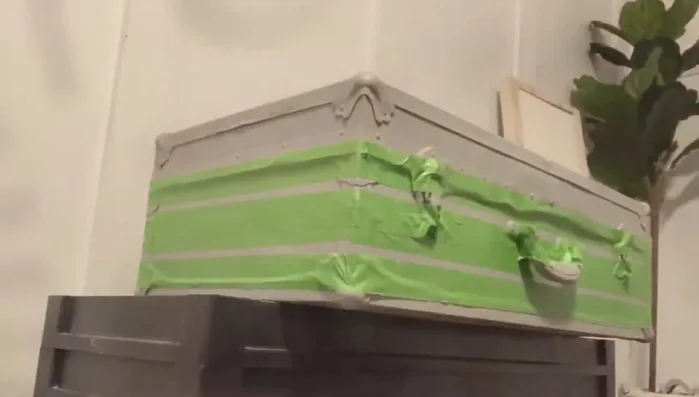
Prepare the Trunk Paint the Base Coat
- Apply three thin coats of Fusion Mineral Paint in Little Lamb (medium gray) to the inside and outside of the trunk, allowing each coat to dry completely. Apply thin coats to avoid brushstrokes and longer drying times.
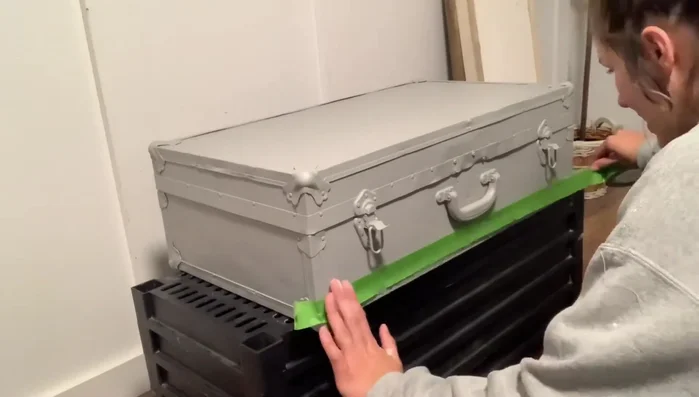
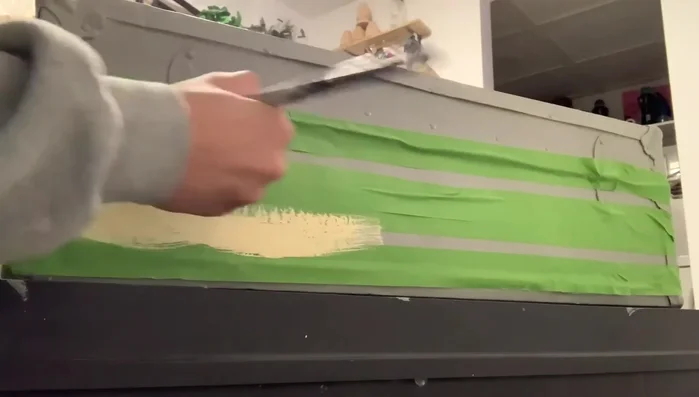
Paint the Base Coat Create the First Set of Lines
- Use high-quality painter's tape (FrogTape recommended) to create two horizontal and two vertical lines on the trunk. Ensure paint is fully dry before taping.
- Paint the lines using Fusion Mineral Paint in Buttermilk Cream. The slightly thicker consistency of older paint can prevent seepage under the tape.
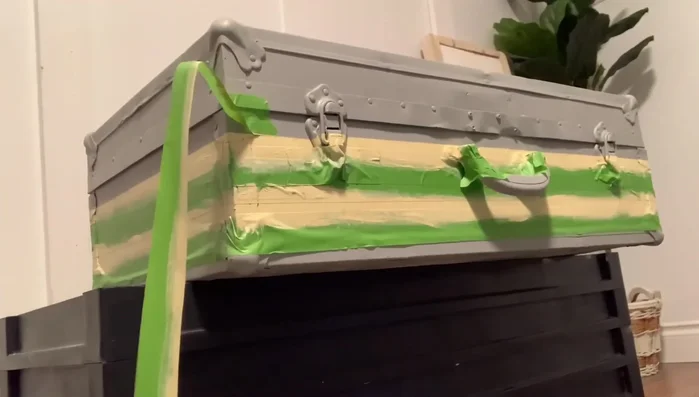
Create the First Set of Lines Paint the Back and Finish First Lines
- Paint the back of the trunk for a uniform finish.
- Remove the tape to reveal the lines. Repeat the taping and painting process for the second set of lines.
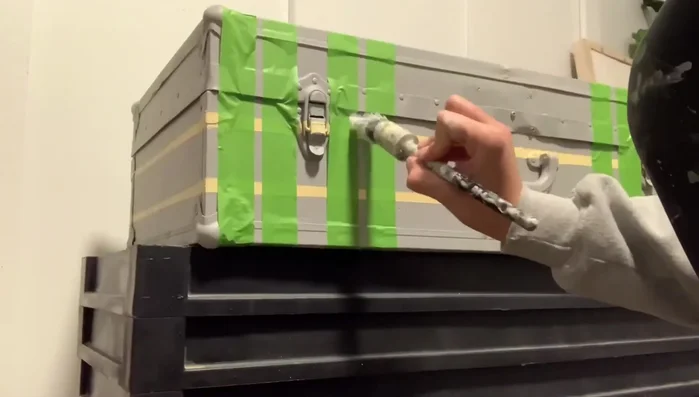
Paint the Back and Finish First Lines Paint the Second Set of Lines
- Apply three coats of Fusion Mineral Paint in Casement (crisp white) to the taped lines.
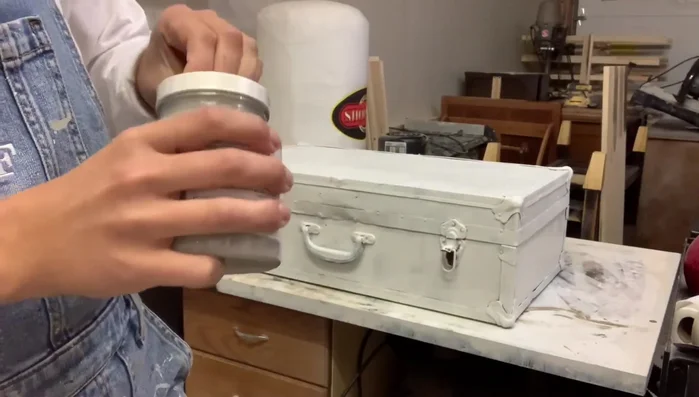
Paint the Second Set of Lines Seal and Protect
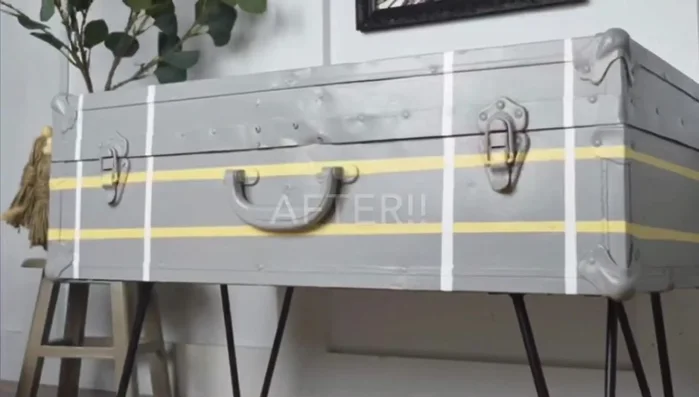
- Apply a durable top coat of Verithin Diamond Wood Finish in satin to protect the paint.
Seal and Protect Attach Legs
- Attach wooden supports inside the corners of the trunk for added stability.
- Attach the legs to the trunk using the added supports.
Attach Legs

Read more: DIY Upcycled Bed Frame: A Step-by-Step Guide
Tips
- Use a shellac-based primer for optimal adhesion and durability.
- Wear a mask when using strong-smelling primers.
- Apply thin coats of paint to avoid brushstrokes and ensure proper drying.
- Use high-quality painter's tape to prevent paint bleeding.
- Slightly thicker paint can prevent seepage under tape.