Electrical problems in your vehicle can be a major headache, often leading to frustrating breakdowns and costly repairs. A common culprit behind these issues is the dreaded short circuit, a fault that can cause anything from flickering lights to complete electrical failure. Locating the source of a short circuit can be time-consuming and challenging, even for experienced mechanics, often requiring specialized tools and significant expertise. But what if there was a simpler, quicker way? This article provides a straightforward and efficient method for identifying short circuits in your car’s electrical system, minimizing the need for expensive professional intervention.
This guide outlines a step-by-step process to help you quickly pinpoint the location of a short circuit, using readily available tools and techniques. By following these simple yet effective instructions, you’ll be equipped to diagnose and potentially resolve electrical issues independently, saving you time, money, and the frustration of a non-functioning vehicle. Let's get started!
Preparation and Safety Guidelines
- 12-volt test light
- Always disconnect the negative (-) battery terminal before starting any electrical work on your vehicle. This prevents accidental shorts and protects you from electrical shocks.
- Never probe circuits with a test light or multimeter while the ignition is on. This can damage your vehicle's electrical system and potentially injure you.
- If you are unsure about any step of the process, consult a qualified automotive electrician. Improper troubleshooting can lead to further damage or injury.
Step-by-Step Instructions
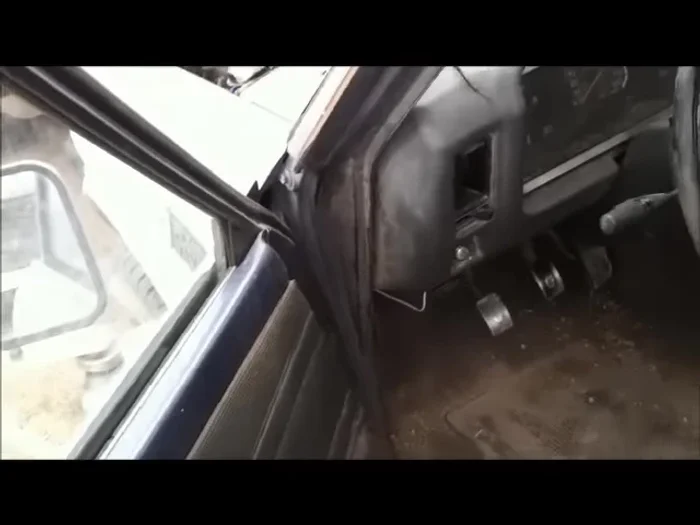
Prepare for Testing
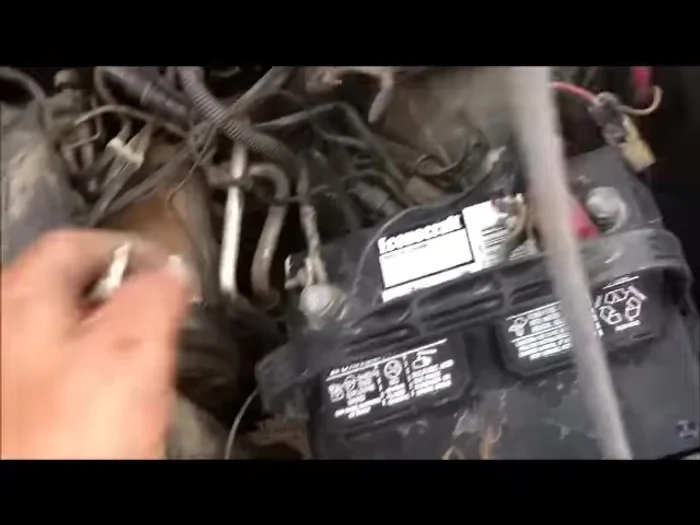
- Disconnect the positive cable from your vehicle's battery.
- Ensure all accessories (headlights, radio, interior lights) are off. If the light remains on, you have a short circuit.

Prepare for Testing Test for Short Circuit
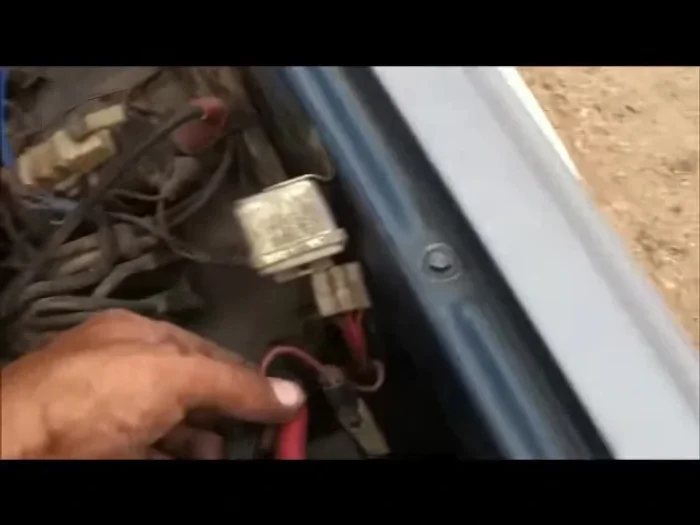
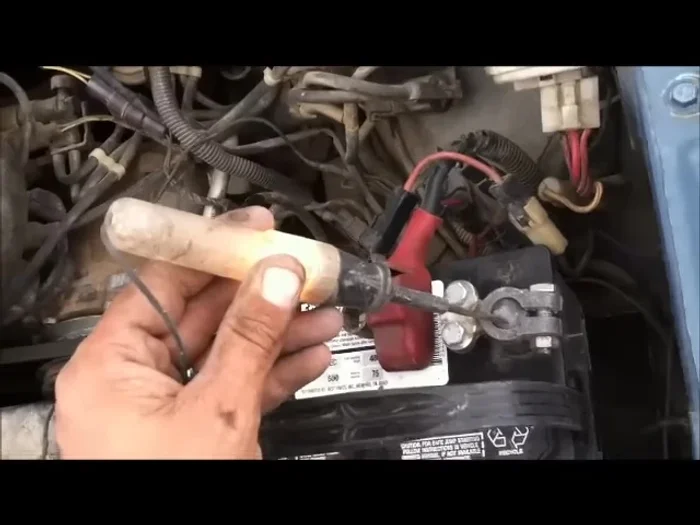
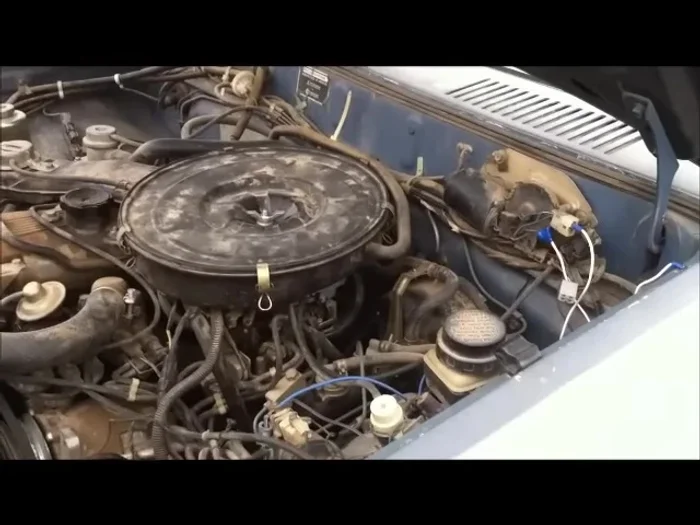
- Connect one end of your test light to the positive battery post (or a convenient terminal).
- Touch the other end of the test light to the disconnected positive battery cable. If the light comes on, you have a short circuit.
Test for Short Circuit Isolate the Faulty Circuit
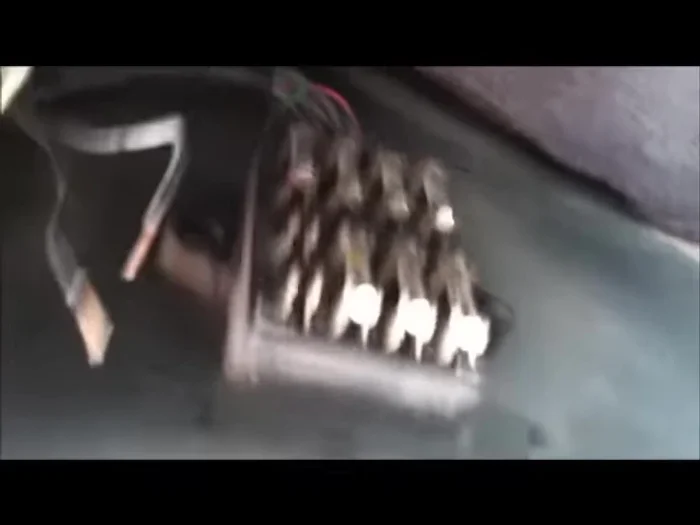
- Pull fuses one at a time, checking the test light after each removal. When the light goes out, you've found the circuit with the short.
Isolate the Faulty Circuit Identify the Faulty Circuit
- Identify the circuit associated with the fuse that caused the light to go out (check the fuse panel diagram).
Identify the Faulty Circuit Locate and Repair the Short
- Trace the wiring associated with the faulty circuit to locate the short. Look for melted or damaged wiring.
Locate and Repair the Short Check Fuse Condition
- Clean the fuse if it appears dirty to rule out a poor connection.
Check Fuse Condition

Read more: Installing an Outdoor GFCI Receptacle: A Step-by-Step Guide
Tips
- A cheap 12-volt test light is all you need; they're inexpensive.
- Common short locations include cigarette lighters (due to high-amperage devices like phone chargers), headlight switches, and taillight switches.
- Use brake cleaner to quickly dry any cleaner you use on the fuse panel.