Accidents happen, and sometimes that beautiful vinyl plank floor you painstakingly installed suffers the consequences. A dropped object, a clumsy pet, or even just the wear and tear of daily life can result in a damaged plank, marring the otherwise pristine surface of your room. Fortunately, replacing a single damaged plank in a click-lock or drop-and-lock vinyl floor system isn't the daunting task it might seem. With the right technique, you can restore your floor to its former glory quickly and efficiently, minimizing disruption to your home. This often involves less demolition than you might expect.
This guide focuses specifically on the fastest method for replacing a damaged drop-and-lock vinyl plank. We'll walk you through a step-by-step process, providing clear instructions and helpful tips to ensure a seamless repair. Prepare to be surprised at how easily you can tackle this common flooring issue; let's get started!
Preparation and Safety Guidelines
- Circular Saw
- Oscillating Saw
- Utility Knife
- Marker
- Tapping Block
- Rubber Mallet
- Denatured Alcohol/Mineral Spirits
- Washcloth
- Clear Gorilla Glue
- Always wear safety glasses to protect your eyes from debris.
- Use a knee pad or work on a comfortable surface to prevent injuries.
- Ensure the area is well-ventilated if using any adhesives or solvents.
Step-by-Step Instructions
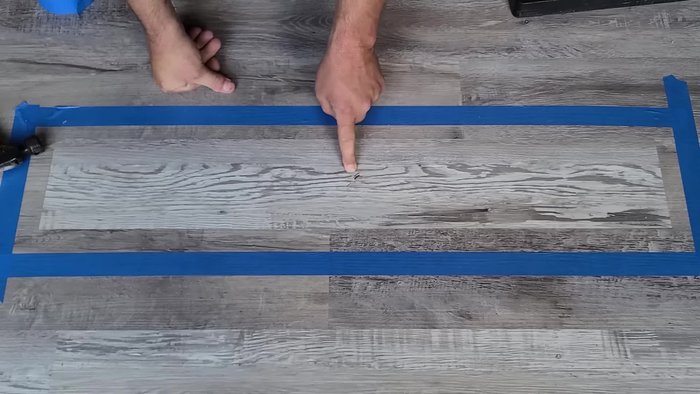
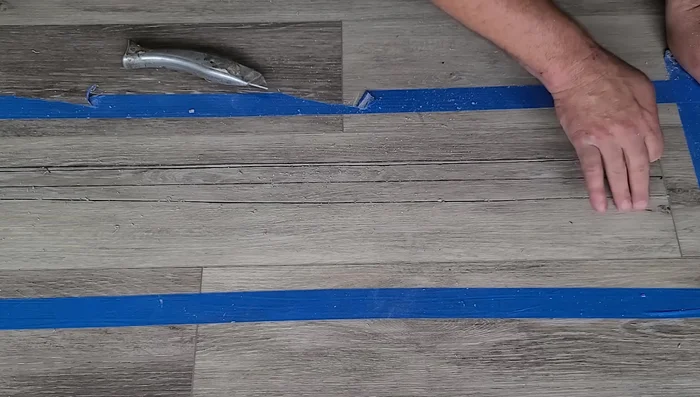
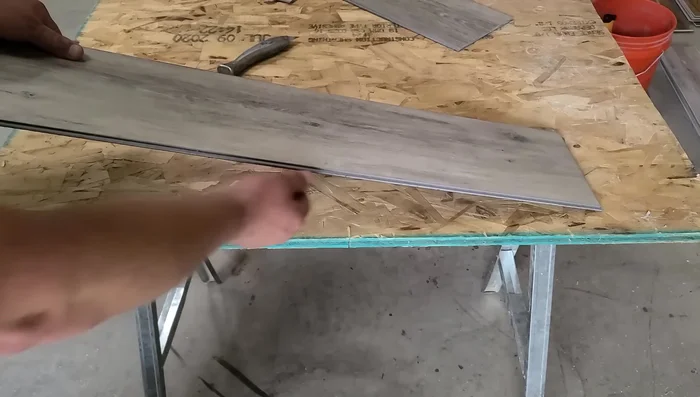
Locate and Prepare Damaged Plank
- Identify and mark the damaged plank.
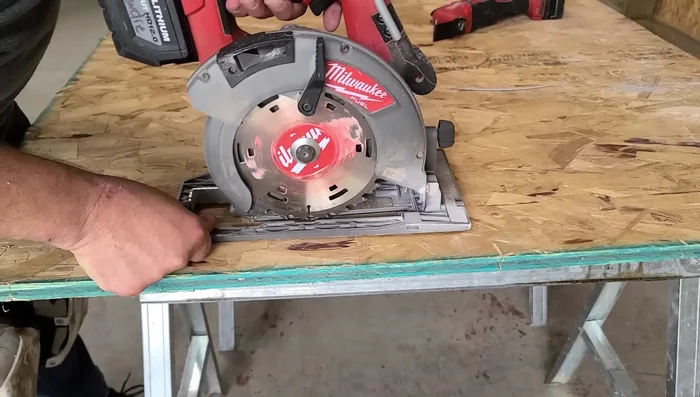
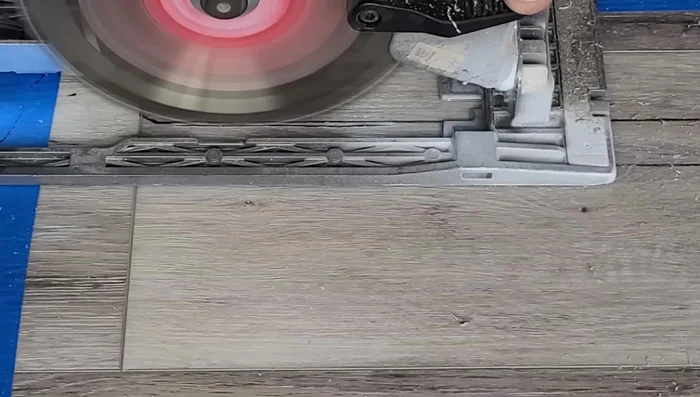
- Use a circular saw to make a partial cut along the length of the plank, just shy of going all the way through.
- Finish the cut with a utility knife, carefully avoiding cutting into the subfloor.
- Score the plank to create a channel that will help remove the plank.

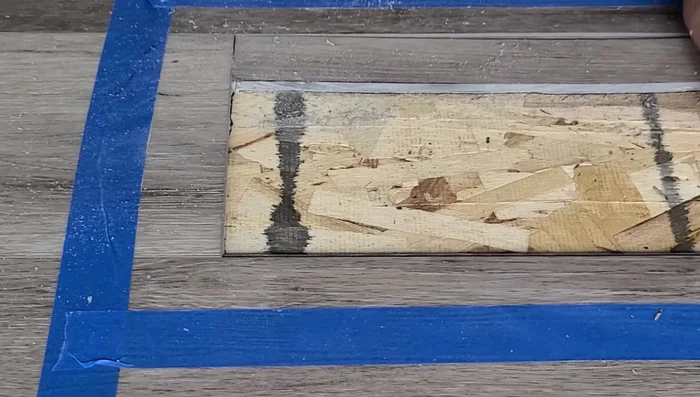
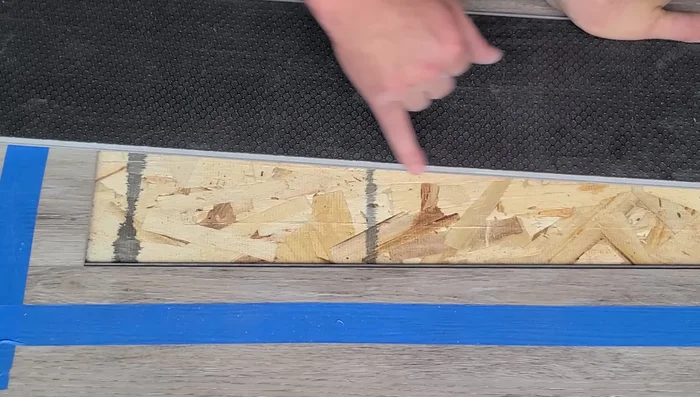
Locate and Prepare Damaged Plank - Use an oscillating saw to finish cutting the channel near the joint, ensuring you do not cut through the subfloor.
- Carefully remove the damaged plank by wiggling it loose, starting on the tongue side to avoid damage.
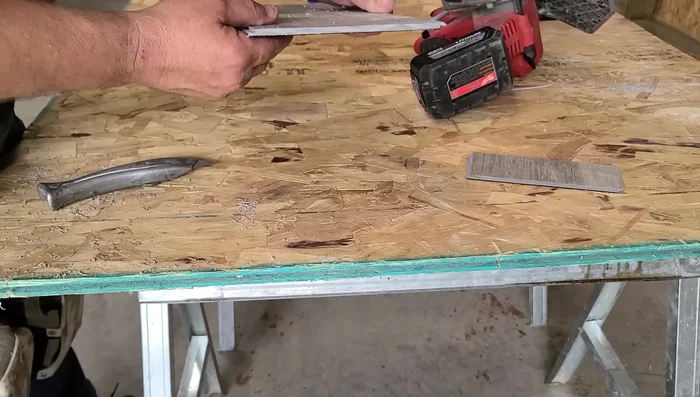
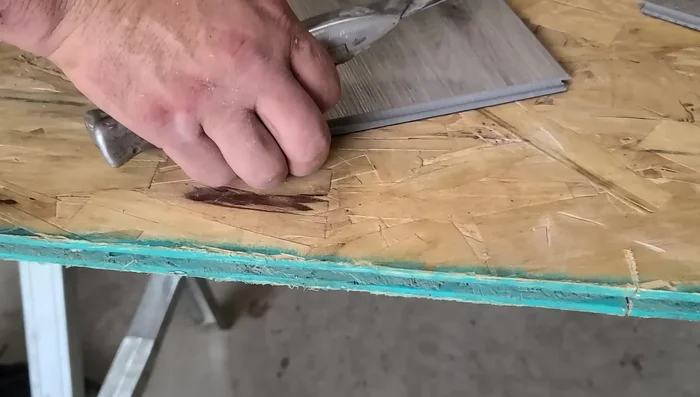
Locate and Prepare Damaged Plank Clean and Prepare Replacement Plank
- Clean any remaining debris from the groove.
- use a utility knife to bevel the lip of the groove for easier insertion.
- Completely cut the groove off the new plank using a utility knife, leaving only the tongue.
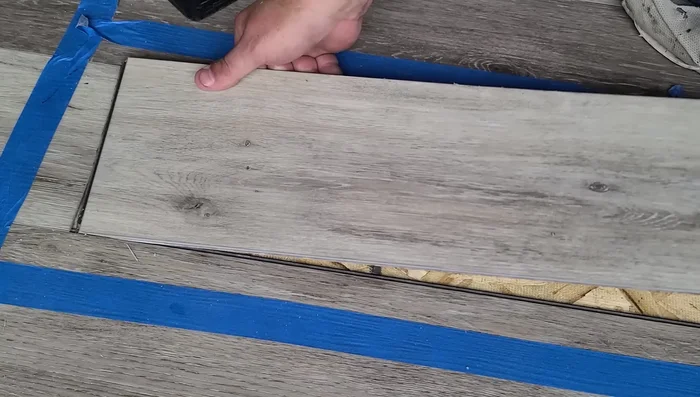
Clean and Prepare Replacement Plank Install Replacement Plank
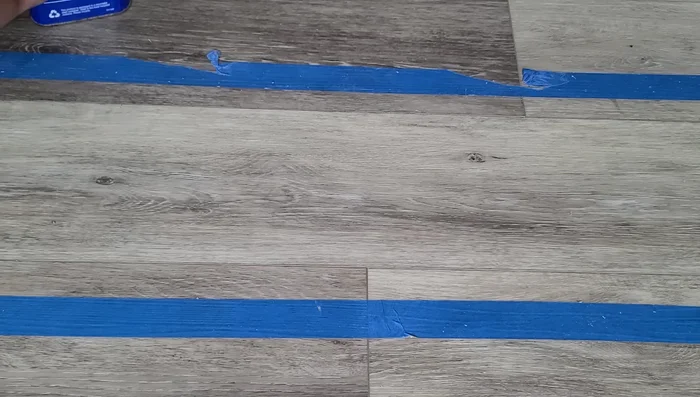
- Apply a bead of clear Gorilla Glue to the exposed groove and the tongue of the new plank.
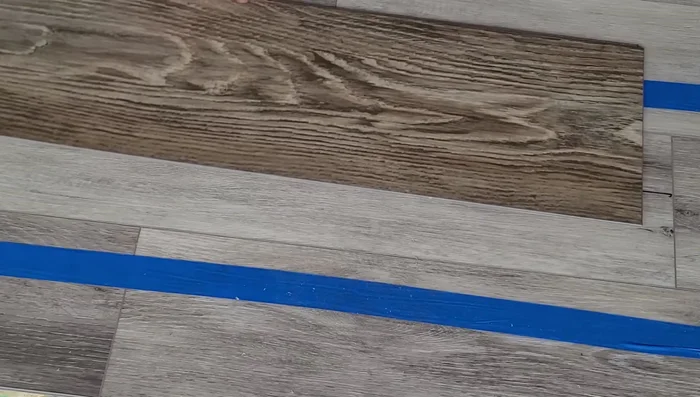
- Carefully slide the tongue of the new plank into the remaining groove, ensuring the locking mechanism is cleared.
- Tap the plank into place using a tapping block and rubber mallet, ensuring even pressure and avoiding damage.
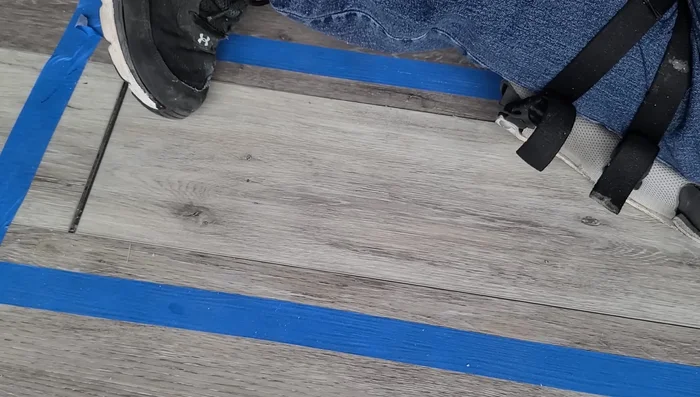
Install Replacement Plank Finalize Installation
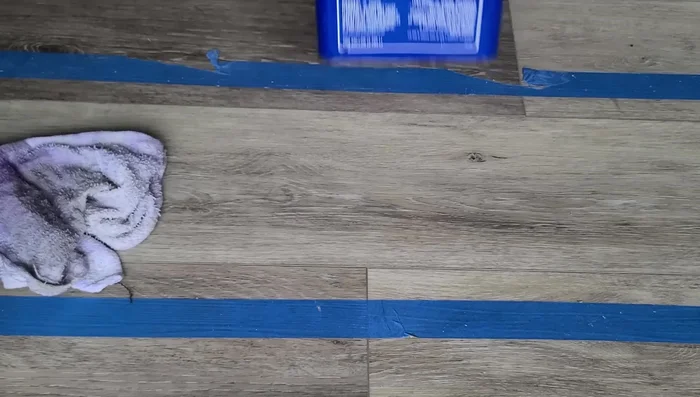
- Clean excess glue using denatured alcohol or mineral spirits.
- Apply weight to the new plank overnight to allow the glue to set completely.
Finalize Installation
Read more: Fixing Drywall Nail Pops: A Quick and Easy DIY Guide
Tips
- Use a circular saw for faster cutting, but be cautious not to cut all the way through the subfloor.
- When removing the old plank, be gentle to avoid damaging the surrounding planks, especially on the tongue side.
- Use clear Gorilla Glue for vinyl planks as it doesn't foam. Activate it with a damp washcloth.
- Apply even pressure when tapping the new plank into place to avoid chipping.