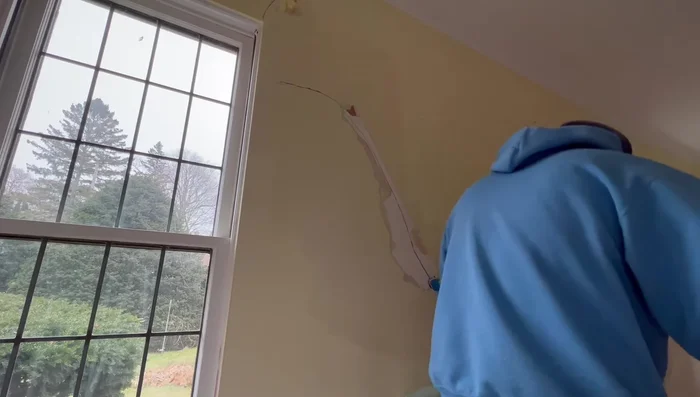
Cracked walls are more than just an eyesore; they can signal underlying structural issues and compromise the integrity of your home. Whether it's a hairline fracture in the drywall or a larger, more concerning crack, ignoring the problem will only lead to bigger, more expensive repairs down the line. Understanding the causes and effectively addressing these imperfections is crucial for maintaining a safe and aesthetically pleasing living environment. From identifying the type of crack to selecting the appropriate materials and tools, repairing damaged walls requires precision and the right techniques.
This ultimate guide delves into the professional methods used to repair cracks in walls, providing a comprehensive understanding of the repair process from start to finish. We'll walk you through a step-by-step approach, equipping you with the knowledge to tackle even the most challenging wall repairs confidently, whether you're a seasoned DIY enthusiast or a complete beginner. Let's get started on transforming those unsightly cracks into flawless walls.
Preparation and Safety Guidelines
- Razor
- Oil-based primer
- Bag mix mud
- Mesh
- Knife
- Marshalltown trowel (or similar smoothing tool)
- Sanding sponge
- Tile sponge
- Bucket mix mud (finish mud)
- Putty knife
- Always wear appropriate safety gear, including eye protection, dust masks, and gloves, to protect yourself from dust, debris, and chemical irritants.
- Turn off the power to any electrical outlets or wiring near the cracked area before starting any repairs to prevent electric shock.
- If the crack is extensive, wider than 1/4 inch, or shows signs of structural damage (e.g., leaning walls, significant movement), consult a structural engineer or qualified contractor immediately. Attempting DIY repairs on significant damage can be dangerous and ineffective.
Step-by-Step Instructions
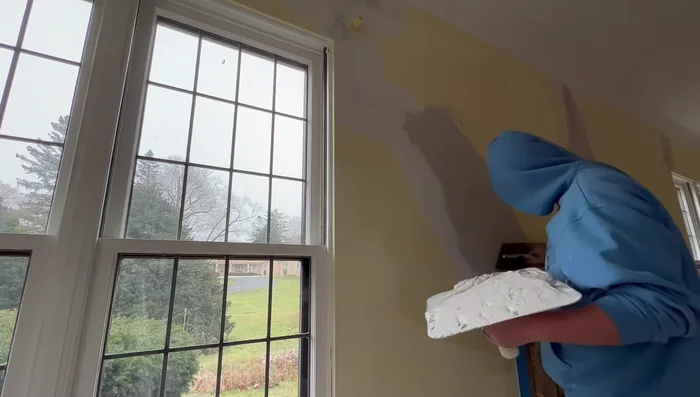
Assessment and Preparation
- Dig out loose materials with a razor. Protect surrounding areas.
Priming
- Apply an oil-based primer to neutralize the surface and ensure proper adhesion.

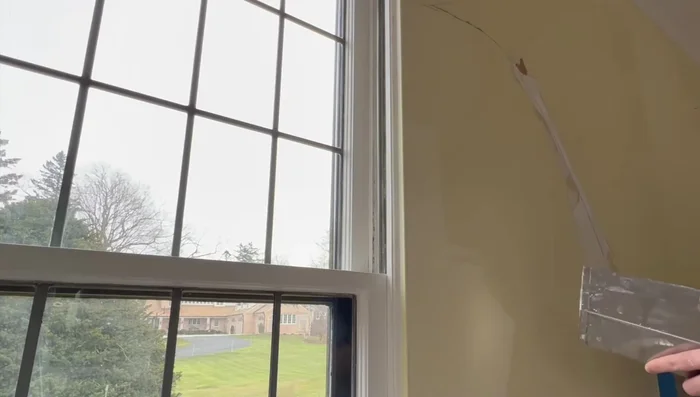
Priming Crack Pre-filling
- Use bag mix mud to pre-fill the crack before applying mesh. Let it dry completely.
- If a lot of pre-fill was used, let it harden, scrape off excess, then reapply before meshing.
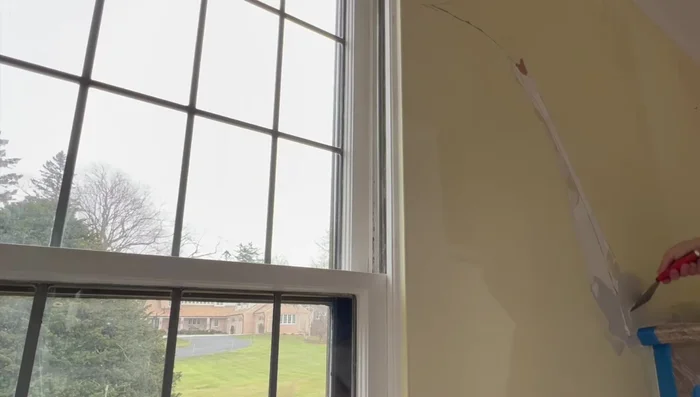
Crack Pre-filling Mesh Application
- Embed mesh into the pre-filled crack, ensuring it's closer to the surface. Let it dry.
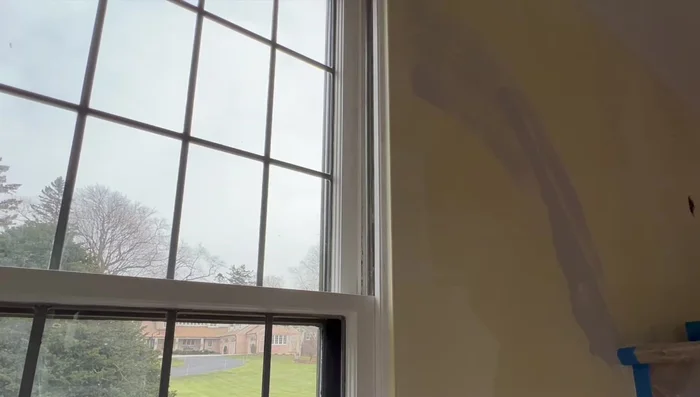
Mesh Application Filling and Smoothing
- Fill the mesh area with mud, using a knife to coat the mesh. Let each coat dry completely to prevent bubbling.
Filling and Smoothing Flattening and Finishing
- Use a large trowel (or similar tool) to flatten the repair, creating a smooth transition with the existing wall. Avoid making it worse than it was.
Flattening and Finishing Sanding and Imperfection Correction
- Sand the repair using a sanding sponge, then wipe with a tile sponge to remove dust and reveal any imperfections.
- Use finish mud (bucket mix) to fill any remaining bubbles or imperfections from sanding. Let this dry completely
Sanding and Imperfection Correction Texturing (Optional)
- For larger repairs, consider using a texturing technique like hand-palming (done with the hard mud) to further blend the repair into the existing wall texture.


Read more: Fixing Drywall Nail Pops: A Quick and Easy DIY Guide
Tips
- Ensure the surface you're painting over is solid by scraping away loose paint beforehand. The new materials will only adhere as well as the surface allows.
- Let each coat dry completely between steps to prevent bubbling and separation of materials.
- It's easier to add more mud later than to remove excess.
- Use a fine sanding sponge for smoothing and a damp sponge to remove dust for an even finish.
- Protect the surrounding area and wear a mask to avoid inhaling the fine dust.