Water damage to drywall is a frustrating but common problem, often resulting in unsightly stains, bubbling surfaces, and even structural weakness. Left untreated, it can lead to mold growth and costly repairs down the line. Fortunately, with the right approach and tools, many instances of water-damaged drywall can be successfully repaired, restoring the beauty and integrity of your walls. From minor blemishes to more extensive damage, understanding the repair process is key to achieving a professional-looking finish.
This guide provides a comprehensive, step-by-step approach to fixing water-damaged drywall, regardless of the severity of the problem. We’ll cover everything from assessing the damage and removing affected areas to patching, sanding, priming, and finally, painting for a seamless repair. Ready to transform your damaged drywall into a flawless surface? Let's dive into the process.
Preparation and Safety Guidelines
- Razor knife
- 4-inch flimsy knife
- 10-inch knife
- 6-inch knife
- 12-inch knife
- 14-inch knife
- 24-inch knife
- Fiberglass tape
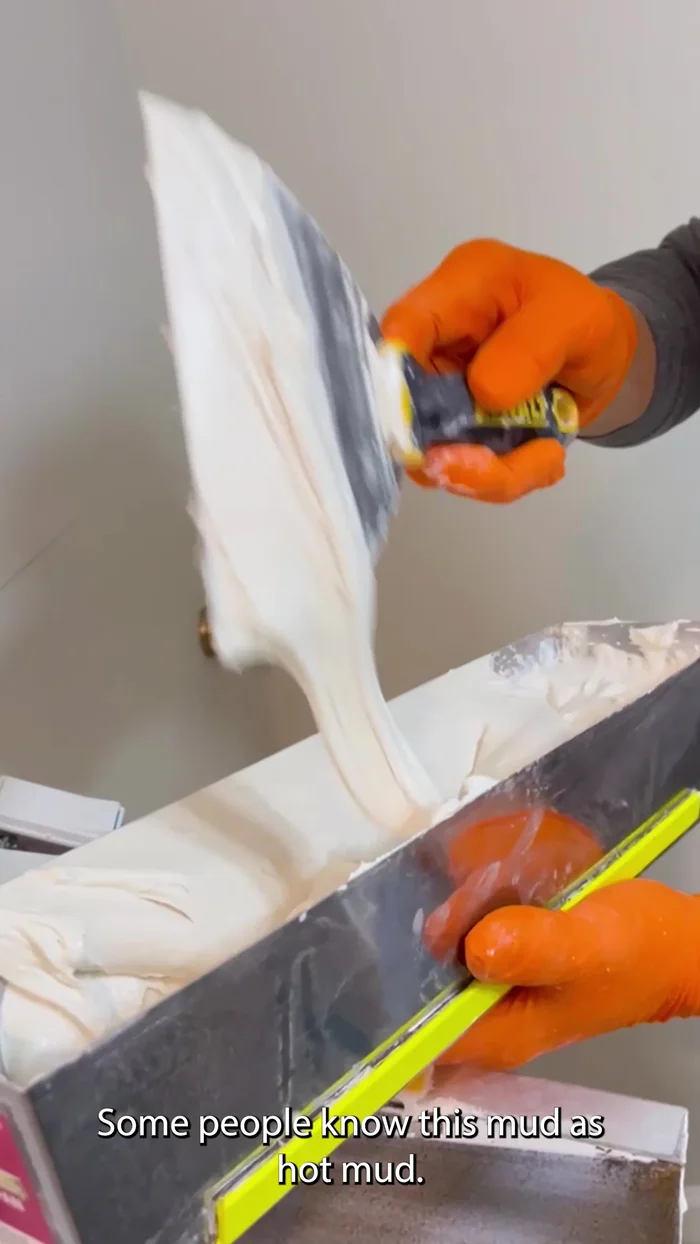
- 20-minute hot mud
- All-purpose mud
- Scrap piece of 2x4 (or similar wood)
- Screws
- Always turn off the power to the affected area before beginning any repairs to prevent electrical shock.
- Wear appropriate safety gear, including gloves and eye protection, to protect yourself from mold, mildew, and sharp objects.
- If the water damage is extensive or involves suspected mold growth, contact a professional water damage restoration company. Attempting extensive repairs yourself could worsen the problem or create health hazards.
Step-by-Step Instructions
Assessment and Preparation
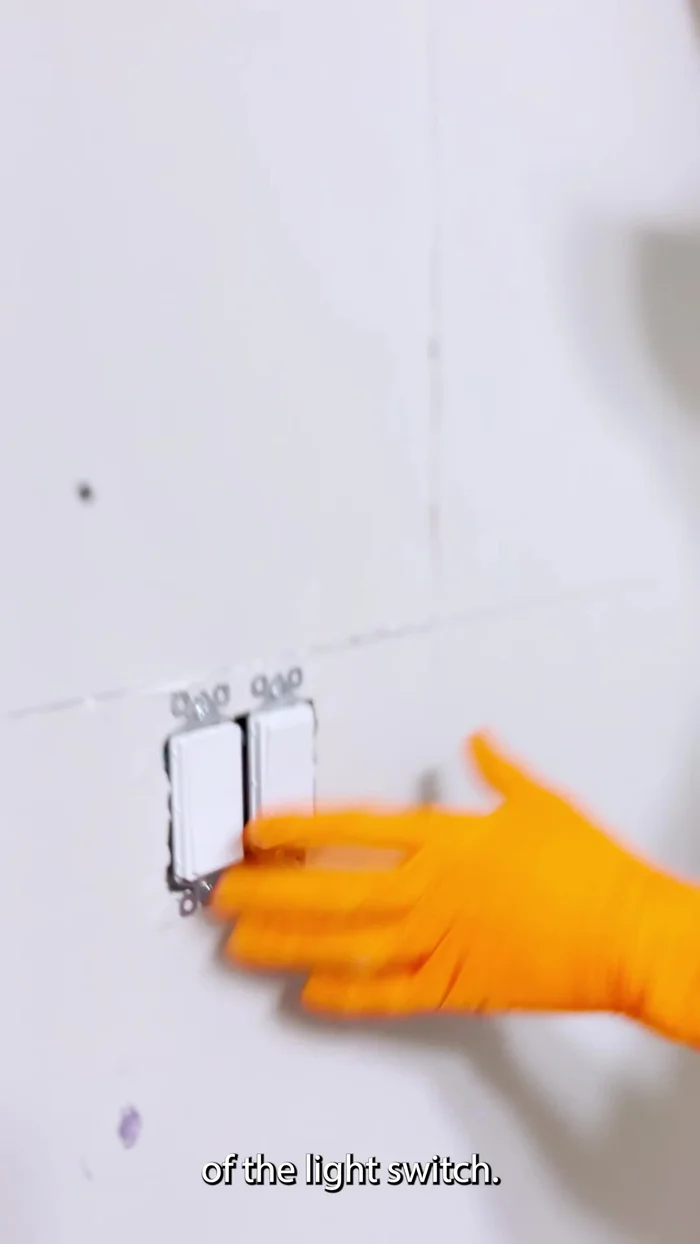
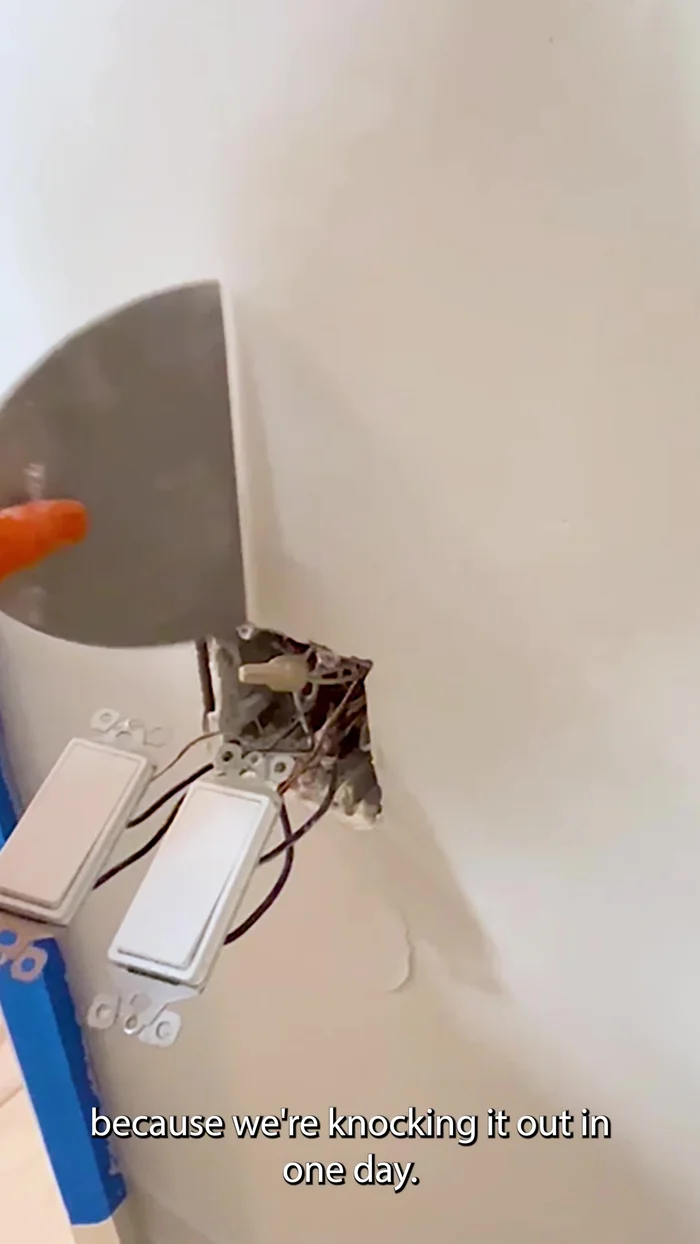
- Assess and cut the damaged area. Make the patch larger than necessary to ensure sufficient working space around obstacles like light boxes.
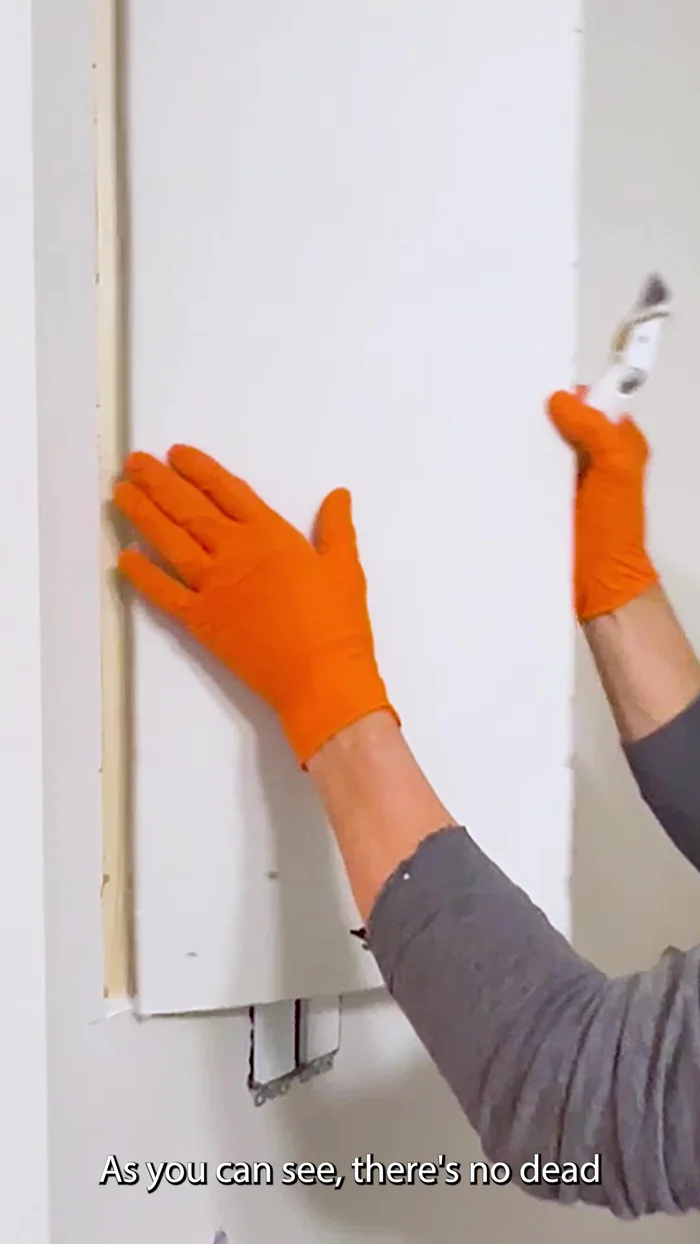
- Install a piece of 'deadwood' (a scrap piece of wood) behind the hole to prevent flexing and cracking of the new drywall.
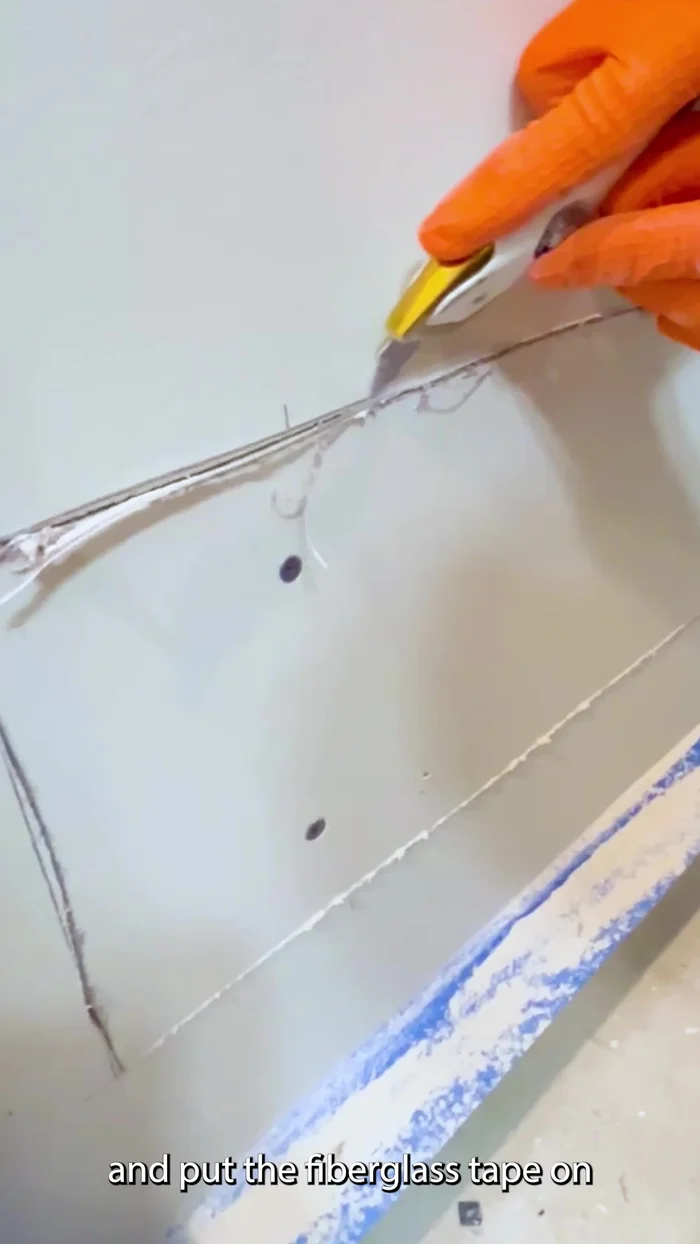
- Prepare the edges of the damaged drywall by using a razor knife to cut the face paper at a 45-degree angle for a clean, smooth surface.

Assessment and Preparation Taping and First Coat
- Apply fiberglass tape, pressing it firmly to the drywall using a flimsy knife. Avoid excessive lapping of the tape.
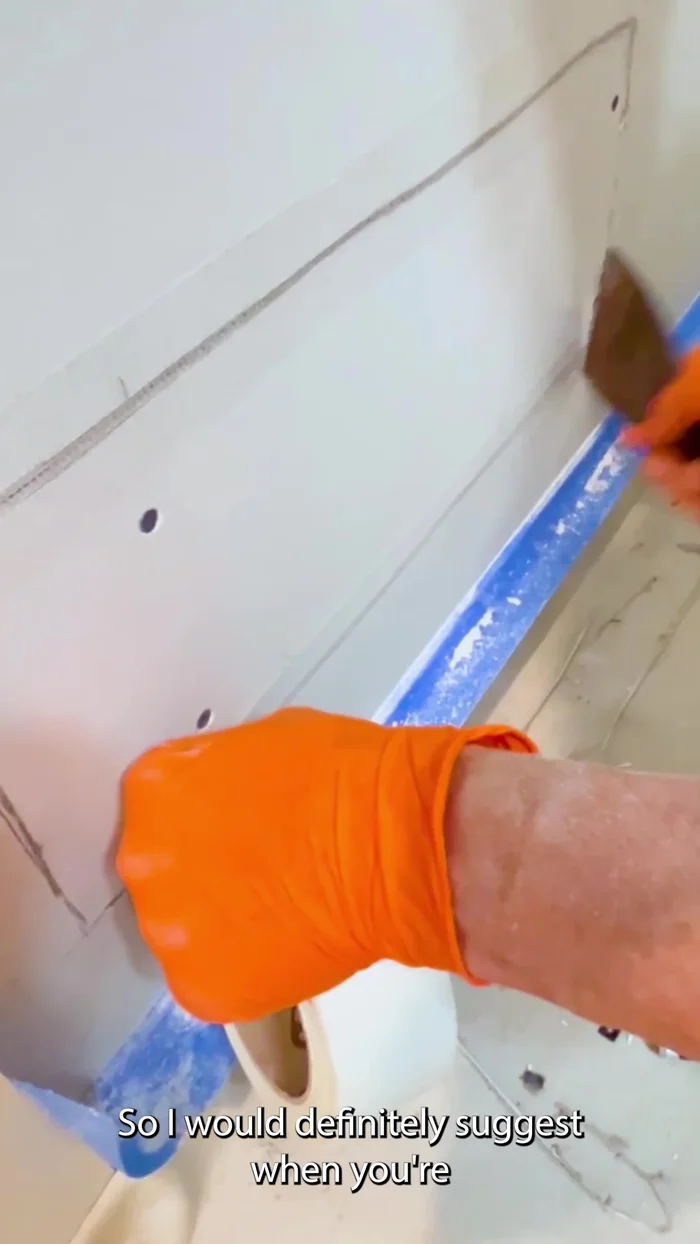
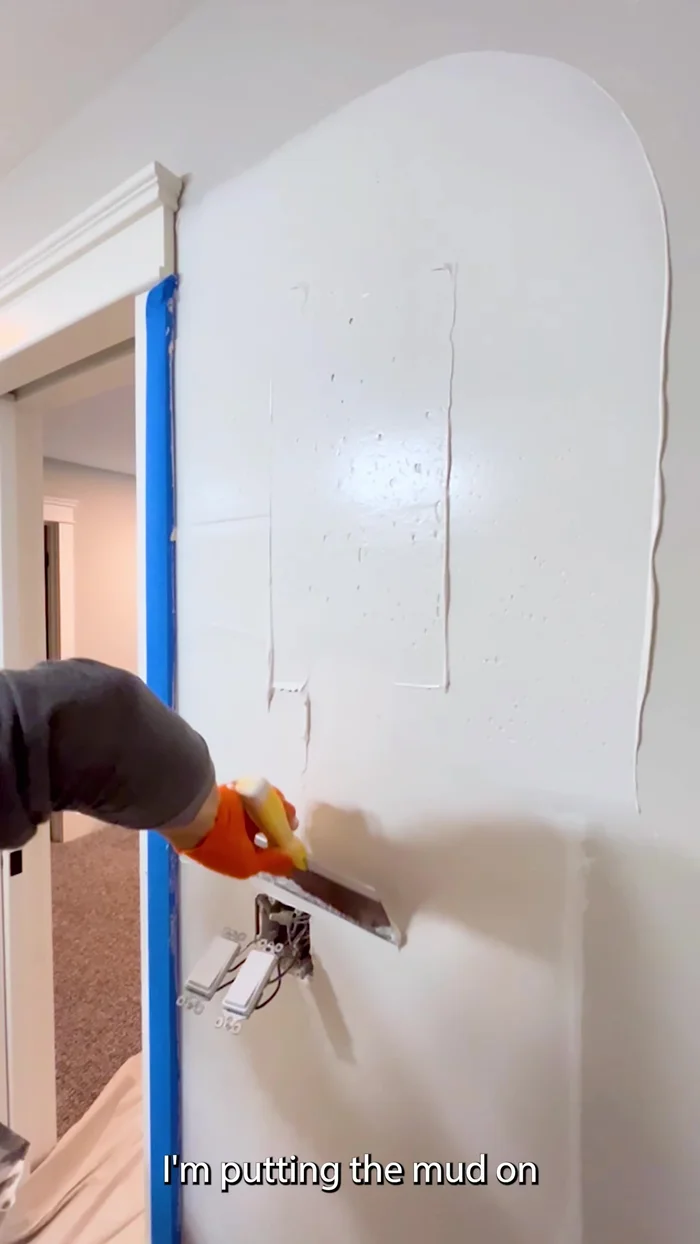
- Apply the first coat of hot mud, ensuring even coverage on both sides of the seam. Use a 10-inch knife and a 6-inch knife to get into tight spaces and feather the edges. This widens the mudded area.
Taping and First Coat First Coat Finishing
- After the first coat dries, scrape off any lap marks using a 6-inch knife or similar. (Sanding is optional – scraping reduces dust.)
First Coat Finishing Skim Coating and Smoothing
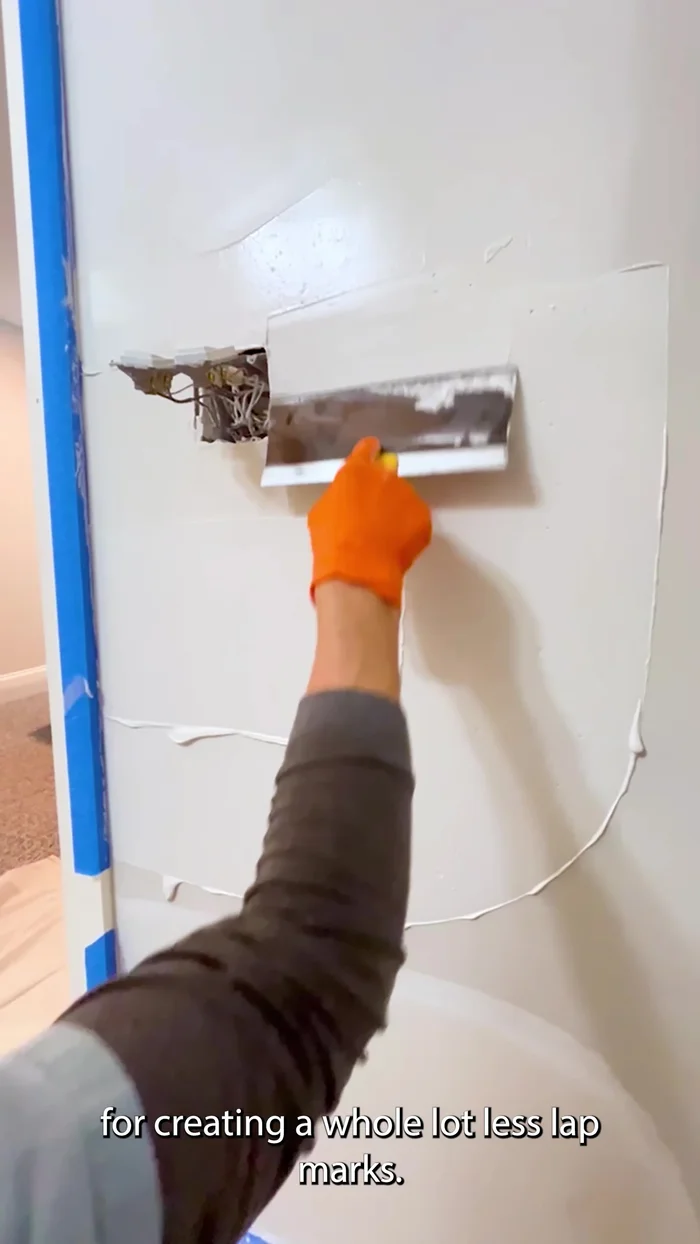
- Apply an all-purpose skim coat using a 12-inch knife, feathering the edges with a 6-inch knife. Use multiple knives (10-inch, 14-inch) for better control and a smooth finish.
- Use a wider knife (14-inch is shown) for the final pass to create a smooth surface. This minimizes lap marks.
Skim Coating and Smoothing
Read more: Fixing Drywall Nail Pops: A Quick and Easy DIY Guide
Tips
- When pre-cutting a light box hole, cut it at an angle, bigger on the back than the front, allowing room for measuring mistakes.
- Use hot mud (also known as quick-set mud) for the first coat for faster drying and better adhesion.
- For patching around light boxes, be gentle and use a smaller knife (6-inch) to avoid excess mud buildup.
- Consider mudding two closely spaced patches together as one large patch for easier application and a better finish.
- To minimize sanding and dust, scrape off lap marks between coats instead of sanding.