Protecting your shed or gable roof from water damage is crucial for its longevity and the safety of its contents. A properly installed flashing system acts as the first line of defense against leaks, preventing costly repairs and potential structural issues down the line. Choosing the right flashing material is key, and opting for guaranteed waterproof options offers peace of mind and significant long-term benefits. This means selecting materials designed to withstand harsh weather conditions and provide reliable protection, even in challenging installations. Investing in quality materials upfront will ultimately save you time and money in the long run.
This article will guide you through a comprehensive step-by-step process for installing guaranteed waterproof roof flashing on both shed and gable roofs. We'll cover everything from choosing the right materials and preparing the surface to securing the flashing and ensuring a watertight seal, enabling you to confidently tackle this essential roofing task.
Preparation and Safety Guidelines
- Aluminum flashing
- Flashing brake (or professional flashing service)
- Roofing shingles
- Roofing caulk
- Step flashing (custom bent aluminum)
- Tin snips
- Utility knife
- Framing square
- Roofing nails
- Hammer
- Delta Dry (dimpled plastic wrap)
- Roofing tar
- Always use appropriate safety equipment, including a harness and fall protection system, when working at heights. Roofing work is inherently dangerous.
- Ensure the flashing material is compatible with both the roofing material and the substrate (e.g., wood, metal). Incorrect material choices can lead to leaks.
- Never compromise on proper flashing installation techniques. Even small errors can compromise the waterproof seal and lead to costly repairs later.
Step-by-Step Instructions
Shed Roof Flashing Installation
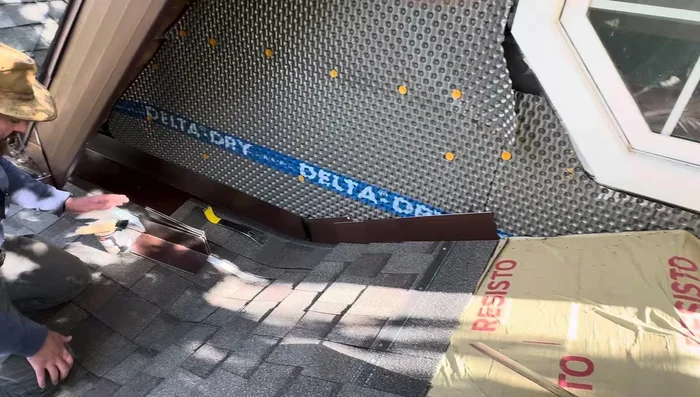
- Install aluminum flashing at the shed roof's wall junction. Extend 5 inches up the wall and 7 inches down the roof.
- Shingle most of the way up the shed roof section.
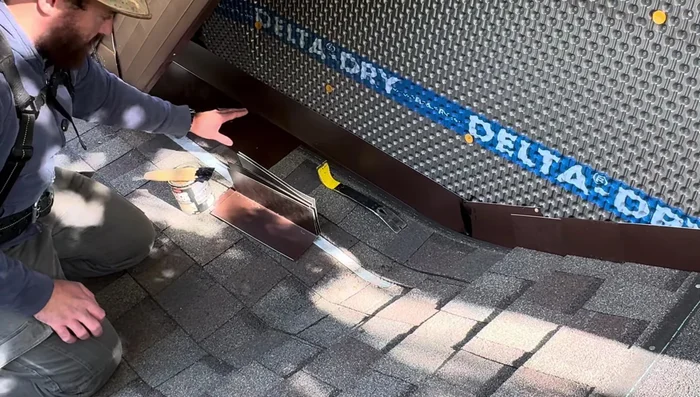
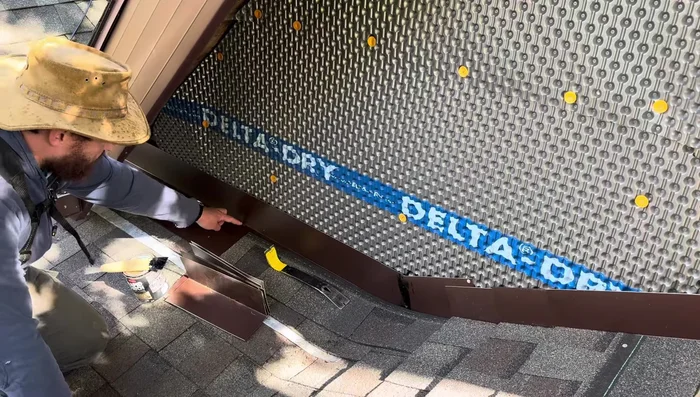
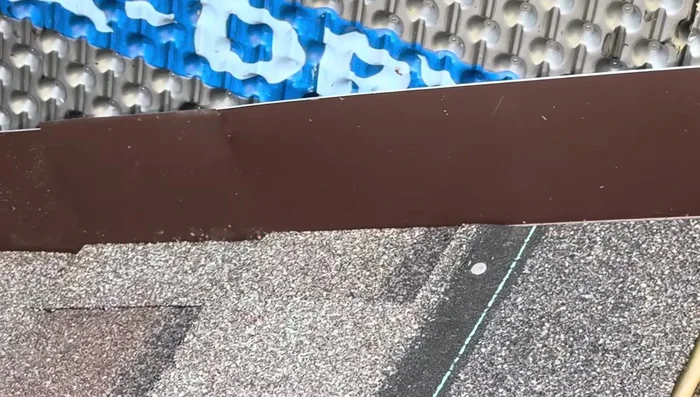
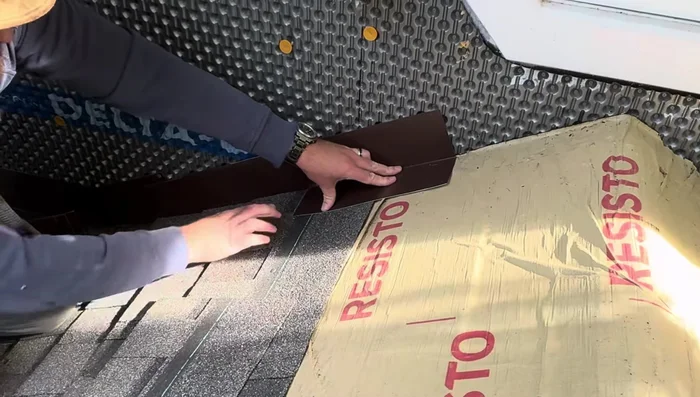
- Install a strip of flashing (dimensioned and bent appropriately) on top of the second-to-last layer of shingles at the shed roof’s wall junction.
- Apply the final layer of shingles over the flashing, securing only with roofing caulk (not nails).

Shed Roof Flashing Installation Gable Roof Step Flashing Installation
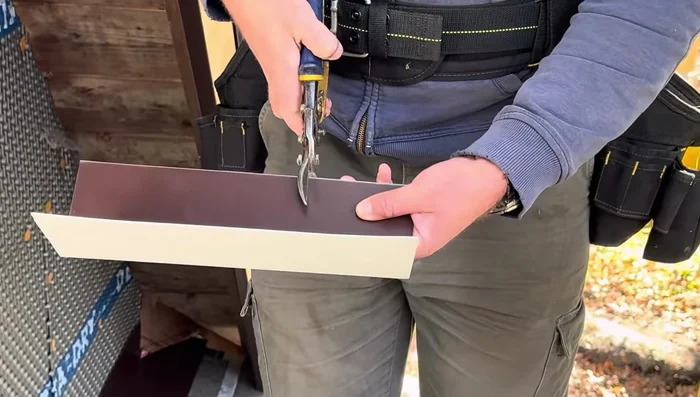
- At the gable section, use step flashing. Cut step flashing pieces to the width of your shingles (approx. 13 inches in this case).
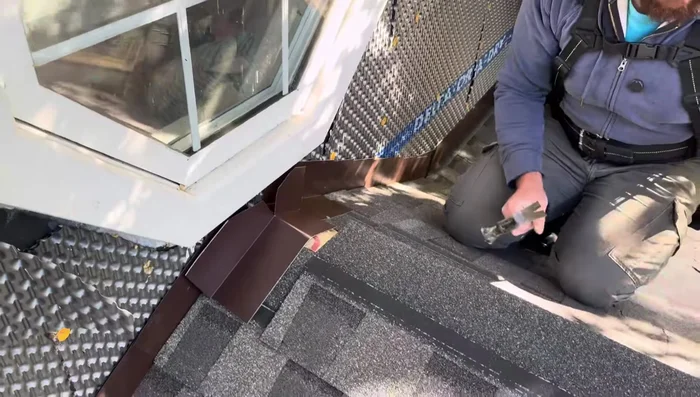
- Weave step flashing and shingles together, alternating one piece of step flashing and one shingle, starting from the bottom and working upwards. Tuck the step flashing tightly into the corner between roof and wall.
- For each shingle, butt it tightly against the wall, use tin snips to mark the cut line against the adjacent shingle, and use a utility knife with a plywood backing to cut the shingle.
- Install the shingle over the step flashing, securing with roofing nails. Position step flashing to minimize visibility.
Gable Roof Step Flashing Installation - Repeat steps 6-8 until reaching the roof peak.
- At the peak, modify a piece of step flashing by cutting it down the middle to the seam, position it over the peak, and bend it to cover both sides.
- Install the final shingles over the peak flashing.
Gable Roof Step Flashing Installation Final Touches and Sealing
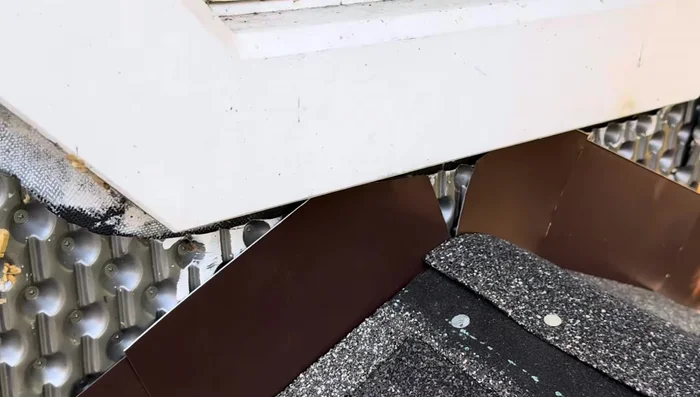
- Trim the flashing as needed to fit neatly around obstructions (like windows).
- Seal any gaps, particularly the v-shaped notch at the wall junction, with roofing tar and a custom-cut rectangular piece of flashing.
- Install building wrap and siding over the flashing to complete the waterproofing.
Final Touches and Sealing


Read more: DIY Roof, Shingle, Fence, and Flashing Repair with Henry Wet Patch 208
Tips
- Use roofing caulk instead of nails for the final shingle layer on the shed roof to maintain waterproofing.
- When cutting shingles, score the back side for easier cutting and to protect your knife blade.
- Ensure step flashing is tightly tucked into the corner between roof and wall to prevent leaks.
- Don't drive nails right into the corner; offset slightly to maintain the flashing’s integrity.
- Install building wrap and siding over the flashing to ensure complete waterproofing. This is crucial and should not be omitted.