Feeling vulnerable about your home's security? In today's world, peace of mind is priceless, and a robust security system is a crucial component. While professional installations can be costly, a DIY wireless home security system offers a surprisingly affordable and effective alternative. This guide empowers you to take control of your home's safety, equipping you with the knowledge and confidence to build a customized system tailored to your specific needs and budget, all without the hefty price tag of professional services. You'll discover how simple and achievable it is to enhance your home's security significantly.
This comprehensive guide walks you through every step of the installation process, from selecting the right components to configuring the system and integrating it seamlessly into your home. We'll cover everything from planning your layout and choosing suitable locations for your sensors to connecting your system to the internet and monitoring it remotely. Let's dive into the step-by-step instructions so you can begin creating a safer and more secure environment for yourself and your loved ones.
Preparation and Safety Guidelines
- Wireless alarm system (Central Station, entry sensors, motion detectors, smoke detectors, CO detector, keypad, key fob), Lithium-ion batteries, Double-sided tape, Screwdriver (optional), Smartphone, Tablet
- Always consult with a professional electrician before connecting any new devices to your home's electrical system. Incorrect wiring can cause fire hazards or damage to your equipment.
- Never compromise your security system's password or PIN. Choose strong, unique passwords and change them regularly. Avoid using easily guessable information like birthdays or pet names.
- Test your system regularly to ensure all sensors and cameras are functioning correctly. Regularly check battery levels and replace them as needed to avoid system failures.
Step-by-Step Instructions
Set up the Central Hub
- Locate and install the central station.
Install Entry Sensors
- Install entry sensors on doors and windows. Use double-sided tape for quick installation.

Install Entry Sensors Install Environmental Sensors
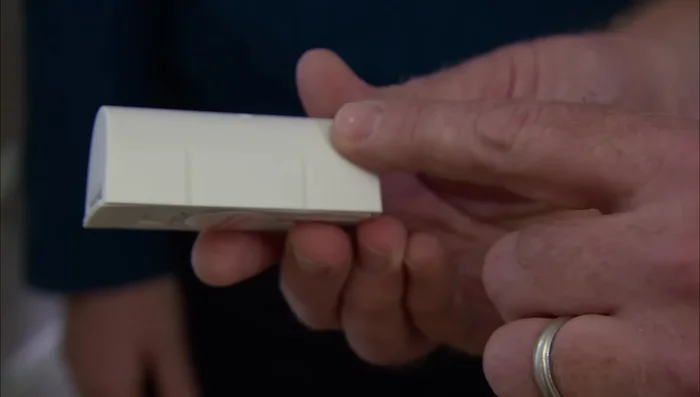
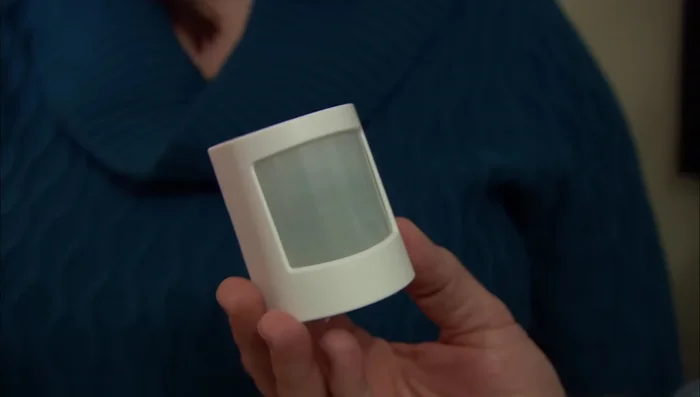
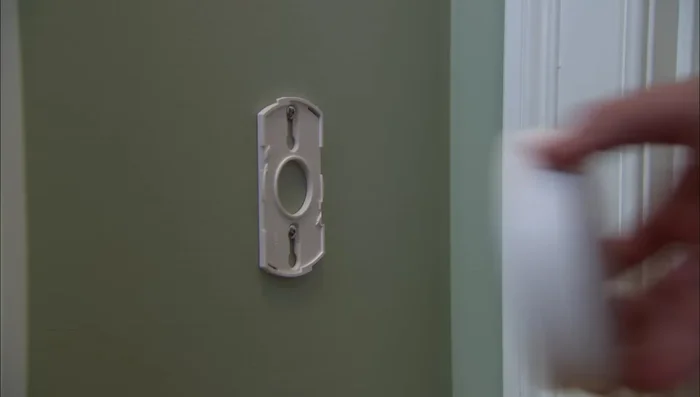
- Install a motion detector in a central location for broader coverage.
- Install smoke and carbon monoxide detectors.
Install Environmental Sensors Install Control Panel
- Install and configure the keypad for easy arming/disarming.
Install Control Panel Install Optional Camera
- Install and configure the wireless camera (optional).

Read more: Installing an Outdoor GFCI Receptacle: A Step-by-Step Guide
Tips
- Choose a central location for the base station to maximize the 500ft range of sensors.
- Consider using motion detectors as an alternative to installing entry sensors on every door and window for cost-effectiveness.
- Double-sided tape provides a quick and easy installation method for sensors.
- The system has a battery backup lasting about 3 days in case of a power outage.
- Utilize the app for smartphone control and remote monitoring.