Tired of tangled cords and unsightly wiring cluttering your walls? Imagine the sleek, modern look of wireless sconces illuminating your home, effortlessly adding ambiance and style without the hassle of electrical work. Wireless sconces offer a fantastic alternative to traditional wired fixtures, providing a convenient and aesthetically pleasing lighting solution for any room. They’re perfect for renters, homeowners undergoing renovations, or anyone seeking a quick and easy upgrade. Forget complicated installations and expensive electricians – installing wireless sconces can be surprisingly simple.
This guide breaks down the process into easy-to-follow steps, equipping you with the knowledge and confidence to install your own wireless sconces in a matter of minutes. Ready to transform your space with beautiful, cordless lighting? Let's dive into the step-by-step instructions and illuminate your home with ease!
Preparation and Safety Guidelines
- Runlesswire Wireless Switch Kit
- Old work electrical boxes
- Drill
- Pry bar
- Wire strippers
- Wire nuts
- Screwdriver
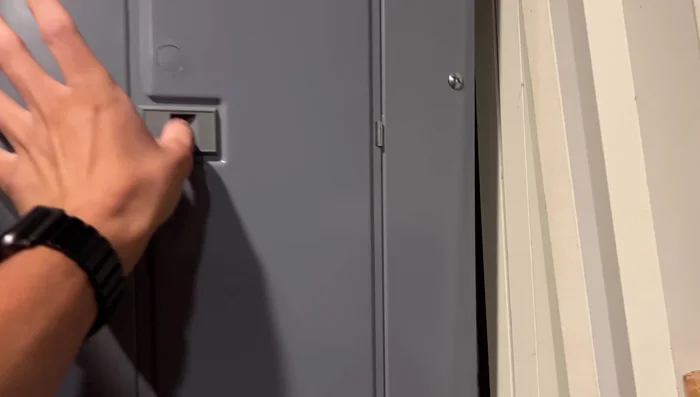
- Always switch off the power at the breaker box before starting any wiring work. Failure to do so could result in serious injury or death.
- Ensure the wireless sconce you choose is compatible with your existing electrical system and wiring. Check voltage and amperage ratings carefully.
- If you are not comfortable working with electricity, consult a qualified electrician. Improper installation can lead to fire hazards and electrical shock.
Step-by-Step Instructions
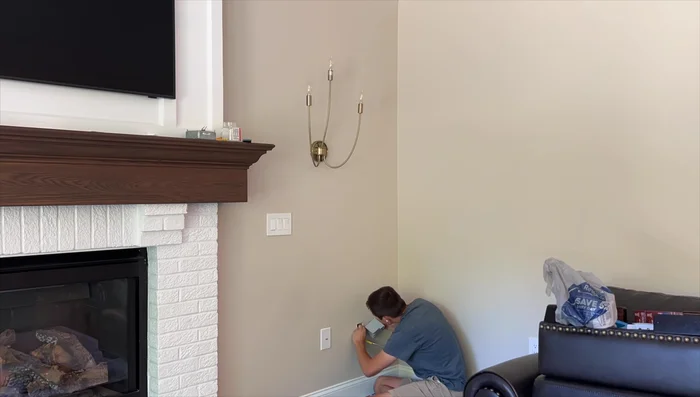
Planning and Preparation
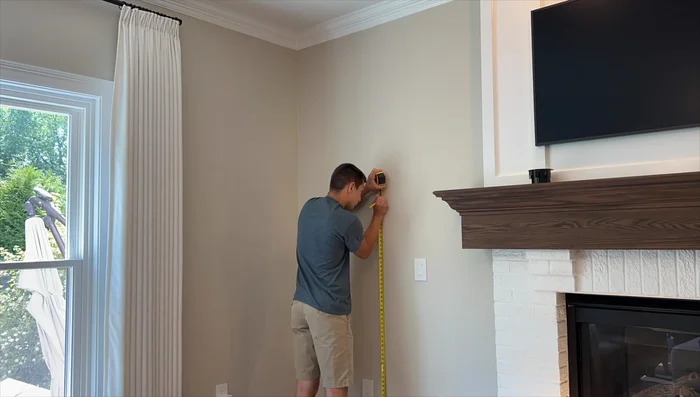
- Mark sconce locations on the wall, typically 60-72 inches from the floor.
- Turn off the power at the breaker box.

Planning and Preparation Electrical Box Installation
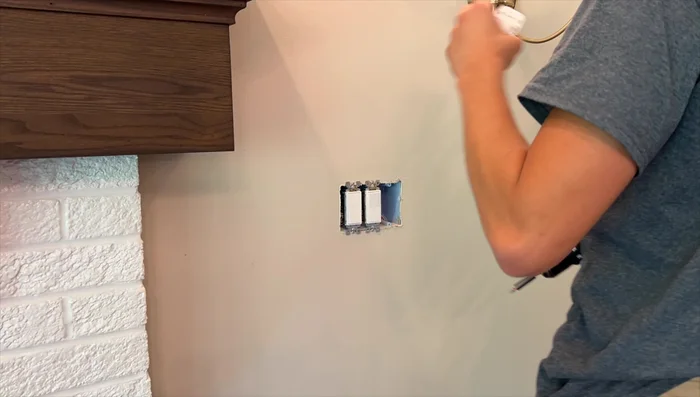
- Drill holes for the electrical boxes.
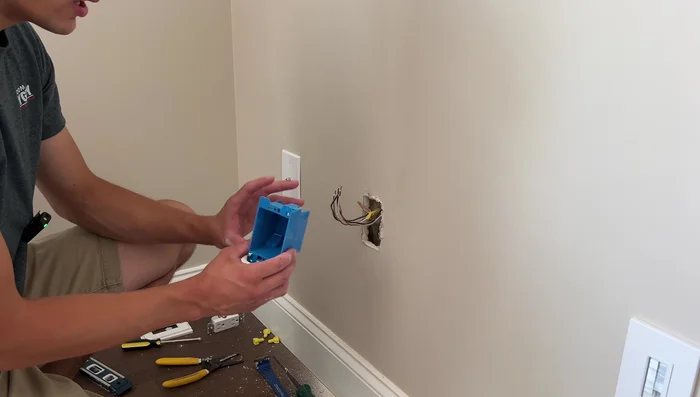
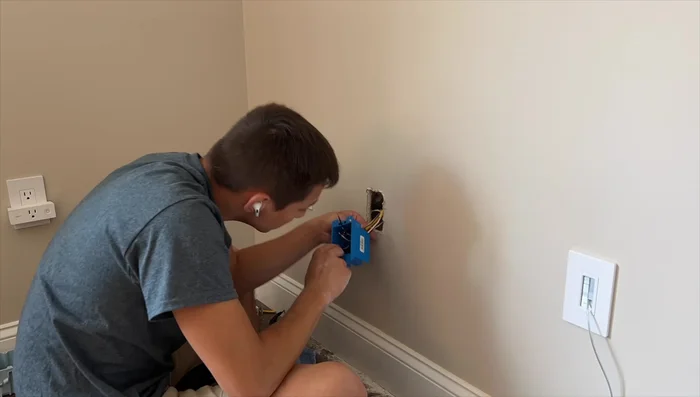
- Remove the existing outlet and electrical box.
- Install new old-work electrical boxes.
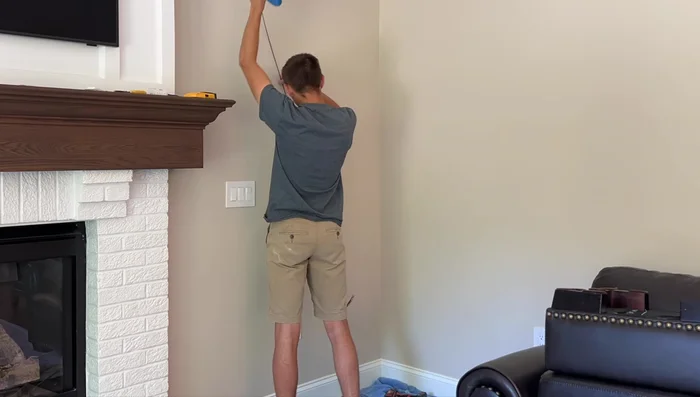
- Fish the wire from the outlet box to the fixture box.
Electrical Box Installation - Wire the outlet back to the new wiring.
Electrical Box Installation First Sconce Wiring and Installation
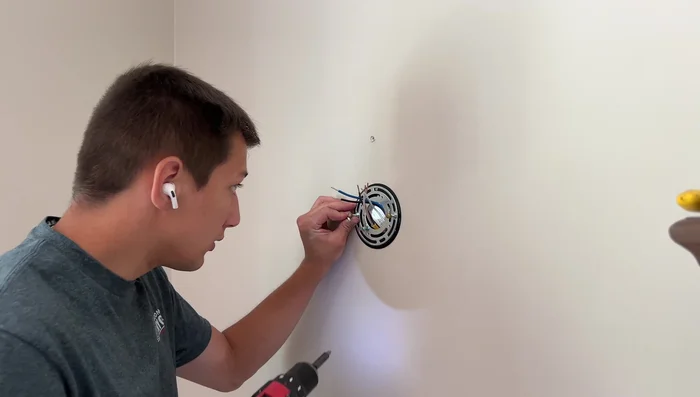
- Wire the Runlesswire receiver into the electrical box.
- Mount the fixture bracket and ensure it's level.
- Make electrical connections (ground, neutral, hot) inside the box.
- Mount the fixture and install the light bulb.
First Sconce Wiring and Installation Second Sconce Installation (if applicable)
- Repeat steps 7-11 for the second sconce.
Second Sconce Installation (if applicable) Switch Installation and Testing
- Install the Runlesswire wireless switches.
- Test the sconces.
Switch Installation and Testing
Read more: Installing an Outdoor GFCI Receptacle: A Step-by-Step Guide
Tips
- Use extra-deep old work electrical boxes for easier wiring.
- Ensure the fixture bracket is level before attaching the fixture to avoid visible misalignment.