Controlling a single light fixture from two different locations is a common home improvement project that adds both convenience and functionality. This often involves wiring two single-pole light switches into a single two-gang junction box, a task that may seem daunting to the uninitiated but is surprisingly manageable with the right guidance. Many homeowners shy away from electrical work, but this project, while requiring careful attention to safety, is well within the capabilities of a reasonably handy DIYer.
This guide provides a comprehensive, step-by-step process for safely and correctly wiring two single-pole switches in a two-gang box, eliminating the guesswork and ensuring a successful installation. From gathering the necessary tools and materials to securing the wiring and testing your work, we'll walk you through each stage, providing clear instructions and helpful illustrations. Let's get started with the first step in this easy-to-follow tutorial.
Preparation and Safety Guidelines
- Two-gang junction box (old work or new work)
- 14-gauge 2-wire cable with ground
- Single-pole switches (15 amp)
- Wire strippers
- Insulated screwdriver (Phillips and flathead)
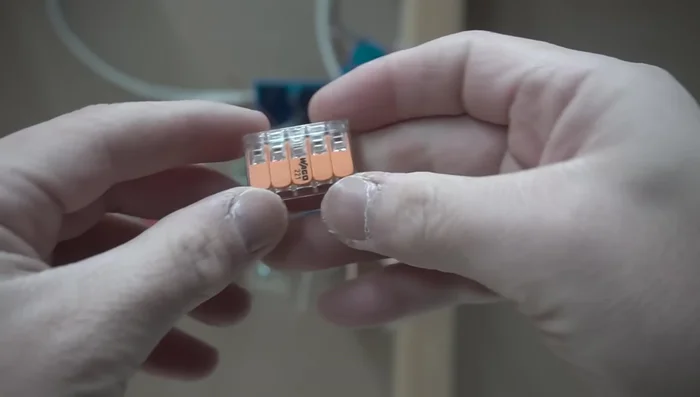
- Wire nuts or lever-type wire connectors
- Voltage detector
- Volt claw (optional but recommended)
- Always turn off the power at the breaker box before starting any electrical work. Failure to do so can result in serious injury or death.
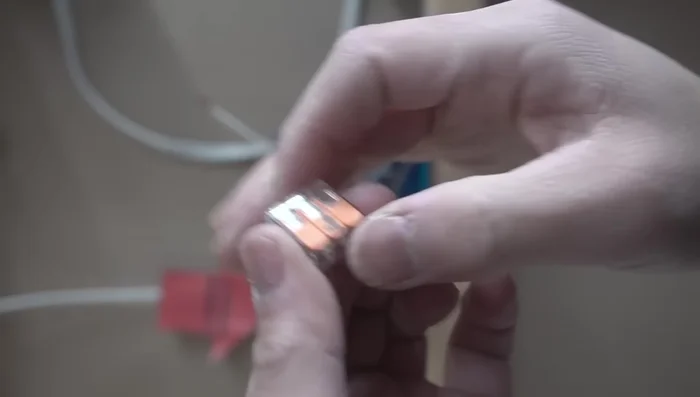
- Use wire nuts of the appropriate size for the number of wires being connected. Improperly sized wire nuts can create loose connections and fire hazards.
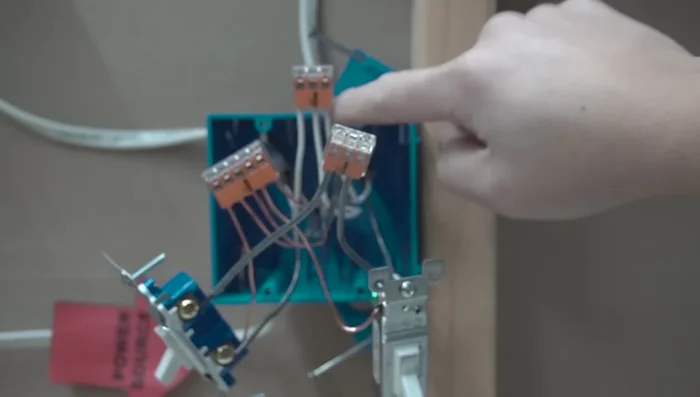
- Ensure all wire connections are secure and neatly organized within the junction box. Overcrowding the box is a code violation and can create a fire hazard.
Step-by-Step Instructions
Safety First
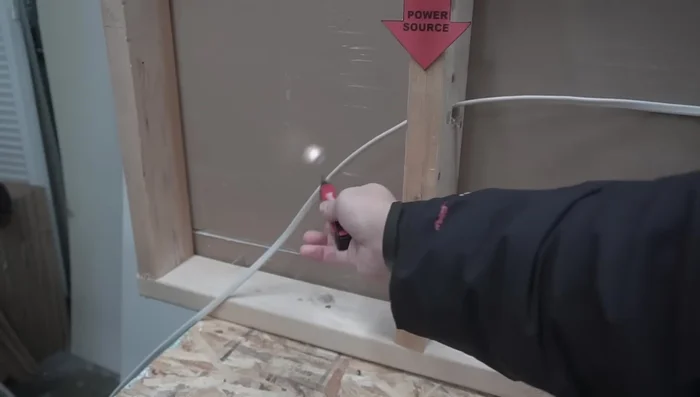
- Turn off the power at the circuit breaker and double-check with a voltage detector.

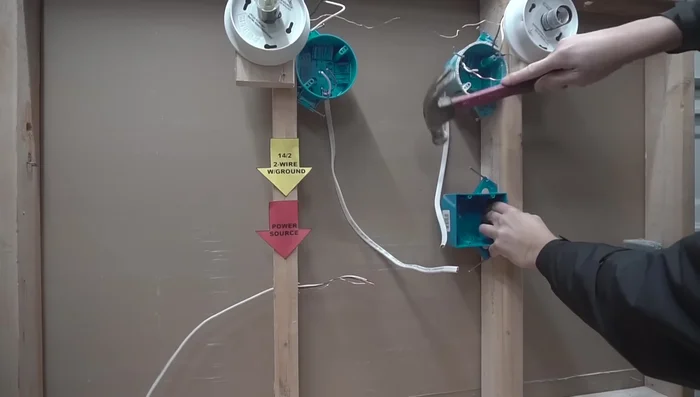
Safety First Prepare the Wires
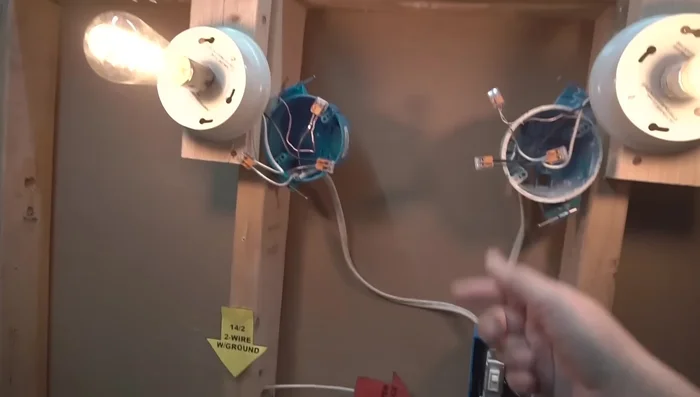
- Feed the 14-2 cables from the light fixtures and the power source into the junction box.
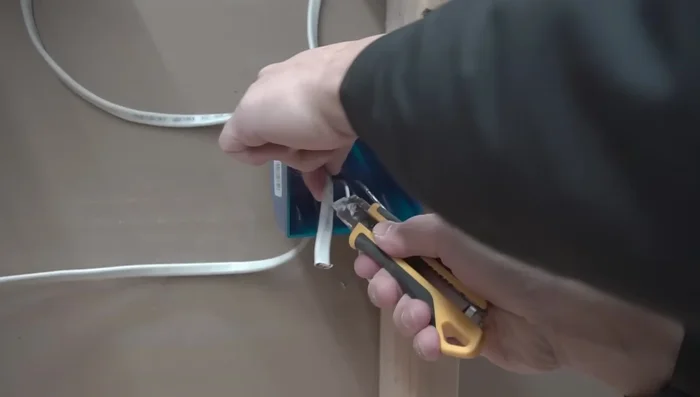
- Strip the insulation from the wires (approximately 5/8 inch).
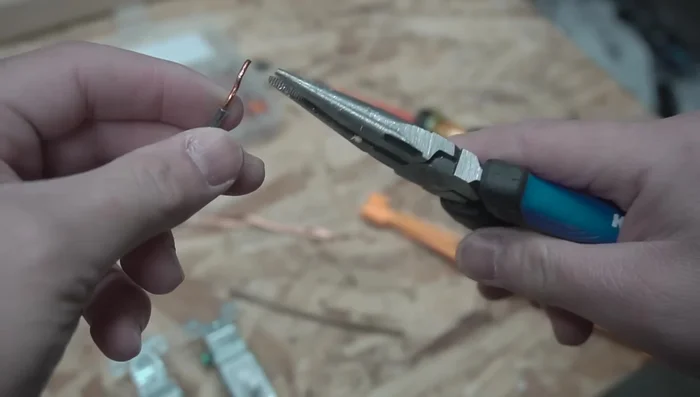
Prepare the Wires Create Pigtails
- create loops on the hot wires using pliers or a volt claw. Use the same gauge wire as your circuit.
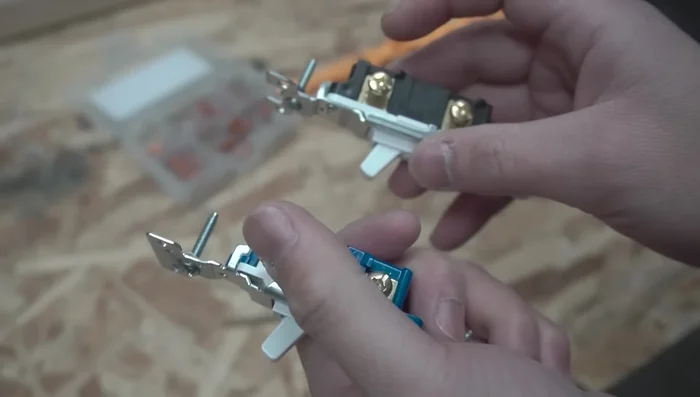
Create Pigtails Wire the Switches
- Connect the black pigtails to the top terminals of each switch. Connect the hot wires from the light fixtures to the bottom terminals of the corresponding switches.
Wire the Switches Connect Grounds
- Connect all ground wires (from the switches, light fixtures, and power source) together using a multi-wire connector.
Connect Grounds Connect Neutrals
- Connect all neutral wires (from the light fixtures and power source) together using a multi-wire connector.
Connect Neutrals Finalize and Secure
- Tuck wires neatly into the junction box and secure the switches.
Finalize and Secure Test the Installation
- Turn the power back on and test the switches.
Test the Installation
Read more: Installing an Outdoor GFCI Receptacle: A Step-by-Step Guide
Tips
- Always use the same gauge wire for pigtails as the rest of your circuit (14-gauge in this example).
- Keep wires organized and neat for easier installation and troubleshooting.
- Use a volt claw to help maneuver wires in tight spaces inside the junction box.
- When using wire connectors, ensure the wires are touching the top of the connector for a secure connection.