Wood floors, with their timeless elegance, are a prized feature in many homes. However, the beauty of hardwood can be marred by unsightly chips and dents, often the unfortunate result of everyday wear and tear, accidental bumps, or even the shifting of furniture. These imperfections can significantly detract from the overall aesthetic appeal, leaving homeowners feeling frustrated and seeking solutions. Fortunately, repairing these blemishes is often achievable with the right techniques, transforming damaged floors back to their former glory. A seemingly small chip can feel like a major eyesore, but with a little patience and the correct approach, even significant damage can be effectively addressed.
This article focuses on mastering the art of wood floor chip repair, providing a detailed guide to achieving professional-looking results. We'll explore a proven step-by-step process that allows you to seamlessly blend repairs into your existing floor, minimizing the visual impact of any damage. Let's dive into the techniques that will empower you to tackle even the most stubborn of chips and restore your wood floors to their pristine condition.
Preparation and Safety Guidelines
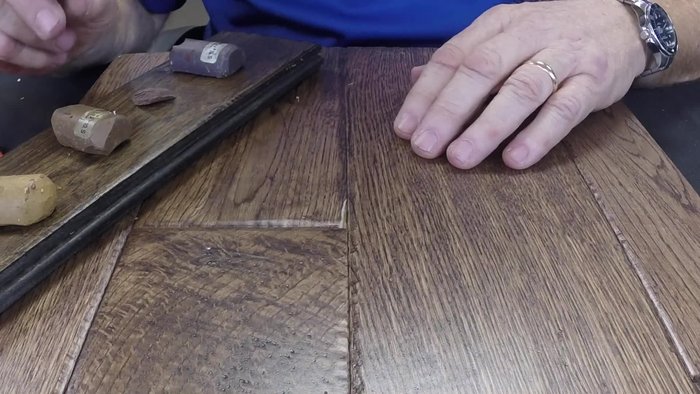
- Iron
- Wax
- Knife or Edge Tool
- Dental Pick (optional)
- Five-way tool (optional)
- Rag
- Always wear safety glasses and a dust mask to protect your eyes and lungs from wood dust and flying debris.
- Use proper ventilation when working with wood fillers, stains, and finishes. Harmful fumes can build up quickly.
- Ensure your work area is well-lit and free of obstacles to prevent accidents. Use clamps or weights to keep the repaired area stable while the filler dries.
Step-by-Step Instructions
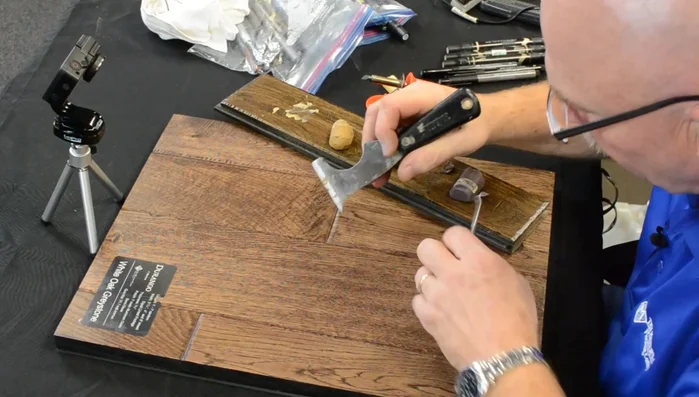
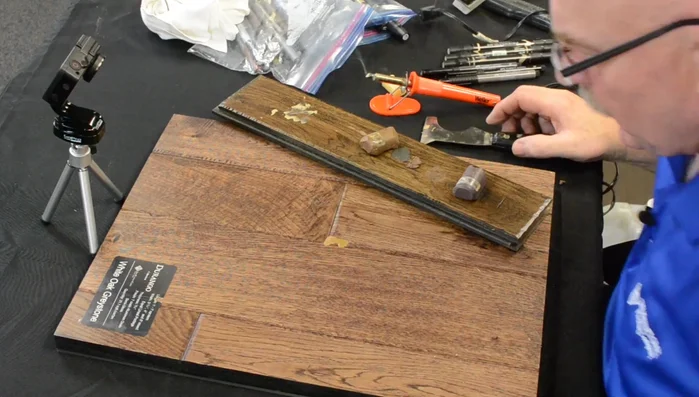
Color Matching and Wax Application
- Mix wax colors to match the floor.
- Heat the iron and apply the mixed wax to the chipped area.

Color Matching and Wax Application Initial Curing and Excess Removal
- Let the wax cool and cure until dull.
- Scrape off excess wax to make it flush with the floor.
Initial Curing and Excess Removal Surface Refinement
- Smooth the repaired area using a knife or edge tool to recreate the gap between boards.
- If needed, use a dental pick or five-way tool to add grain details.
Surface Refinement Blending and Final Curing
- Apply a lighter shade of wax on top to blend the repair.
- Let cool, and scrape off excess wax.
Blending and Final Curing


Read more: Silence that Squeaky Bed: A Complete Fix-It Guide
Tips
- Practice on scrap wood before working on the actual floor.
- Take your time and don't rush the process.
- Don't be afraid to make mistakes; learn from them.