Wood furniture, with its timeless elegance and enduring quality, often becomes a cherished part of our homes. However, the passage of time, along with everyday wear and tear, can leave its mark in the form of unsightly scratches, dents, and other imperfections. These blemishes can detract from the beauty of your pieces, but don't despair! Repairing minor wood damage is often easier than you think, and mastering a few simple techniques can save you significant expense and restore your furniture to its former glory. You don't need specialized tools or extensive woodworking experience to achieve professional-looking results.
This guide provides straightforward, step-by-step instructions for tackling common wood furniture repairs, specifically targeting scratches and other minor damage. From identifying the type of wood finish to selecting the right repair materials, we'll walk you through the entire process, equipping you with the knowledge and confidence to fix those imperfections and breathe new life into your beloved furniture. Let's get started and learn how to achieve flawless repairs!
Preparation and Safety Guidelines
- Auto body filler
- Catalyst
- Tape
- Knife
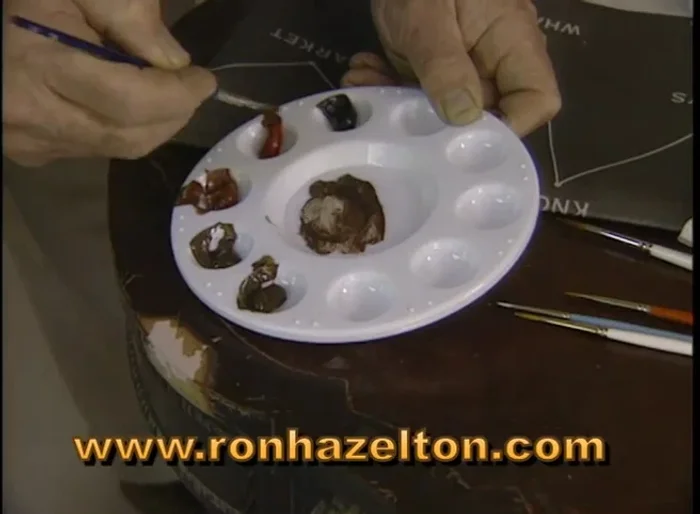
- Artist acrylic colors
- Always wear safety glasses to protect your eyes from flying debris during sanding or using tools.
- Ensure adequate ventilation when using any wood finishes or stains, as fumes can be harmful.
- Use caution when handling sharp tools like chisels and knives; always cut away from yourself.
Step-by-Step Instructions
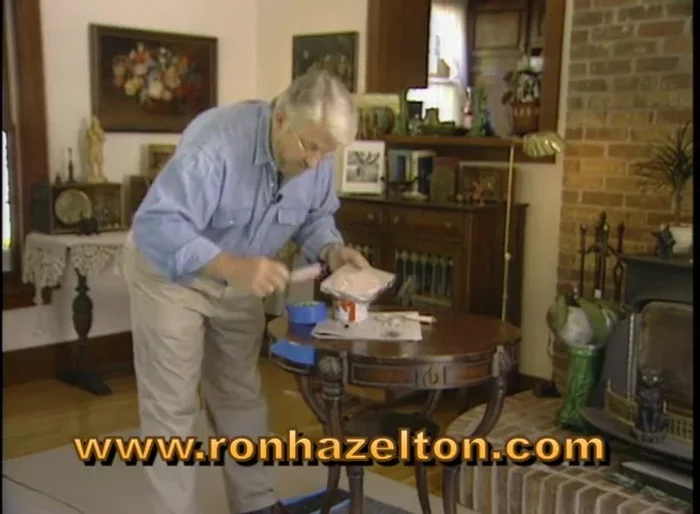
Prepare the Surface
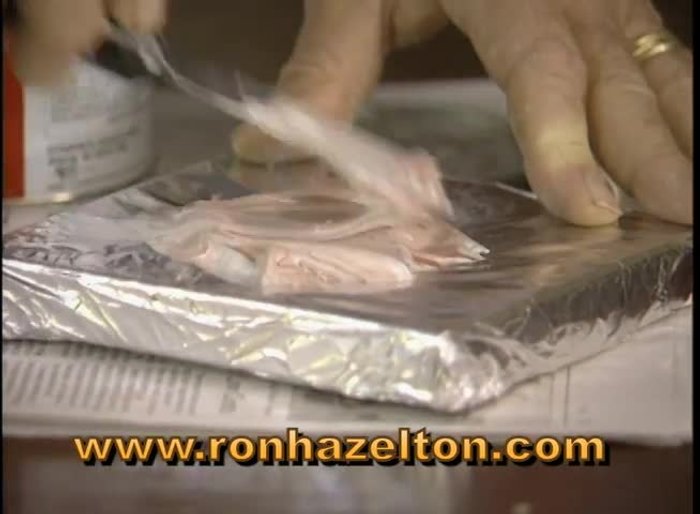
- Prepare the damaged area by applying tape around the edges to prevent filler spillage.

Prepare the Surface Mix and Apply Filler
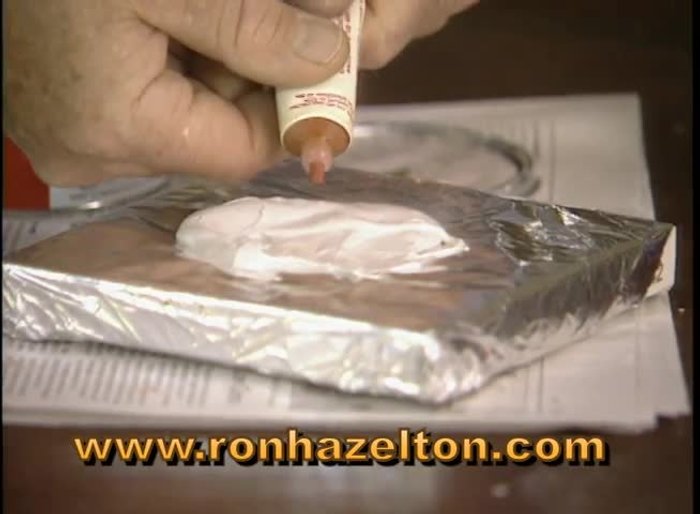
- Mix the two-part auto body filler (resin and catalyst) until a uniform pink color is achieved.
- Force the filler into the damaged cavity.
Mix and Apply Filler Remove Excess Filler
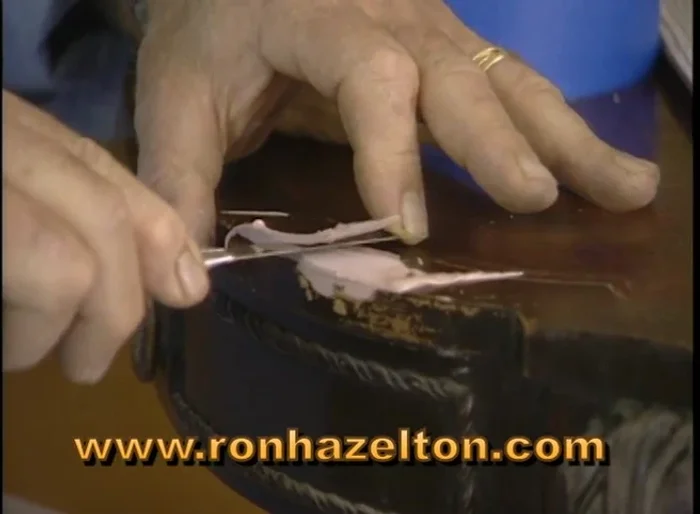
- Wait 3-4 minutes until the filler reaches a rubbery state. Remove the tape and carefully cut off excess filler with a knife.
Dry and Smooth
- Allow the filler to dry completely. This will harden, making further shaping with a file necessary if needed.
- Sand the repaired area until perfectly smooth and flat.
Dry and Smooth Color Match and Finish
- Mix artist acrylic colors to match the wood's color. Apply multiple layers until the desired color is achieved.
Color Match and Finish
Read more: Silence that Squeaky Bed: A Complete Fix-It Guide
Tips
- Be patient when mixing the acrylic colors. If you don't get it right the first time, try again.
- Work carefully to avoid sanding beyond the repair area.